Overview
In this guide, we demonstrate the WordPress integration with the RCDevs Identity Provider through OpenID. WordPress could also be configured through SAML with RCDevs IdP.
Refer to WordPress documentation for SSO configurations on WordPress.
OpenID Connect
On WordPress, install and activate OpenID Connect Generic Client plugin.
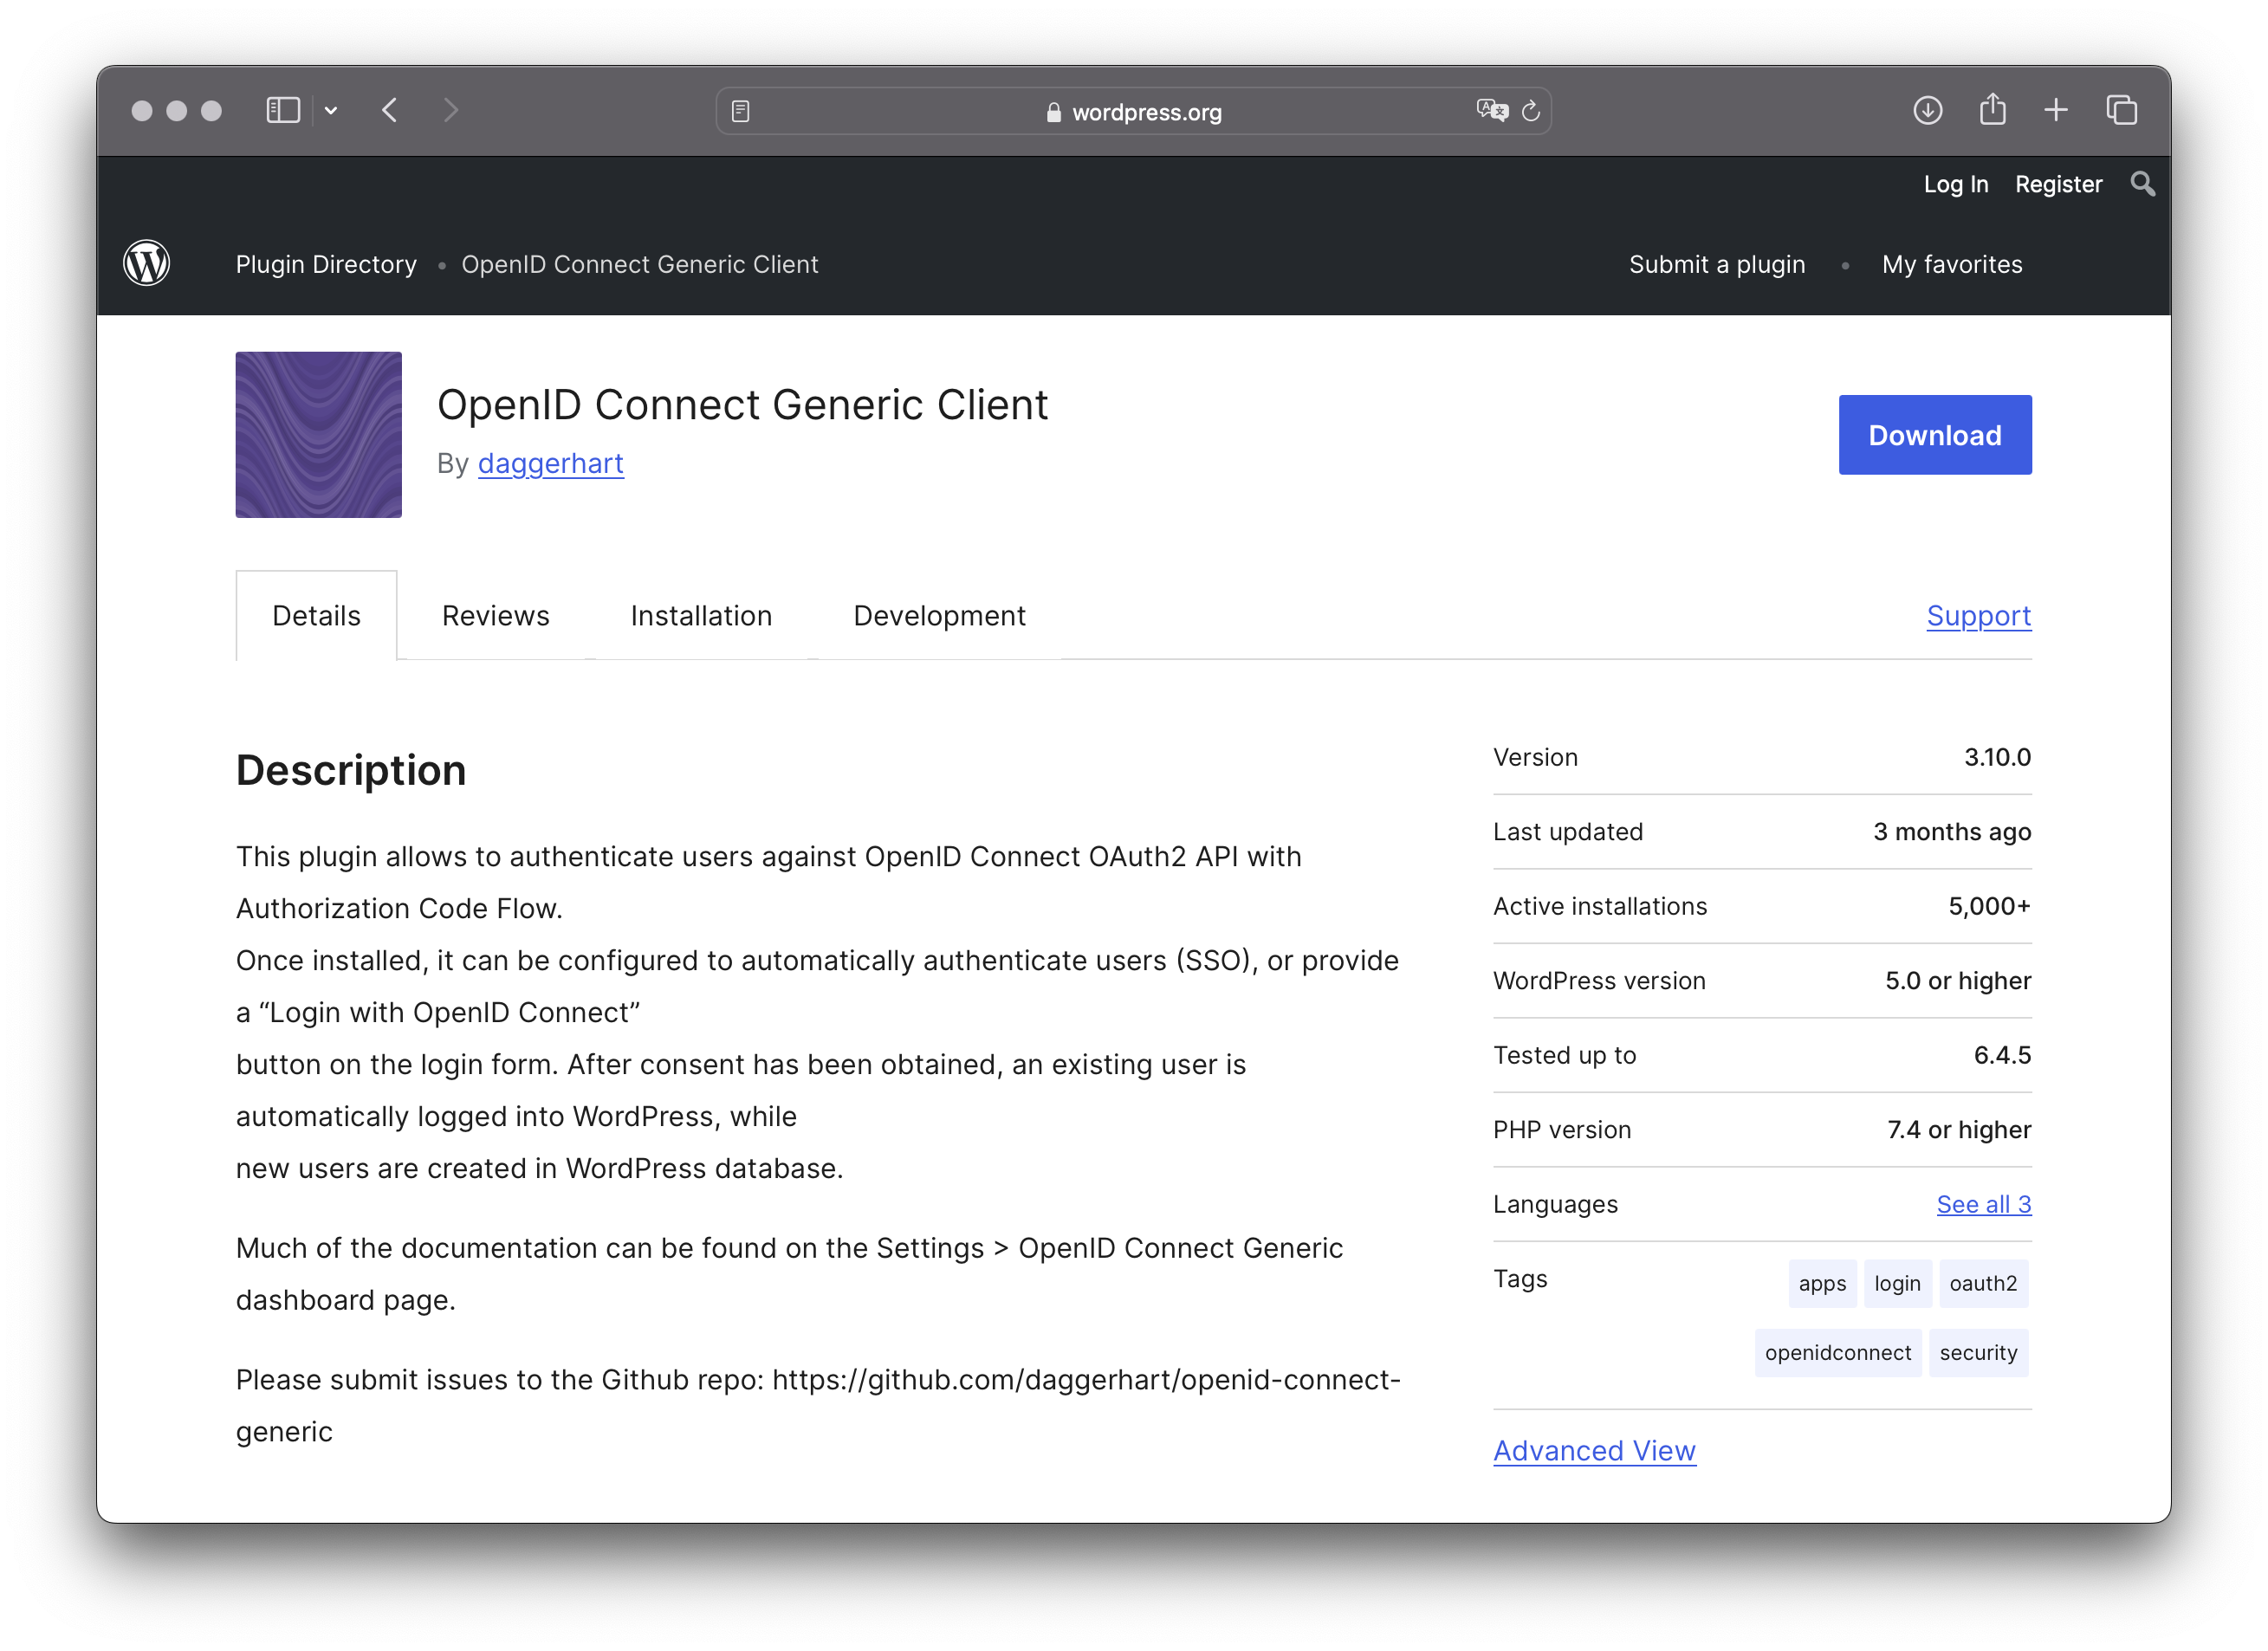
Once the plugin is installed we can configure it.
IdP configuration on WordPress
On WordPress, go to Settings > OpenID Connect Client menu, then configure the plugin:
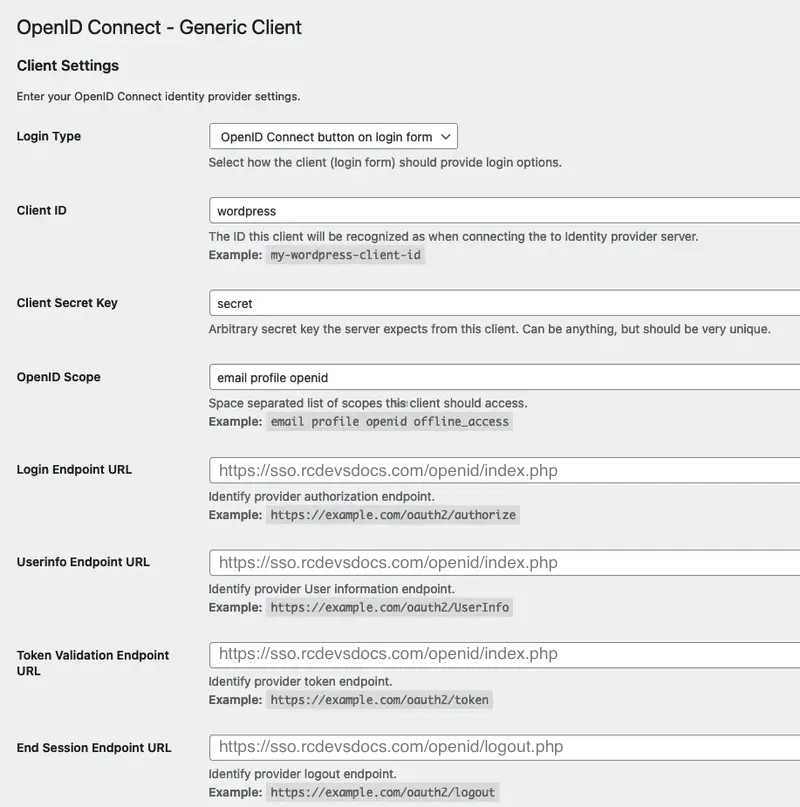
The IdP configuration on WordPress is done.
WordPress Configuration on the IdP (Client Policy)
The WordPress configuration on the IdP simply consists of creating a client policy.
Let's create a Client Policy for WordPress. Login on WebADM Administrator portal, click on Admin tab, click on Client Policies and then Add Client button. Name your client policy and optionally provide a description.
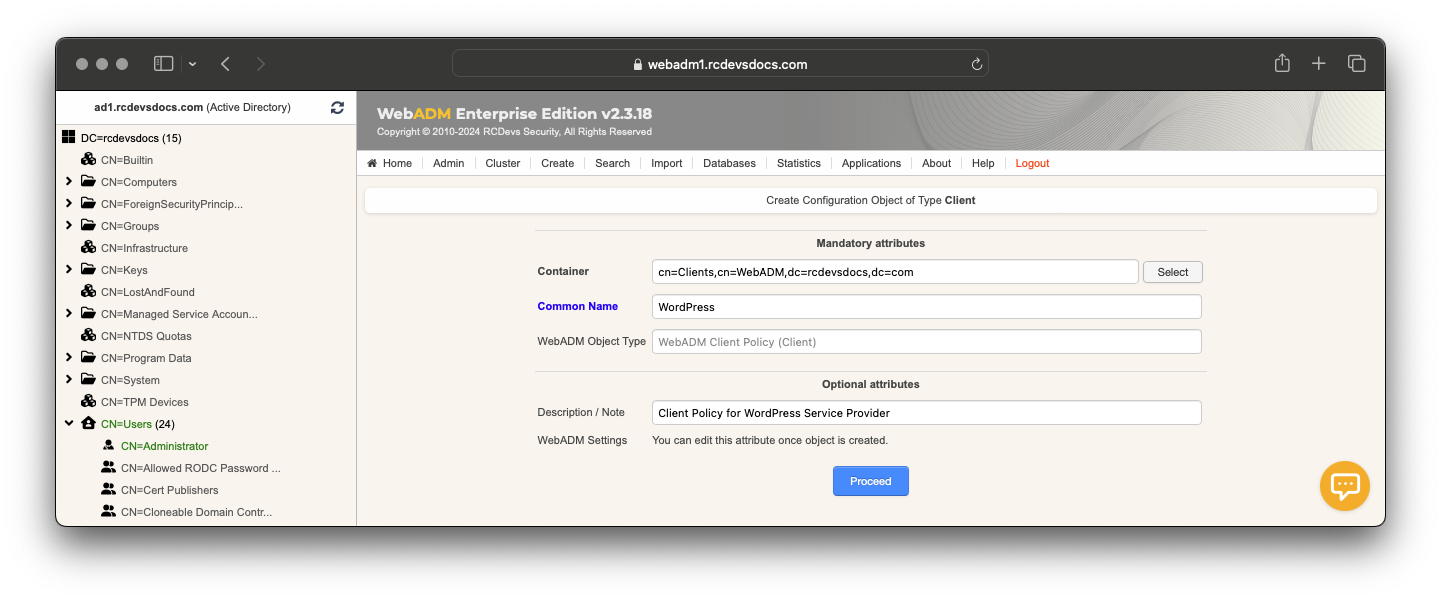
Click Proceed followed by Create Object.
You are now entering the policy configurator. Configure the Default Domain, a Friendly Name (optional), and set the Client Name Aliases.
Configure the Client ID setting configured on WordPress as the Client Name Aliases in your Client policy to facilitate the matching process. On my side, it is wordpress.
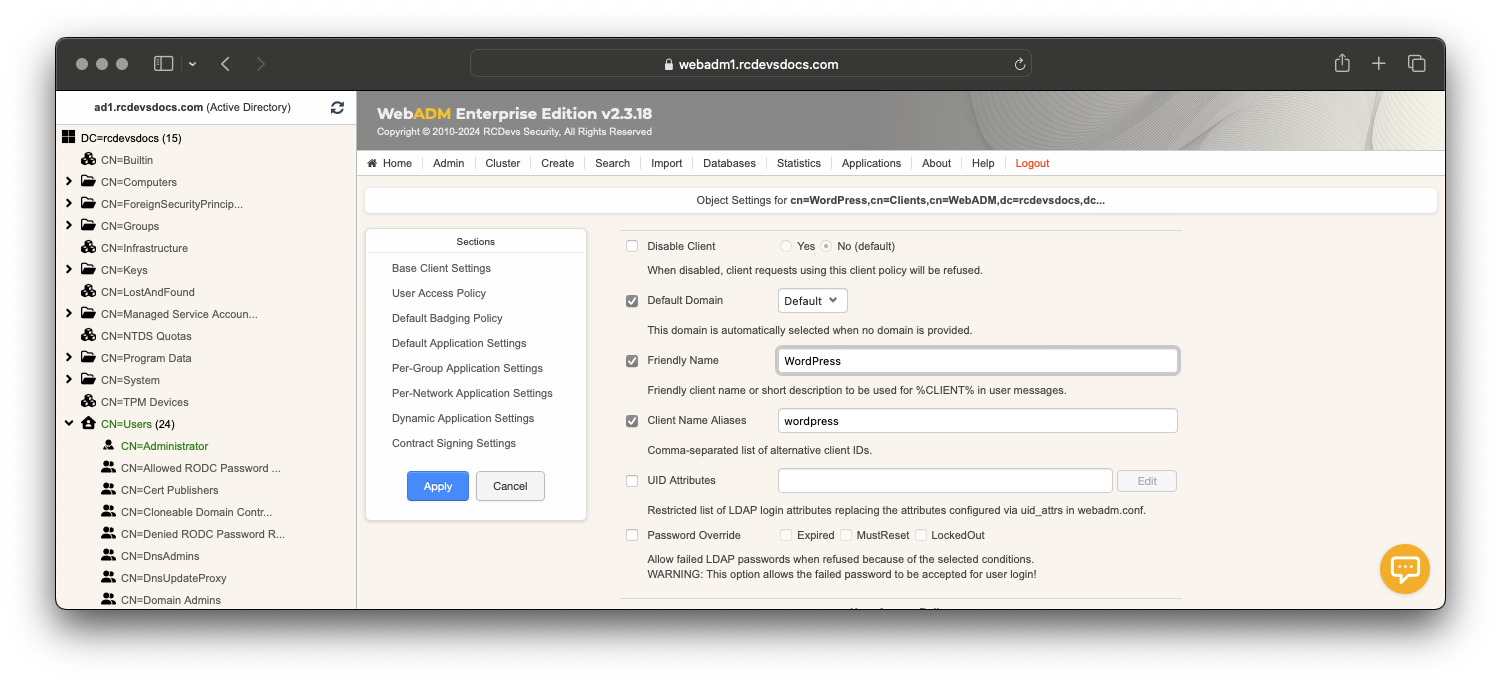
Scroll down to Default Application Settings, click on the Enforced Settings checkbox, and click the Edit button. In the Applications box, select OpenID & SAML Provider.
In the OpenID Service section, set at least the Client Secret as configured in the WordPress configuration. Here the secret is secret.
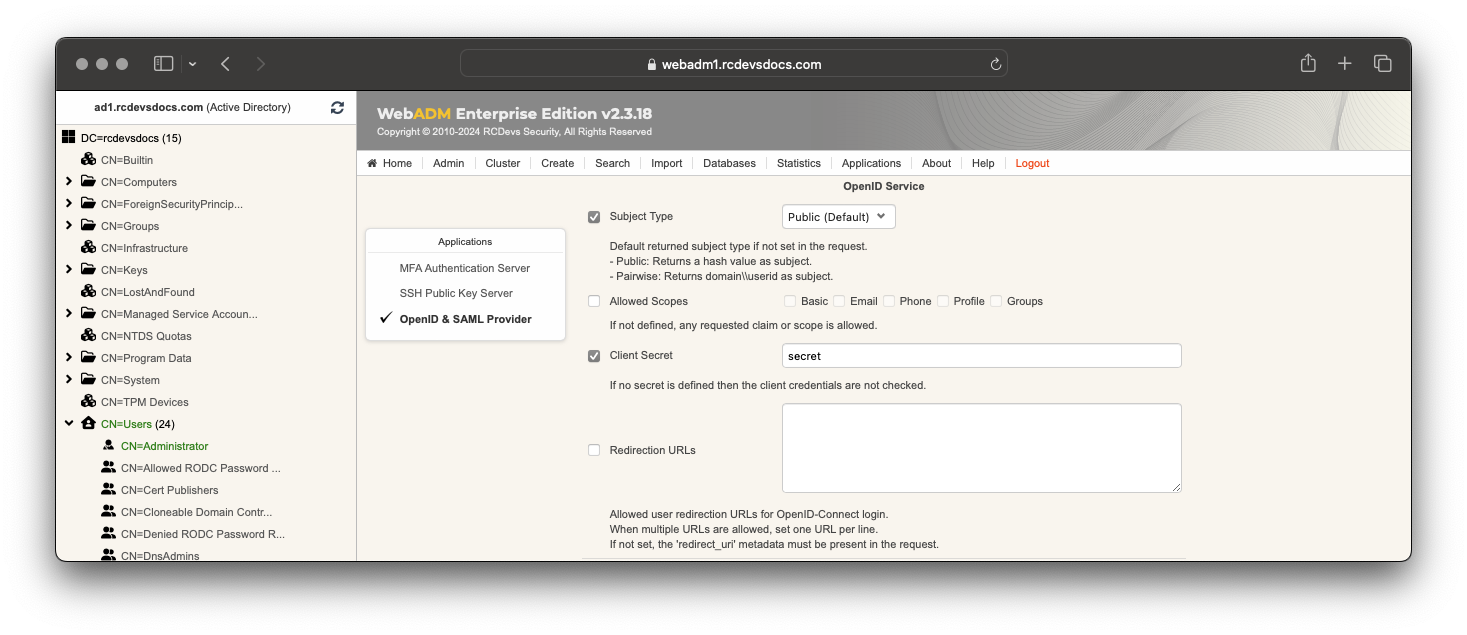
If you do not configure the Allowed Scope setting, all requested scopes by WordPress will be returned by the IdP.
Scroll down and click Apply to apply the IdP configuration for WordPress.
On the next page, click Apply so save your client policy.
That's it! Configuration is done, you can try to perform a login.

