Introduction
This document provides a comprehensive guide for deploying RCDevs solutions using Docker Swarm, a powerful orchestration tool for containerized applications. Docker Swarm simplifies the deployment, management, and scaling of services across a cluster of Docker nodes, ensuring high availability and fault tolerance. By leveraging Docker Swarm, organizations can efficiently manage RCDevs solutions, ensuring robust performance and seamless scalability to meet diverse operational requirements. This guide is tailored to assist administrators and DevOps teams in setting up, configuring, and optimizing the deployment process for RCDevs' secure and innovative solutions.
Before You Begin
Supported Operating Systems
The steps in this guide have been tested and verified on the following operating systems:
- Ubuntu 22.04.5 LTS
- Ubuntu 24.04.1 LTS
Docker Requirements
Ensure you have a functional Docker installation before proceeding. If you need assistance with the installation, refer to the official Docker documentation: Install Docker Engine.
It is recommended to use Docker version 27.3 or later for optimal performance.
This guide demonstrates the deployment of a cluster of two WebADM servers using Docker Swarm Swarm Mode. For this setup, you will need three servers configured with Docker:
- One Swarm Manager node
- Two Swarm Worker nodes
The provided deployment script is designed to deploy redundant services across the first two available Swarm Worker nodes, ensuring high availability.
Licensing
This deployment requires an Enterprise License. If you do not currently have one, you can request a trial license by following these steps:
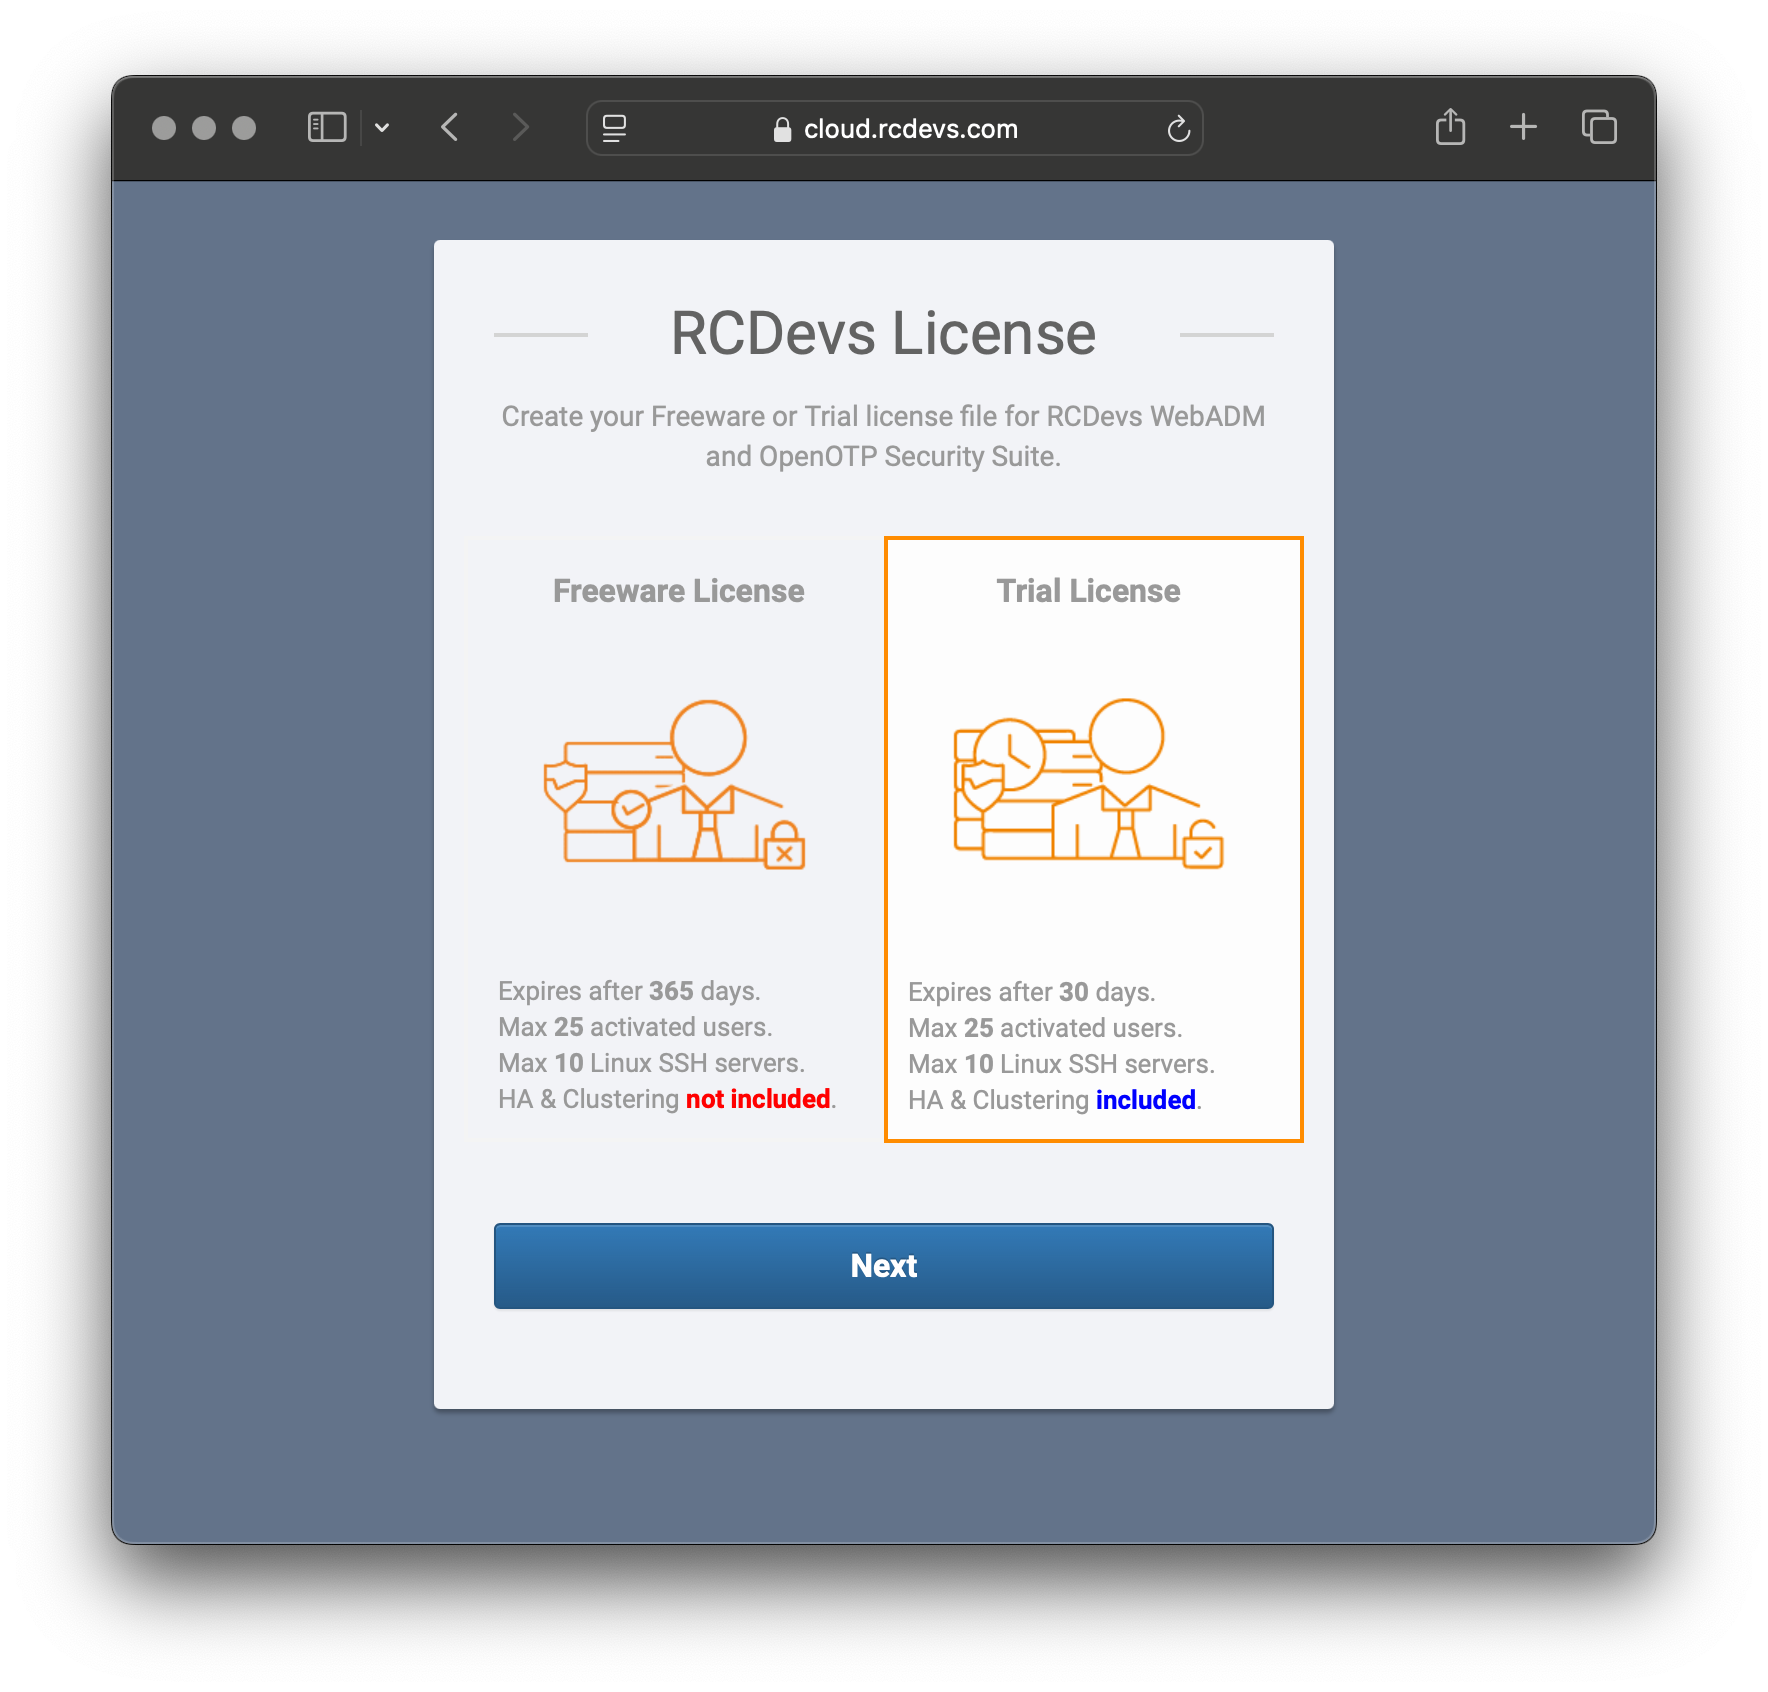
- Visit RCDevs License.
- Select Trial License.

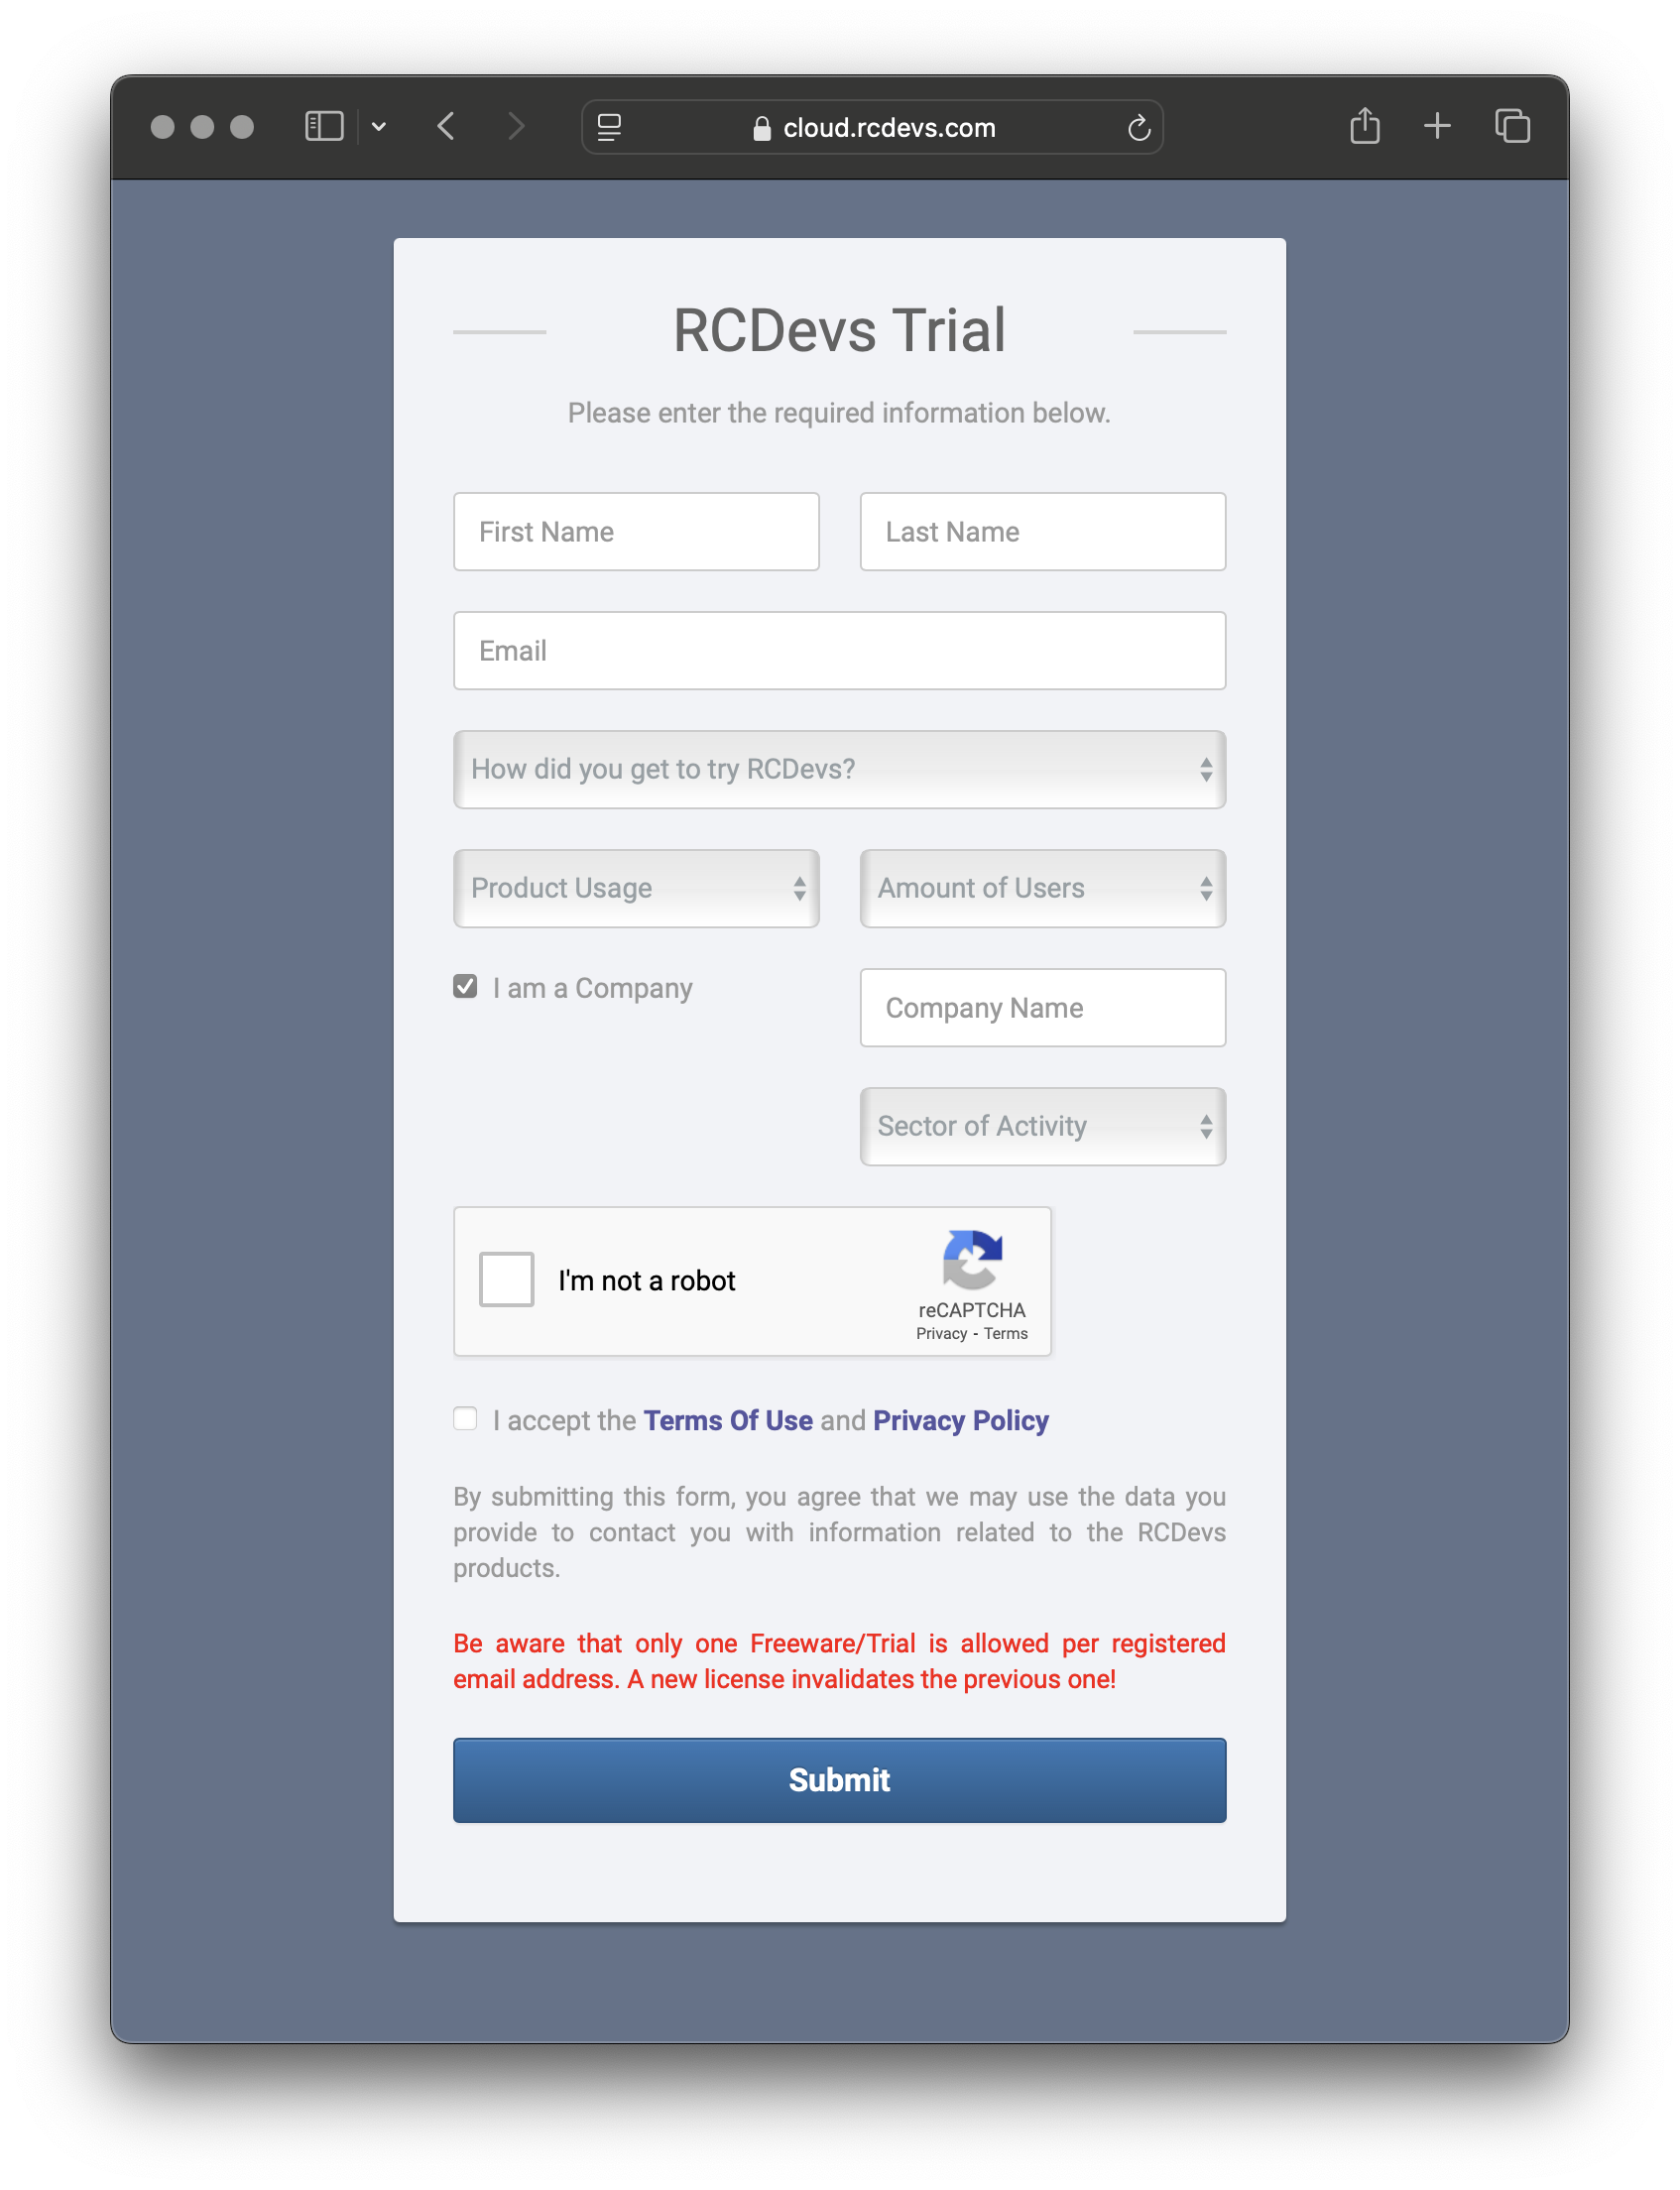
- Fill in the required information.

- Click Submit.
- Check your email for a message with the subject: RCDevs Trial License Activation.
- Open the email and click Get My Trial License File.
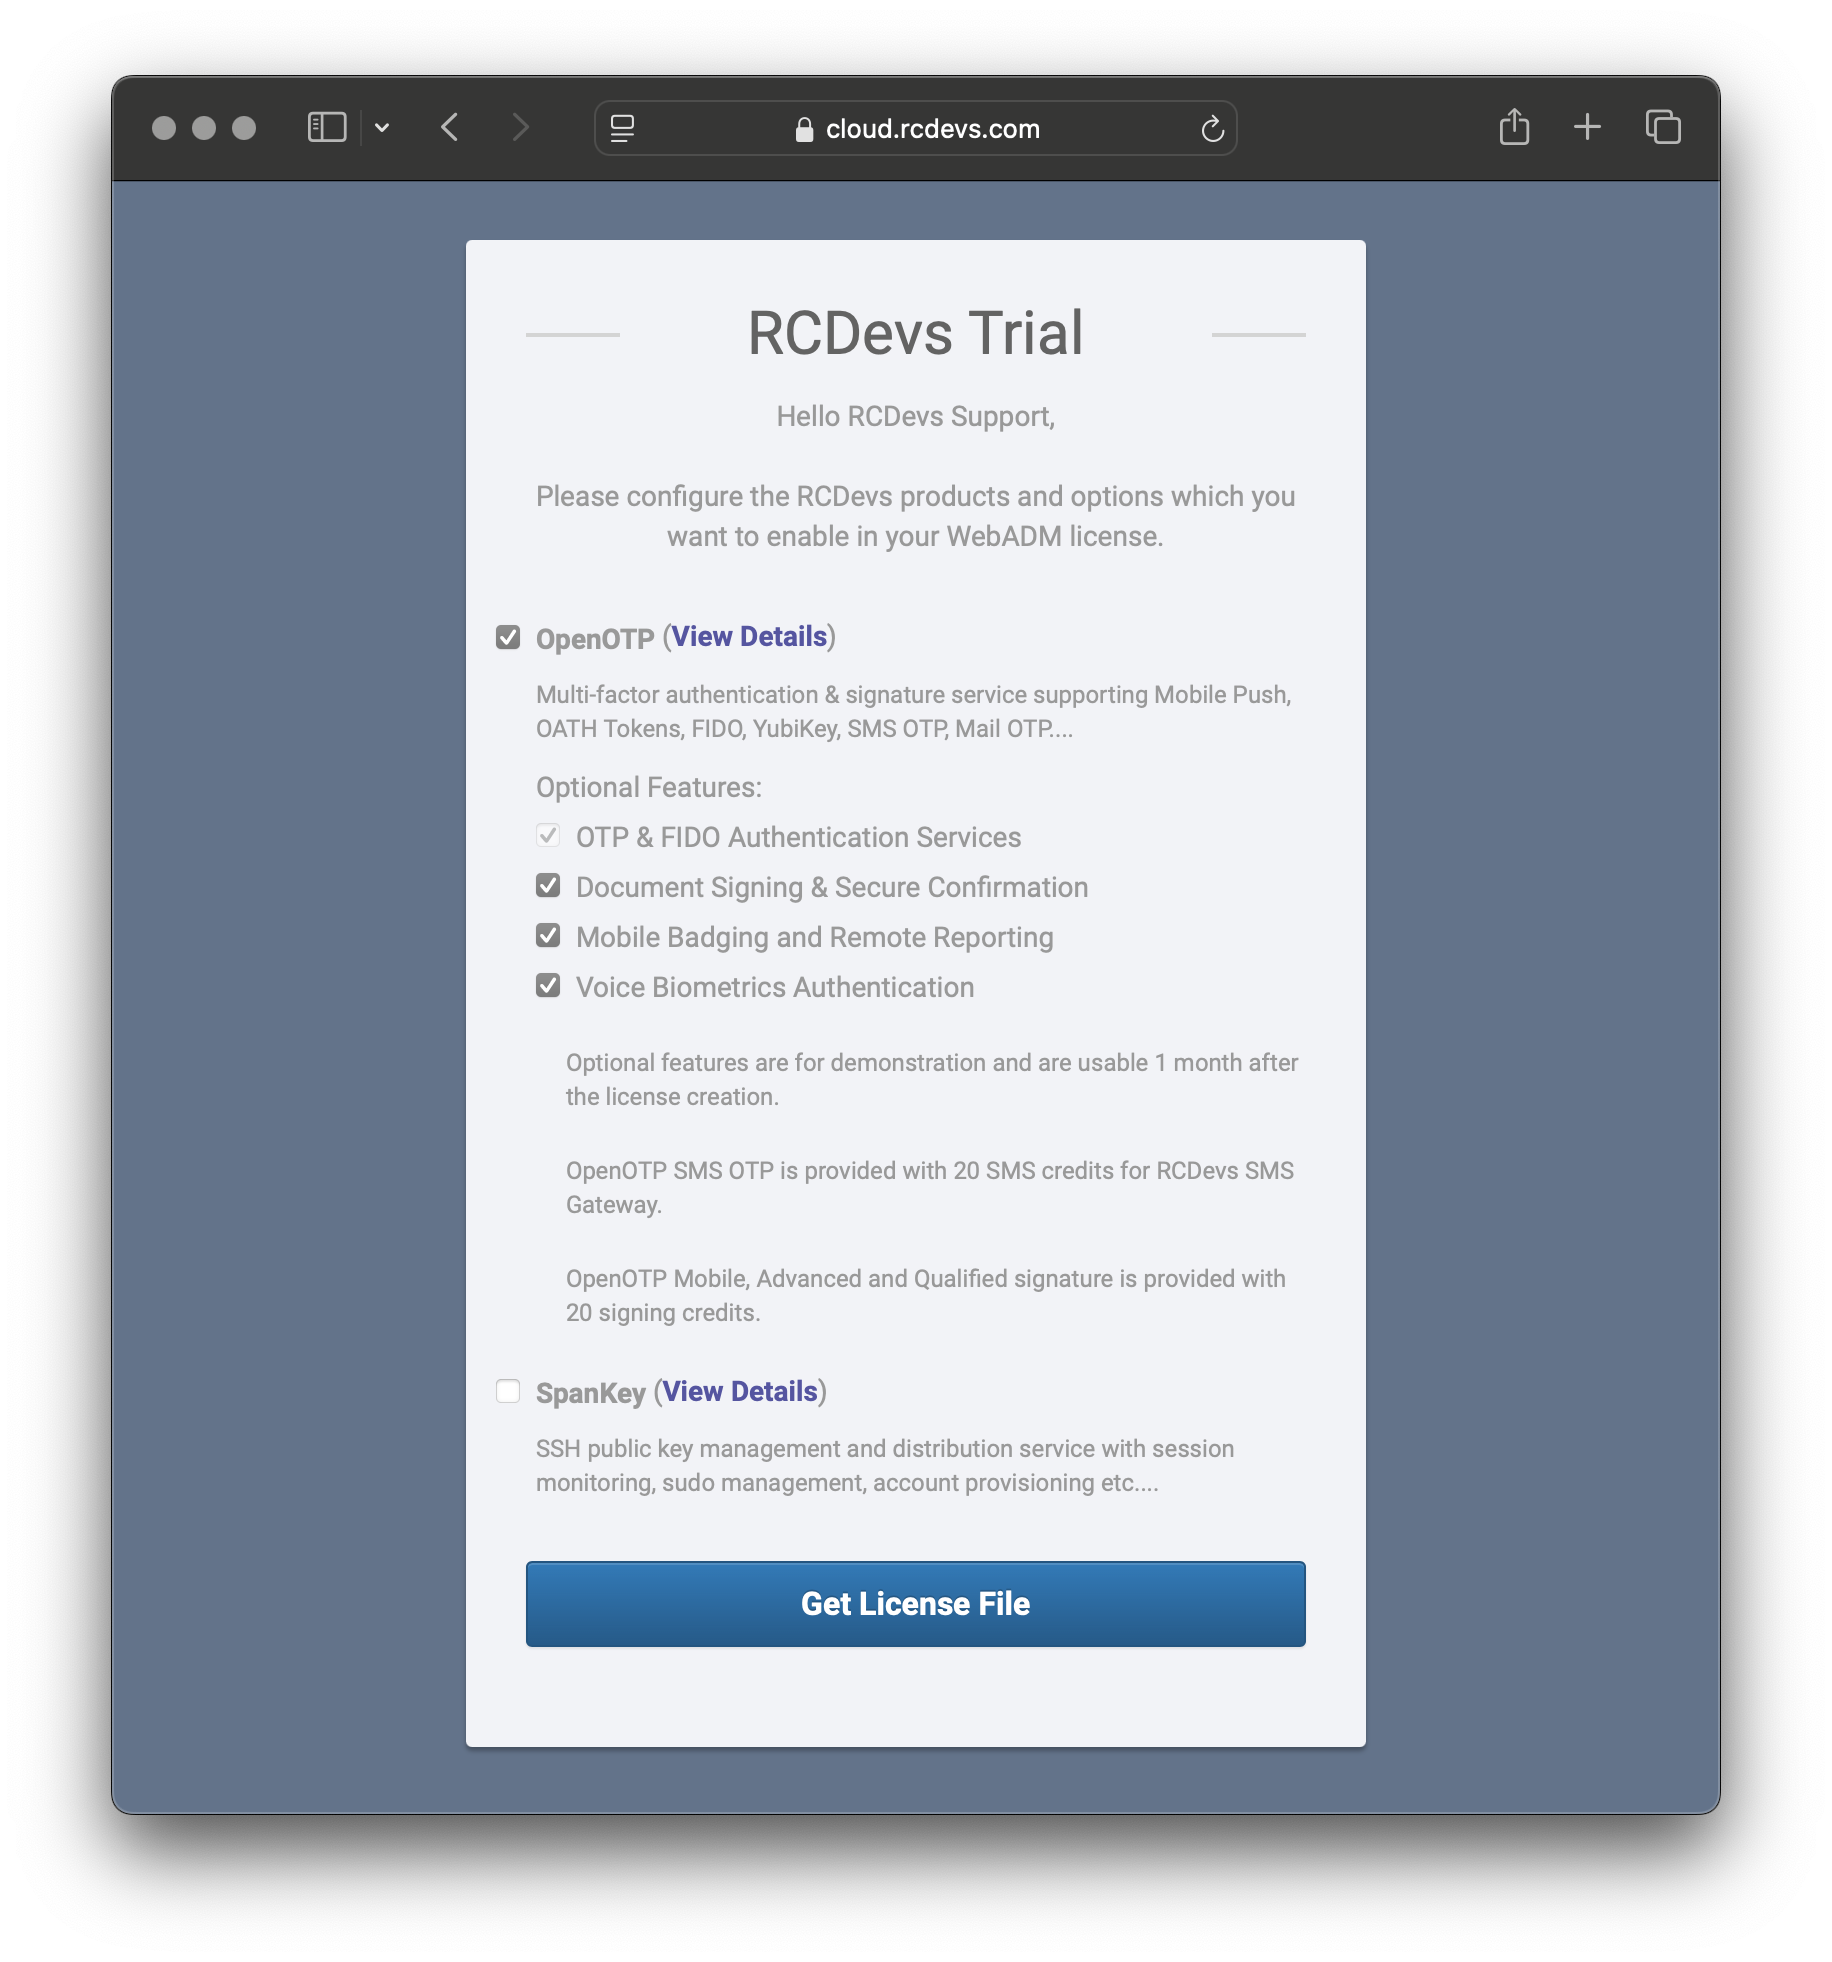
- This will open a new page in your browser.
- Click Get License File.

- You will receive a second email with the subject: RCDevs WebADM Trial License Download.
- Download the license file to your computer.
Deployment Design
The deployment architecture includes the following components, ensuring high availability and redundancy:
-
2 WebADM Servers
Configured as a cluster to provide failover and load balancing.
For details, refer to the WebADM Cluster and Failover Setup Guide. -
2 MariaDB Servers
Configured with MASTER ↔ MASTER synchronization to maintain database consistency and redundancy.
For configuration instructions, see Setup Your SQL DBMS. -
2 RCDevs Directory Servers
Configured with MASTER ↔ MASTER synchronization for directory services.
Learn more in the RCDevs Directory Server Guide. -
2 Radius Bridge Servers
Deployed for handling RADIUS authentication.
Refer to the Radius Bridge Documentation.
Source Code
The deployment source code is available on GitHub: RCDevs Docker WebADM Swarm Repository.
Naming Conventions
The following naming conventions are used throughout this documentation to refer to the components in the deployment setup:
- Docker Manager:
manager - Docker Worker 1:
worker1 - Docker Worker 2:
worker2
Deploying the Cluster
Initial Deployment
Cloning the Deployment Repository
Connect to the manager node via shell and clone the deployment repository using the following command:
git clone https://github.com/RCDevs-Security-Organization/docker_webadm_swarm.git && cd docker_webadm_swarm/
Installing the License File
Place your license file in the current directory and ensure it is named license.key.
Configuring Versions
Duplicate the default environment configuration file by copying .env.default to .env:
cp .env.default .env
This file contains environment variables used to define the version of each deployed component:
export WEBADM_VERSION="2.3.23"
export MARIADB_VERSION="2.3.23"
export SLAPD_VERSION="1.1.12"
export RADIUSD_VERSION="1.3.39"
Make sure to update these variables according to the versions of the components you wish to deploy.
Please customise versions according to your needs and available version tags:
- WebADM: Tags of rcdevs/webadm
- RCDevs Directory: Tags of rcdevs/slapd
- MariaDB: Tags of rcdevs/mariadb
- Radius Bridge: Tags of rcdevs/radiusd
Running the Deployment Script
To initiate the deployment, execute the deploy.sh script with the --init option:
bash ./deploy.sh --init
You will be presented with a randomly generated password. Make sure to note it down for future reference.
Password is mutRUnniVyXTdJAXJMVi
You will then be prompted to provide the subject information for the WebADM Certificate Authority (CA):
Enter Common Name of Certificate Authority: RCDevs Security S.A
Enter Organizational Unit Name of Certificate Authority: IT
Enter Organization Name of Certificate Authority: RCDevs Documentation
Enter Country Code of Certificate Authority: LU
Next, the necessary network and containers will be created:
Creating network webadm_default
Creating service webadm_mariadb_1
Creating service webadm_mariadb_2
Creating service webadm_slapd_1
Creating service webadm_slapd_2
Creating service webadm_radiusd_1
Creating service webadm_radiusd_2
Creating service webadm_webadm_1
Creating service webadm_webadm_2
Post-Deployment Checks
After the deployment is complete, use the following commands to verify that all services are running correctly:
Swarm Manager
On the manager node, check that all services are running by using the following command:
docker service ls
All services should be replicated and appear as shown in the output below:
ID             NAME               MODE         REPLICAS   IMAGE                   PORTS
fjpkplh0rpe8   webadm_mariadb_1   replicated   1/1        rcdevs/mariadb:latest
imfv73z55484   webadm_mariadb_2   replicated   1/1        rcdevs/mariadb:latest
28lah53ue584   webadm_radiusd_1   replicated   1/1        rcdevs/radiusd:latest
yrdx3oweltwn   webadm_radiusd_2   replicated   1/1        rcdevs/radiusd:latest
oy3ri6hnxl55   webadm_slapd_1     replicated   1/1        rcdevs/slapd:latest
ki1u4qy3n3bk   webadm_slapd_2     replicated   1/1        rcdevs/slapd:latest
v2wgeskakvme   webadm_webadm_1    replicated   1/1        rcdevs/webadm:latest
rrgeb18lrujd   webadm_webadm_2    replicated   1/1        rcdevs/webadm:latest
Swarm Workers
On both worker1 and worker2, run the following command to check the container status:
docker ps
The containers should be in the Up state, as shown in the following output:
CONTAINER ID   IMAGE                   COMMAND                  CREATED          STATUS          PORTS                                           NAMES
eaf954f4d5c4   rcdevs/webadm:latest    "bash /set_webadm.sh…"   11 minutes ago   Up 11 minutes   80/tcp, 443/tcp, 4000/tcp, 8080/tcp, 8443/tcp   webadm_webadm_1.1.ptvj1yn1pcus6fpg12f287t3p
69703361636b   rcdevs/radiusd:latest   "bash /set_radiusd_s…"   11 minutes ago   Up 11 minutes   1812/tcp                                        webadm_radiusd_1.1.q46m1ehi2yd1mo0enkum9ghv8
c90a68a663d9   rcdevs/slapd:latest     "bash /set_slapd_syn…"   11 minutes ago   Up 11 minutes   389/tcp, 636/tcp                                webadm_slapd_1.1.ibyqn0eafhu0zd78a5ihskxn9
c96e4fe470b9   rcdevs/mariadb:latest   "docker-entrypoint.s…"   11 minutes ago   Up 11 minutes   3306/tcp                                        webadm_mariadb_1.1.pqr9ejyc02mak4rn4itjebrkp
Additionally, verify the radiusd service is properly configured and running by checking its logs with the following command:
docker logs -f $(docker ps --filter name=radiusd --format '{{.ID}}')
The output should be as follows, indicating the service is running correctly:
Waiting for webadm_1 server to be ready...
Checking system architecture... Ok
Updated WebADM CA trust bundle!
Checking server configuration... Ok
Starting OpenOTP RADIUS Bridge... Ok
Docker mode enable. Waiting for signal to exit...
Cleaning Up the Deployment
If the initial deployment is successful, it is recommended to clean up the deployment by removing the initial Docker configurations and secrets.
To do this, re-run the deploy.sh script with the --clean option:
bash ./deploy.sh --clean
The script will prompt you to run the following Docker command on both Swarm worker nodes to ensure the synchronization configuration for the MariaDB servers is preserved. It is crucial to run this command before proceeding with the cleanup process:
Run this command on worker1 and worker2 before continuing:

docker exec -it $(docker ps --filter name=mariadb --format '{{.ID}}') cp /etc/mysql/mariadb.conf.d/50-sync.cnf /etc/mysql/mariadb.conf.d/51-sync.cnf

Press Enter only when the above action is complete!
After you confirm that the command has been executed on both workers, the process will continue. It will stop and delete the services, configurations, and secrets, then restart the services using the adapted compose.yml file. The output will look like this:
Creating network webadm_default
Creating service webadm_mariadb_2
Creating service webadm_slapd_1
Creating service webadm_slapd_2
Creating service webadm_radiusd_1
Creating service webadm_radiusd_2
Creating service webadm_webadm_1
Creating service webadm_webadm_2
Creating service webadm_mariadb_1
Once the cleanup process is complete, retain the compose.yml file for future updates.
Provided Services
The following services are provided across the two Swarm worker nodes:
| Worker | Port(s) | Services |
|---|---|---|
| worker1 | 1443 | WebADM, API Management, WebApps |
| worker1 | 18443 | SOAP API |
| worker1 | 11812/tcp, 11812/udp, 11813/tcp, 11813/udp | Radius Server |
| worker2 | 2443 | WebADM, API Management, WebApps |
| worker2 | 28443 | SOAP API |
| worker2 | 21812/tcp, 21812/udp, 21813/tcp, 21813/udp | Radius Server |
How to Update the Deployment
To update the deployed services, follow these steps:
- Edit the
.envfile to adjust the version numbers for the components you wish to update. - Re-run the
deploy.shscript with the--updateoption:
bash ./deploy.sh --update
The script will output the progress of each service update, for example:
Updating service webadm_radiusd_1 (id: c39jefif3wxuu9yv30qyykic2)
Updating service webadm_radiusd_2 (id: xdcdpc4c2g661nsq9y0ibsjto)
Updating service webadm_webadm_1 (id: xku3you5gdywwzgui55jkymy0)
Updating service webadm_webadm_2 (id: k37kb1446wcdzuetlze9pe0vz)
Updating service webadm_mariadb_1 (id: lwlalckg98xiyhxcvh1ksutif)
Updating service webadm_mariadb_2 (id: f88lad02gngb2h5oha5tz1d8y)
Updating service webadm_slapd_1 (id: j2tqllb1dcjva33h5hxzsf8ur)
Updating service webadm_slapd_2 (id: t9tc629s99265hp3c5jbb7pu7)
This process will update the services to the new versions specified in the .env file.
Adapt to Your Needs
Once the cluster is deployed, if you already have an existing LDAP server (e.g., Active Directory, eDirectory), you can easily modify the WebADM configuration on the Swarm Manager nodes.
To find the location of the WebADM configuration, use the following command:
docker volume inspect $(docker volume ls --format '{{.Name}}' | grep "_webadm[12]_conf") --format '{{.Mountpoint}}'
This will return the configuration location, for example:
/var/lib/docker/volumes/webadm_webadm1_conf/_data
To tailor WebADM to your specific setup, refer to the following documentation guides:
These resources will guide you through the necessary configuration steps to integrate your LDAP server with WebADM.

