Overview
The OpenOTP Token application is a free mobile authenticator developed by RCDevs, available for both iOS and Android platforms. It provides second-factor authentication functionalities, including push notifications, eSignatures, and badging features, seamlessly integrated with the OpenOTP server.
The application is compatible with Android devices running without Google services; however, certain features, such as the push login functionality, are currently supported only on devices with Google services.
For information related to electronic signatures and the OpenOTP Token application, refer to the OpenOTP eSignature and Transaction Server documentation.
How to Install the OpenOTP Token Application
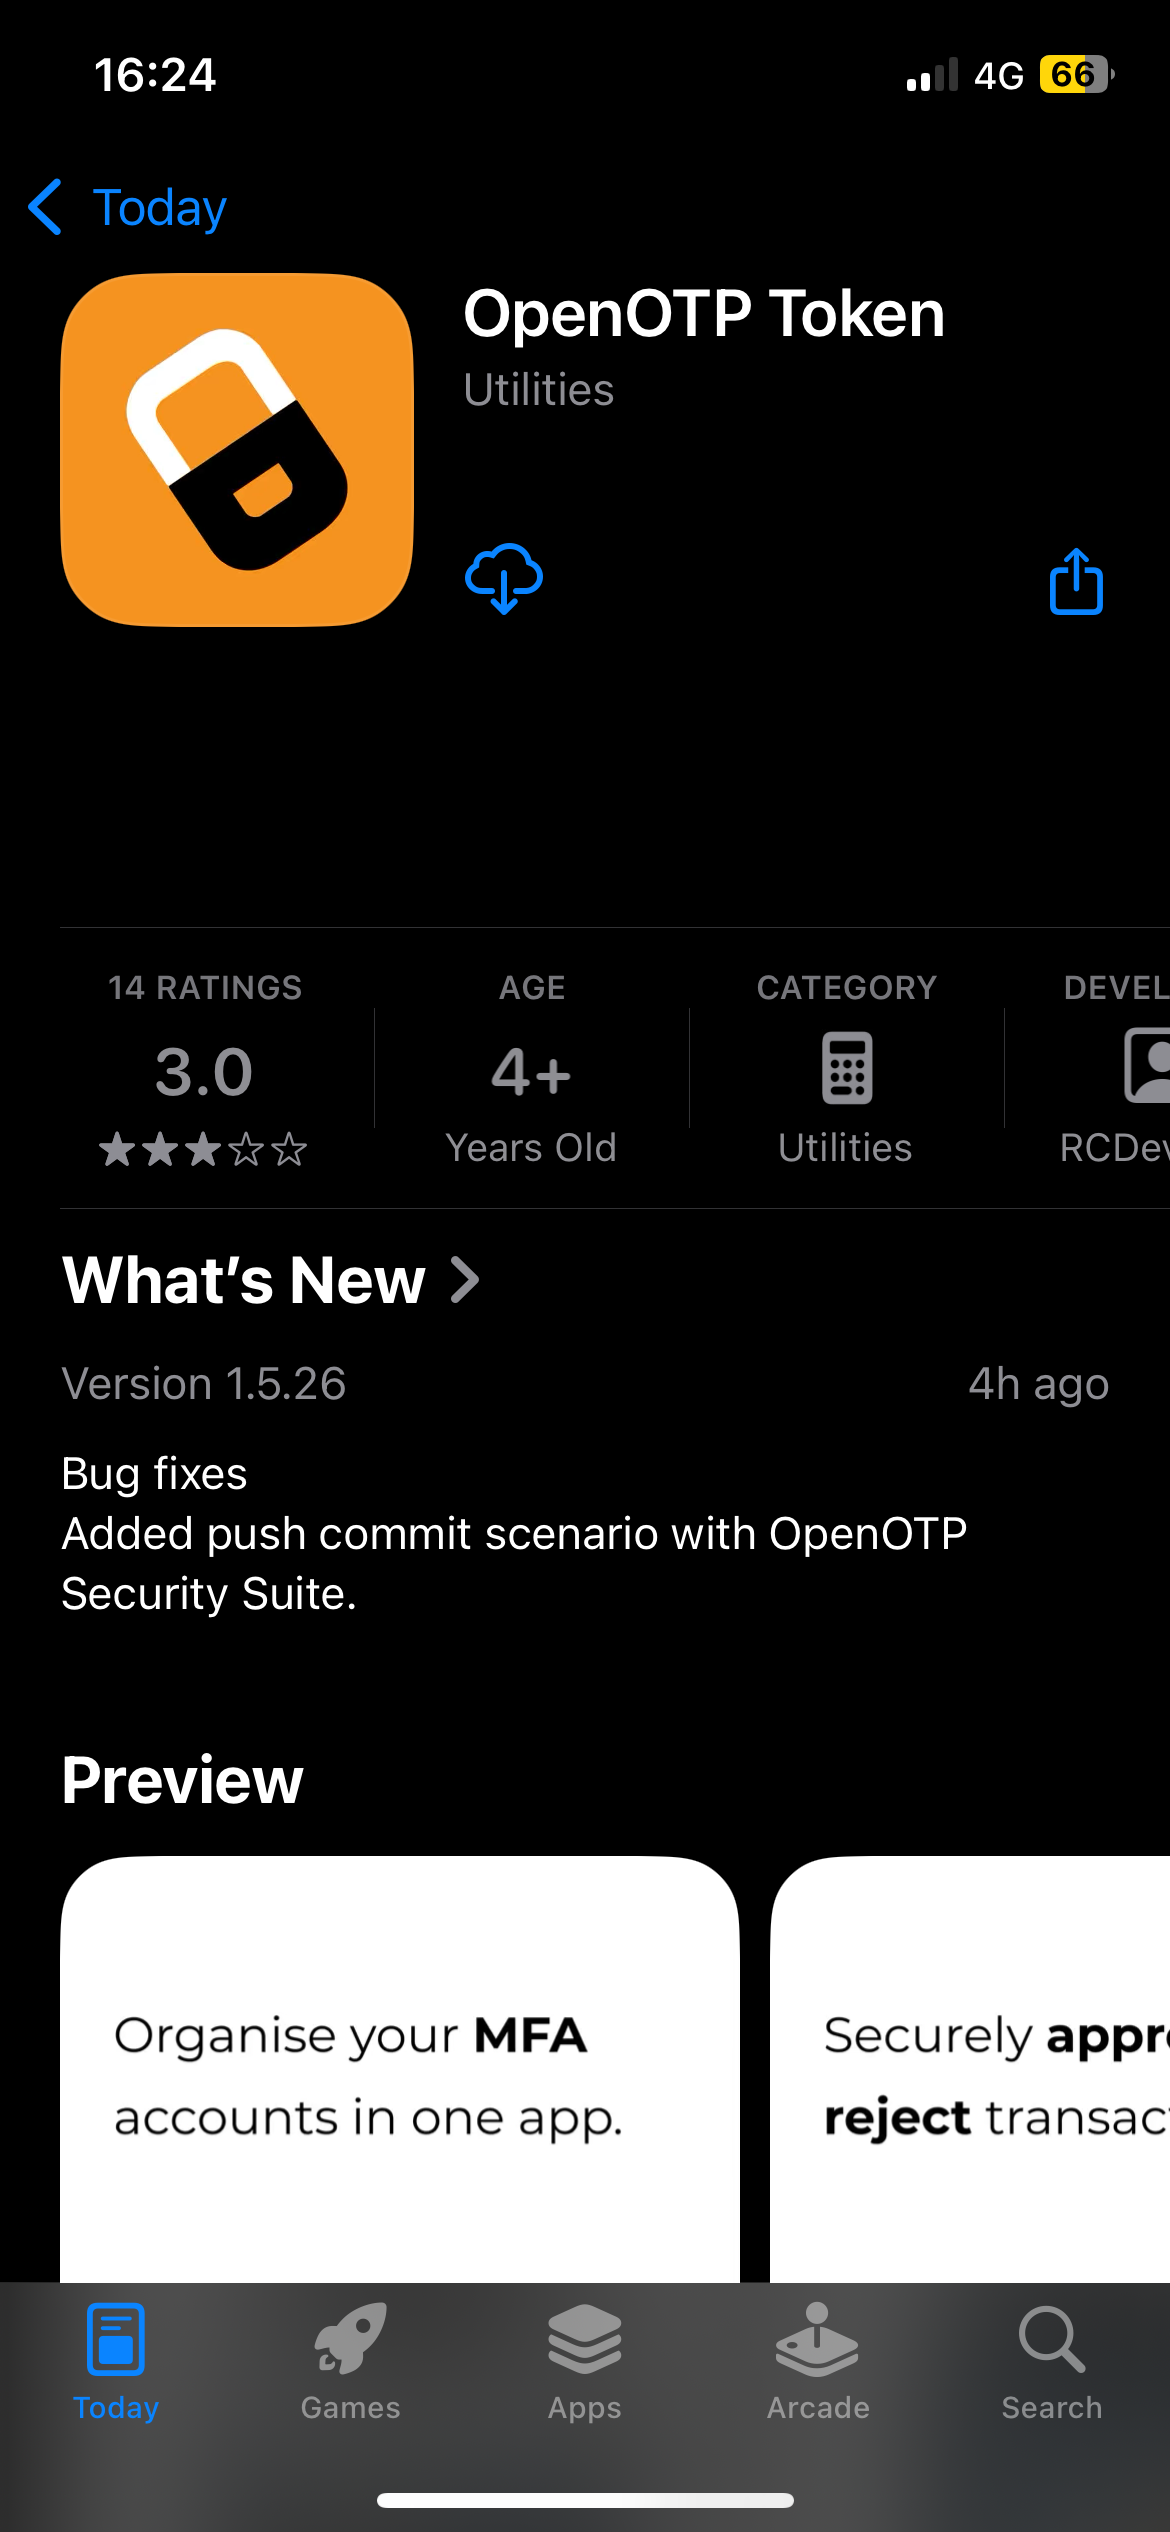
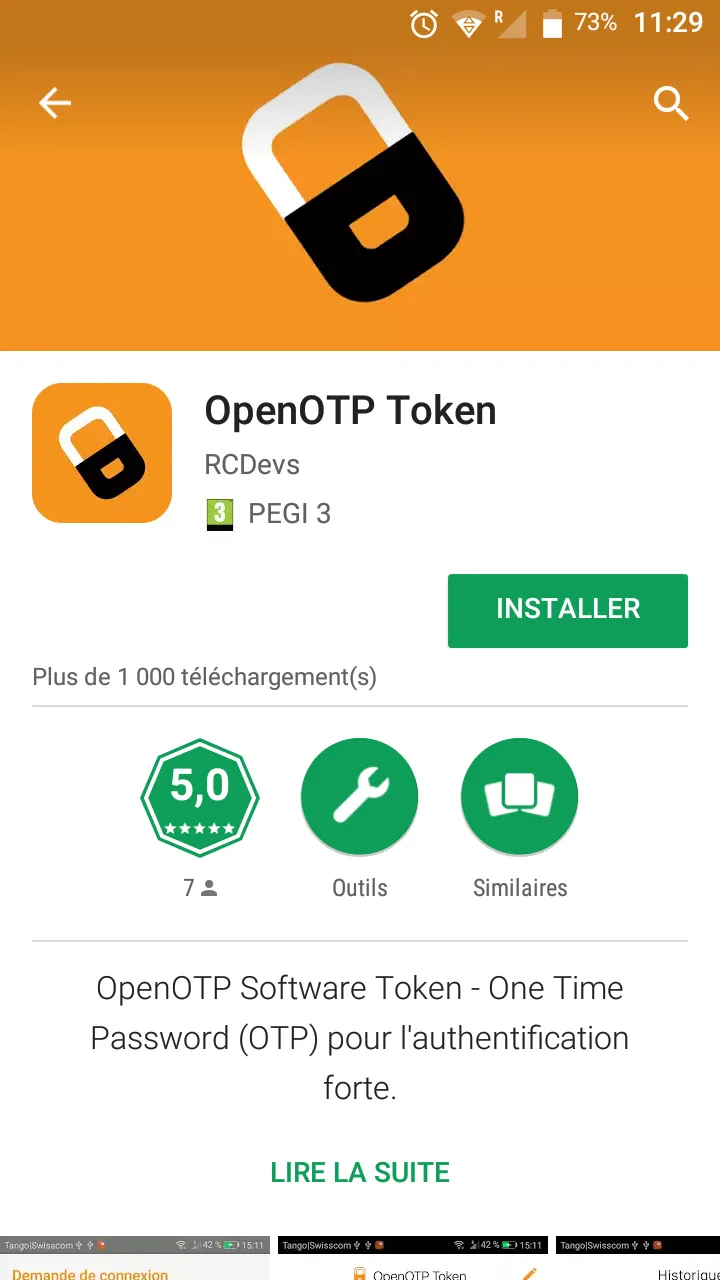
The OpenOTP Token application is available by default on Google Play and the Apple App Store. It can also be found on alternative marketplaces such as Aptoide and others.
To install the application, search for "OpenOTP Token" in your respective store, locate the application, and follow the installation instructions.
First Start of the OpenOTP Token Application
When you launch the OpenOTP Token application for the first time, you will be prompted to grant the necessary permissions for its functionality.
-
Location Access: The application will request permission to access your location for Anti-Phishing protection. Tap the Allow button to enable this feature and enhance security.
-
Notifications: The next prompt will request permission to send notifications. Granting this permission ensures you receive updates such as push authentication requests, eSignature prompts, un-registration requests, or auto-badging notifications.
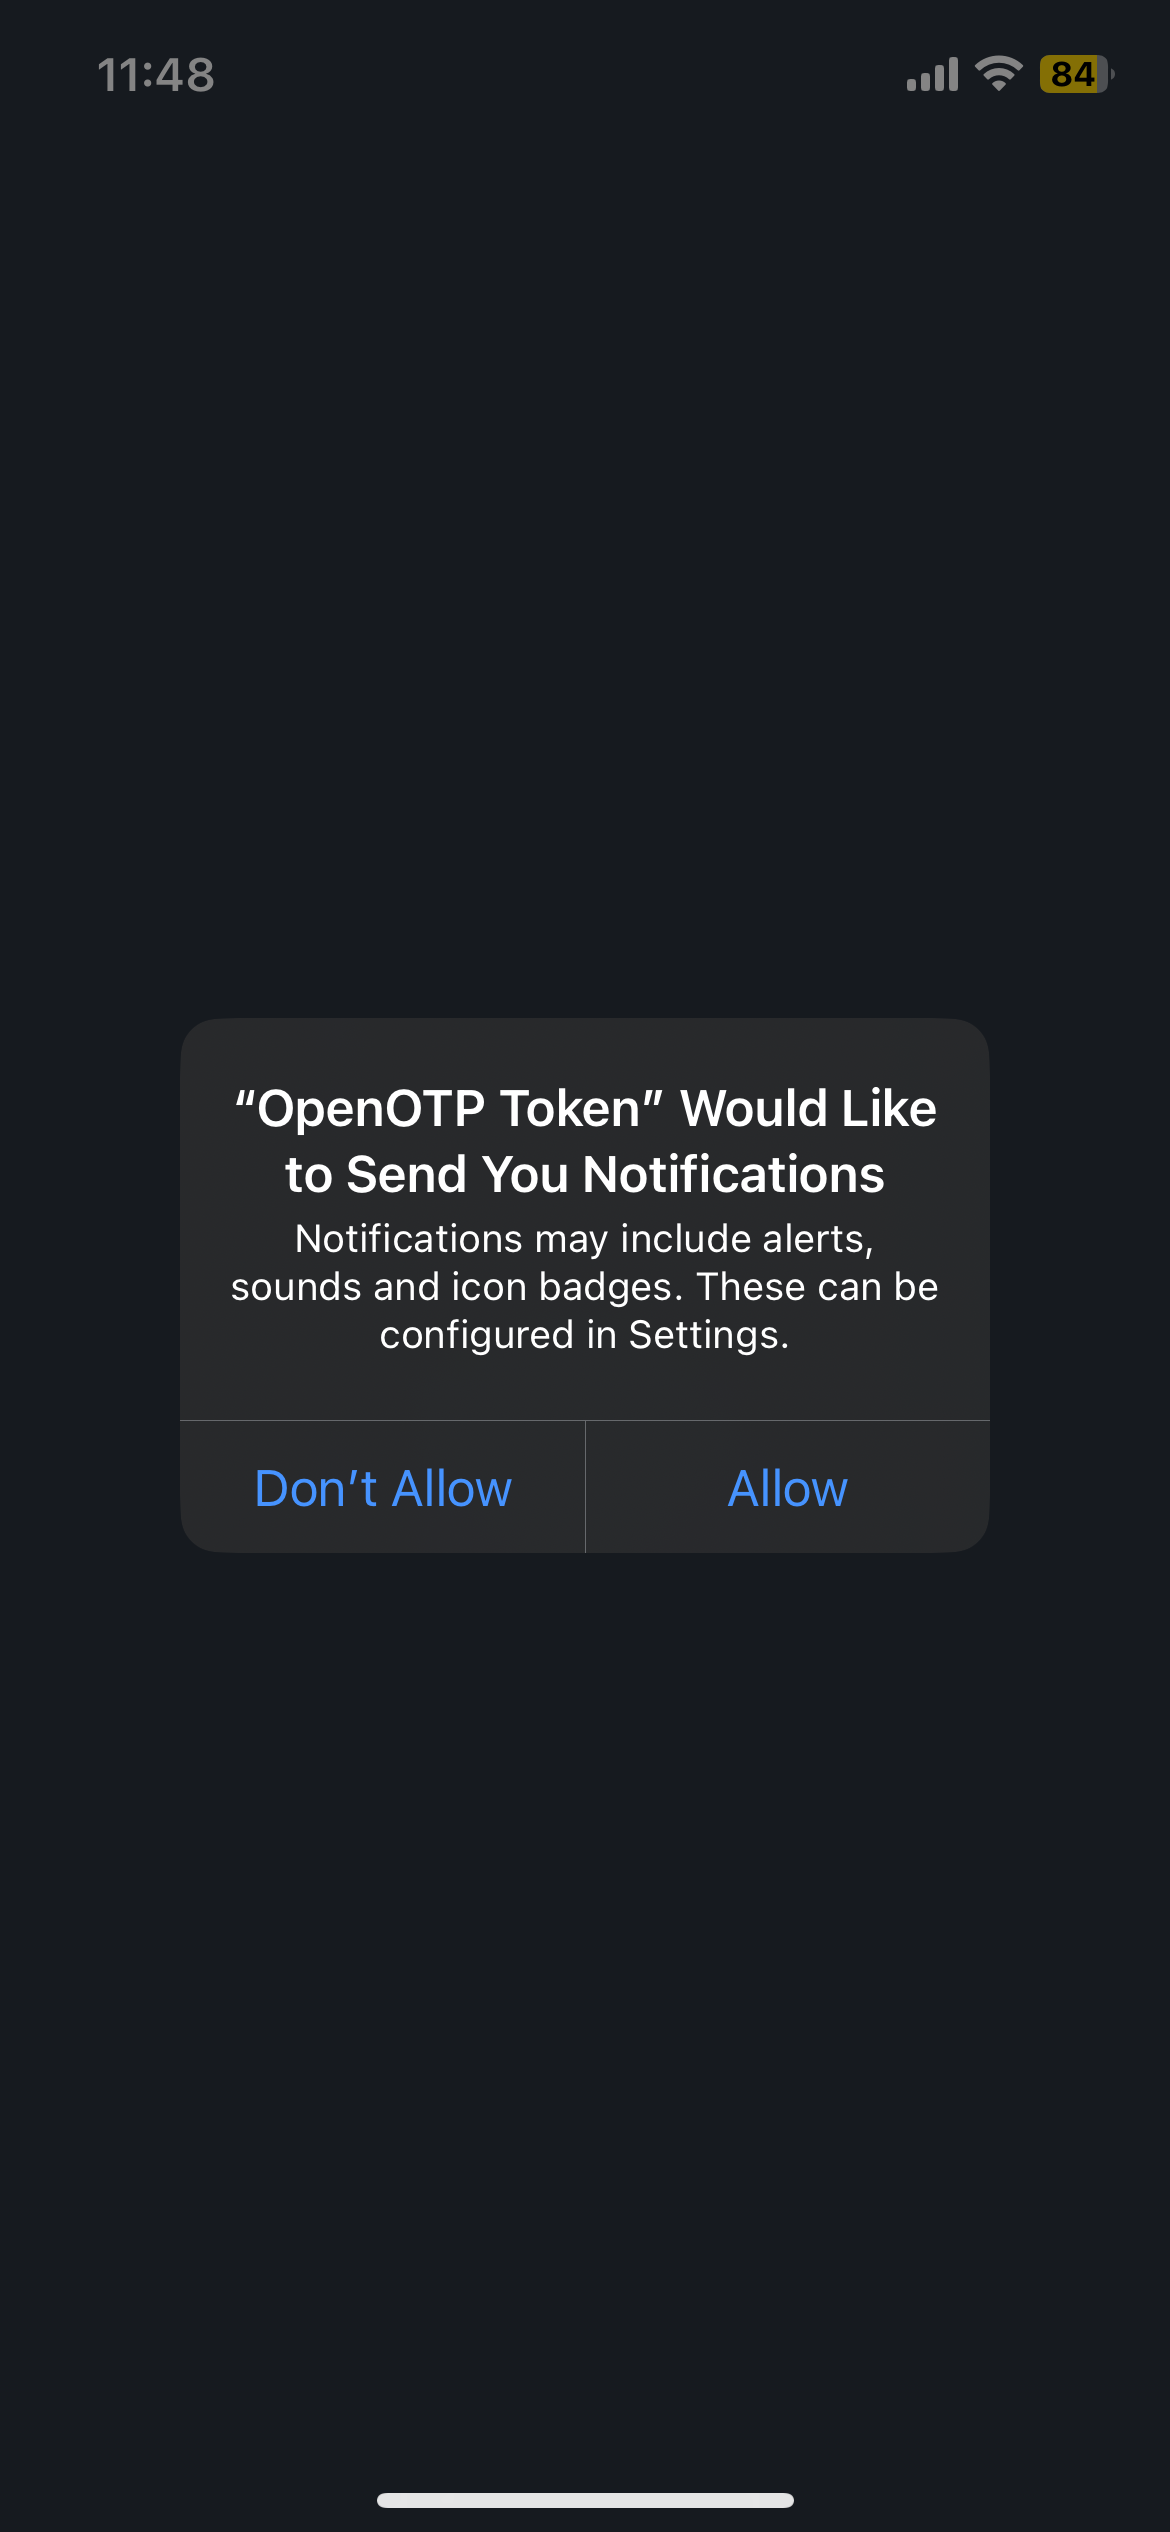
Notifications are used for Push Login requests, eSignature/PSD2 requests, auto-badging notification and push Token removal.
The startup required authorizations are now complete. On the next screen, you will be prompted to set a password to protect the application.
This password safeguards the application each time you open it. Even if you intend to enable biometric protection later, setting up a PIN is mandatory. Password or biometric protection is required to ensure the security of the application. Additionally, the OpenOTP Server includes a setting that allows administrators to enforce biometric or password protection for the transaction approval process.
Another authorization for camera access will be prompted later, which is required for enrolling the token through QR code.
Application Menus/Buttons
Once the application is open, you will notice three buttons at the bottom.
- Home Button: This is the main screen of the application, where you can view the tokens registered in your application.
- Camera Button: This opens your camera and can be used in multiple scenarios:
- Register a token via QR code
- Scan an offline QR code on Windows or macOS integrations when the server or laptop cannot communicate with the backend (Offline Mode)
- Scan a Transaction QR code for a PSD2 offline transaction or to fetch a pending eSignature transaction from the OpenOTP backend
- Settings Button: This button allows you to configure the application settings.
At the top right corner, you will notice a bell button once a Token is registered. This menu can also be accessed to fetch pending login and PSD2/eSignature transactions from the OpenOTP backend.
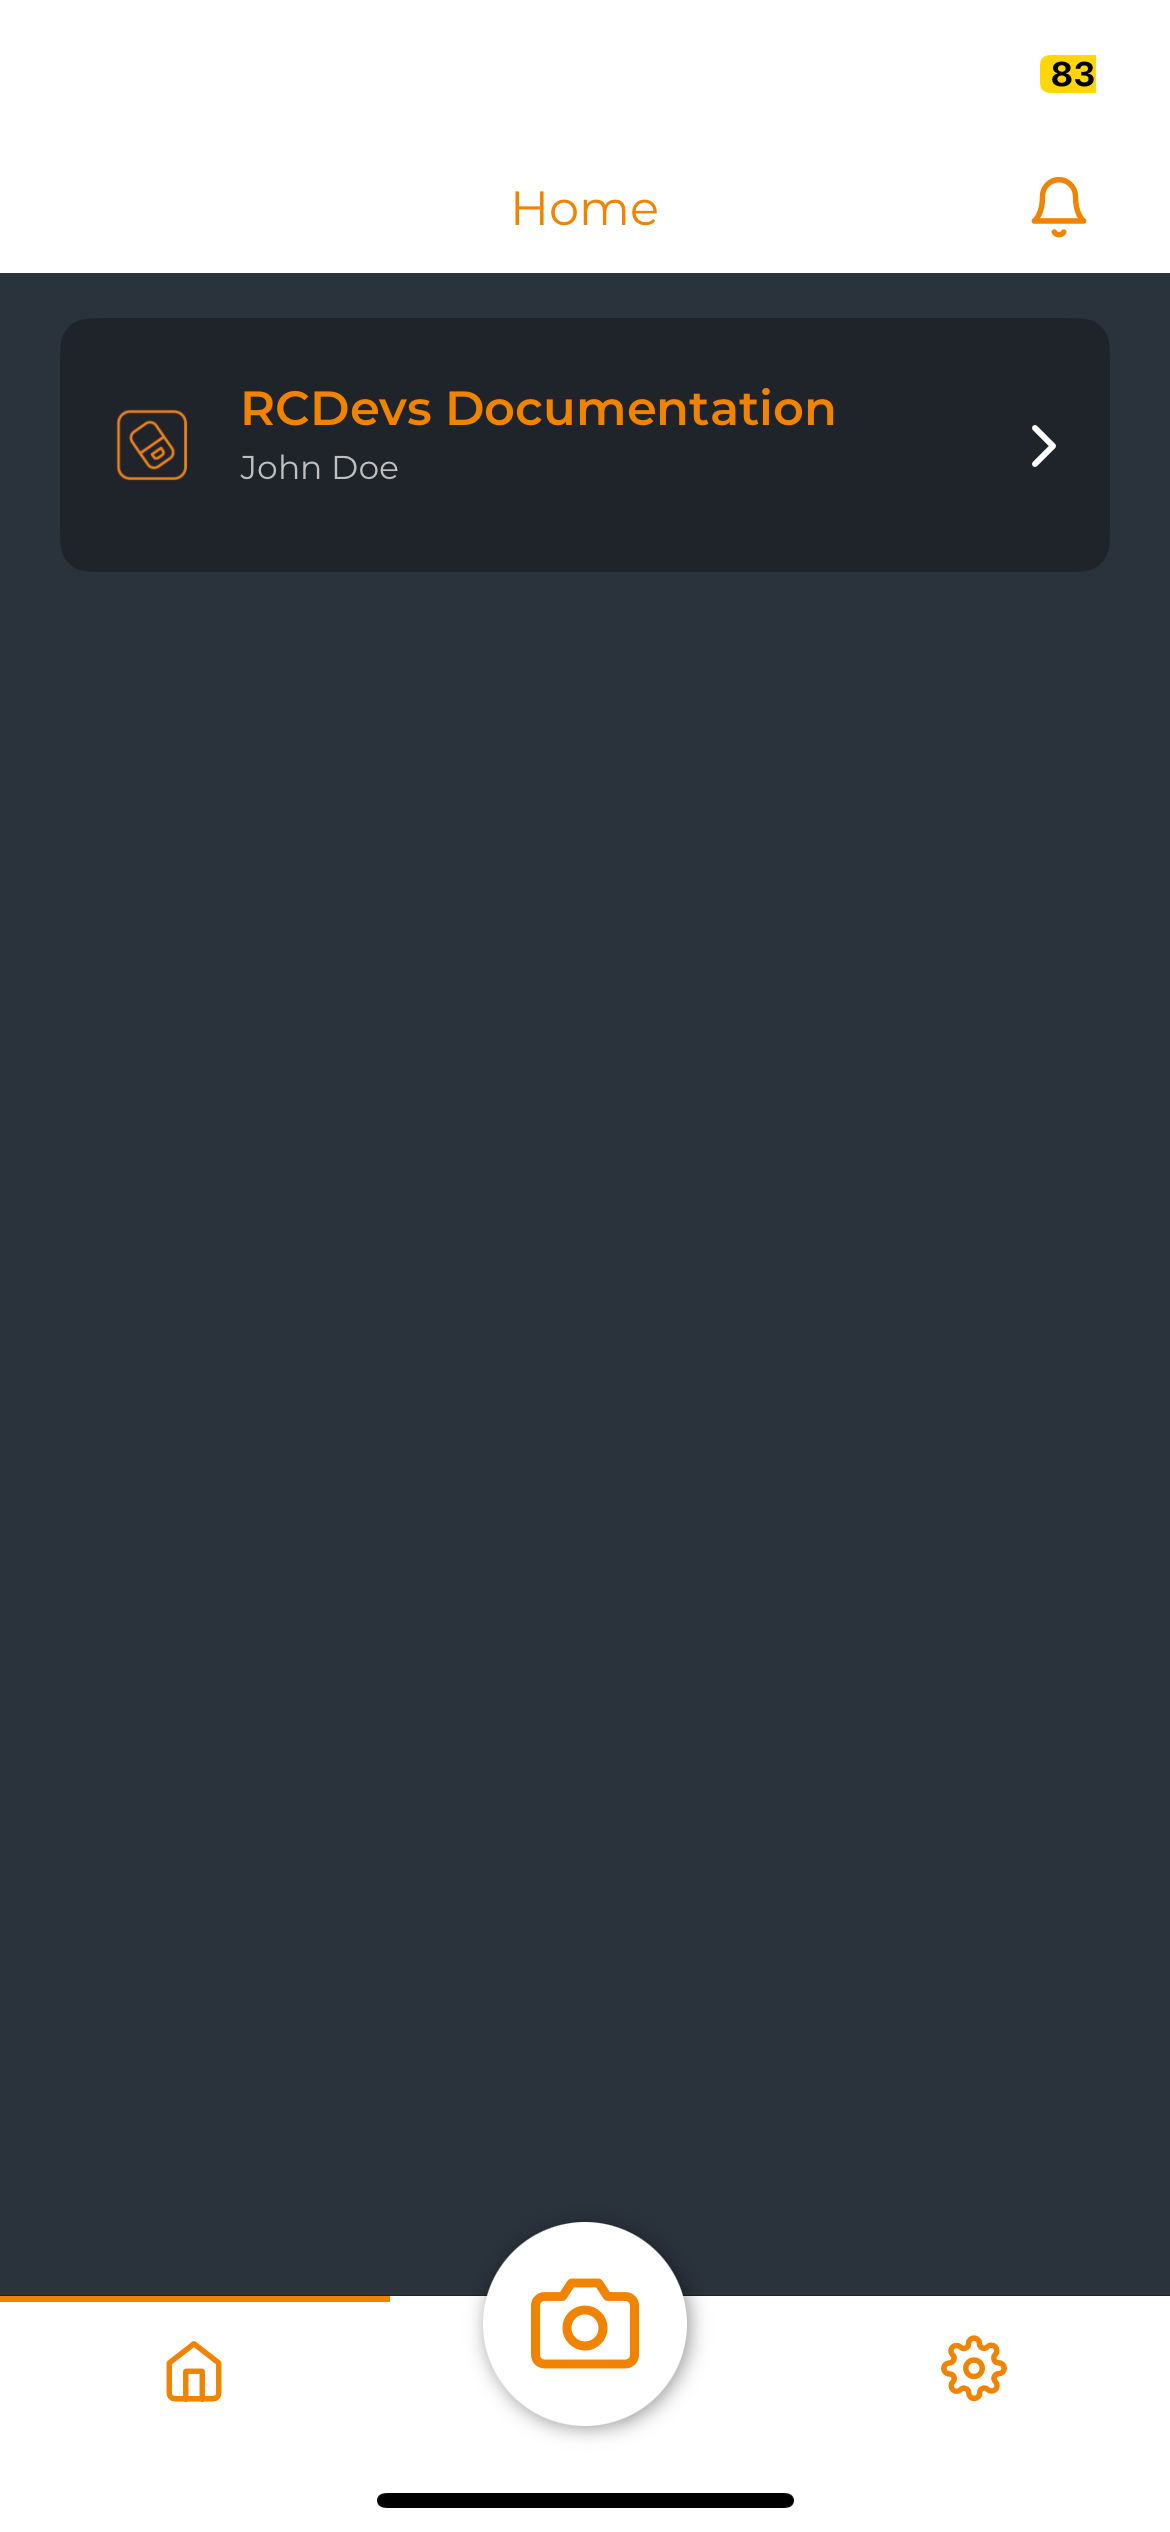
Home
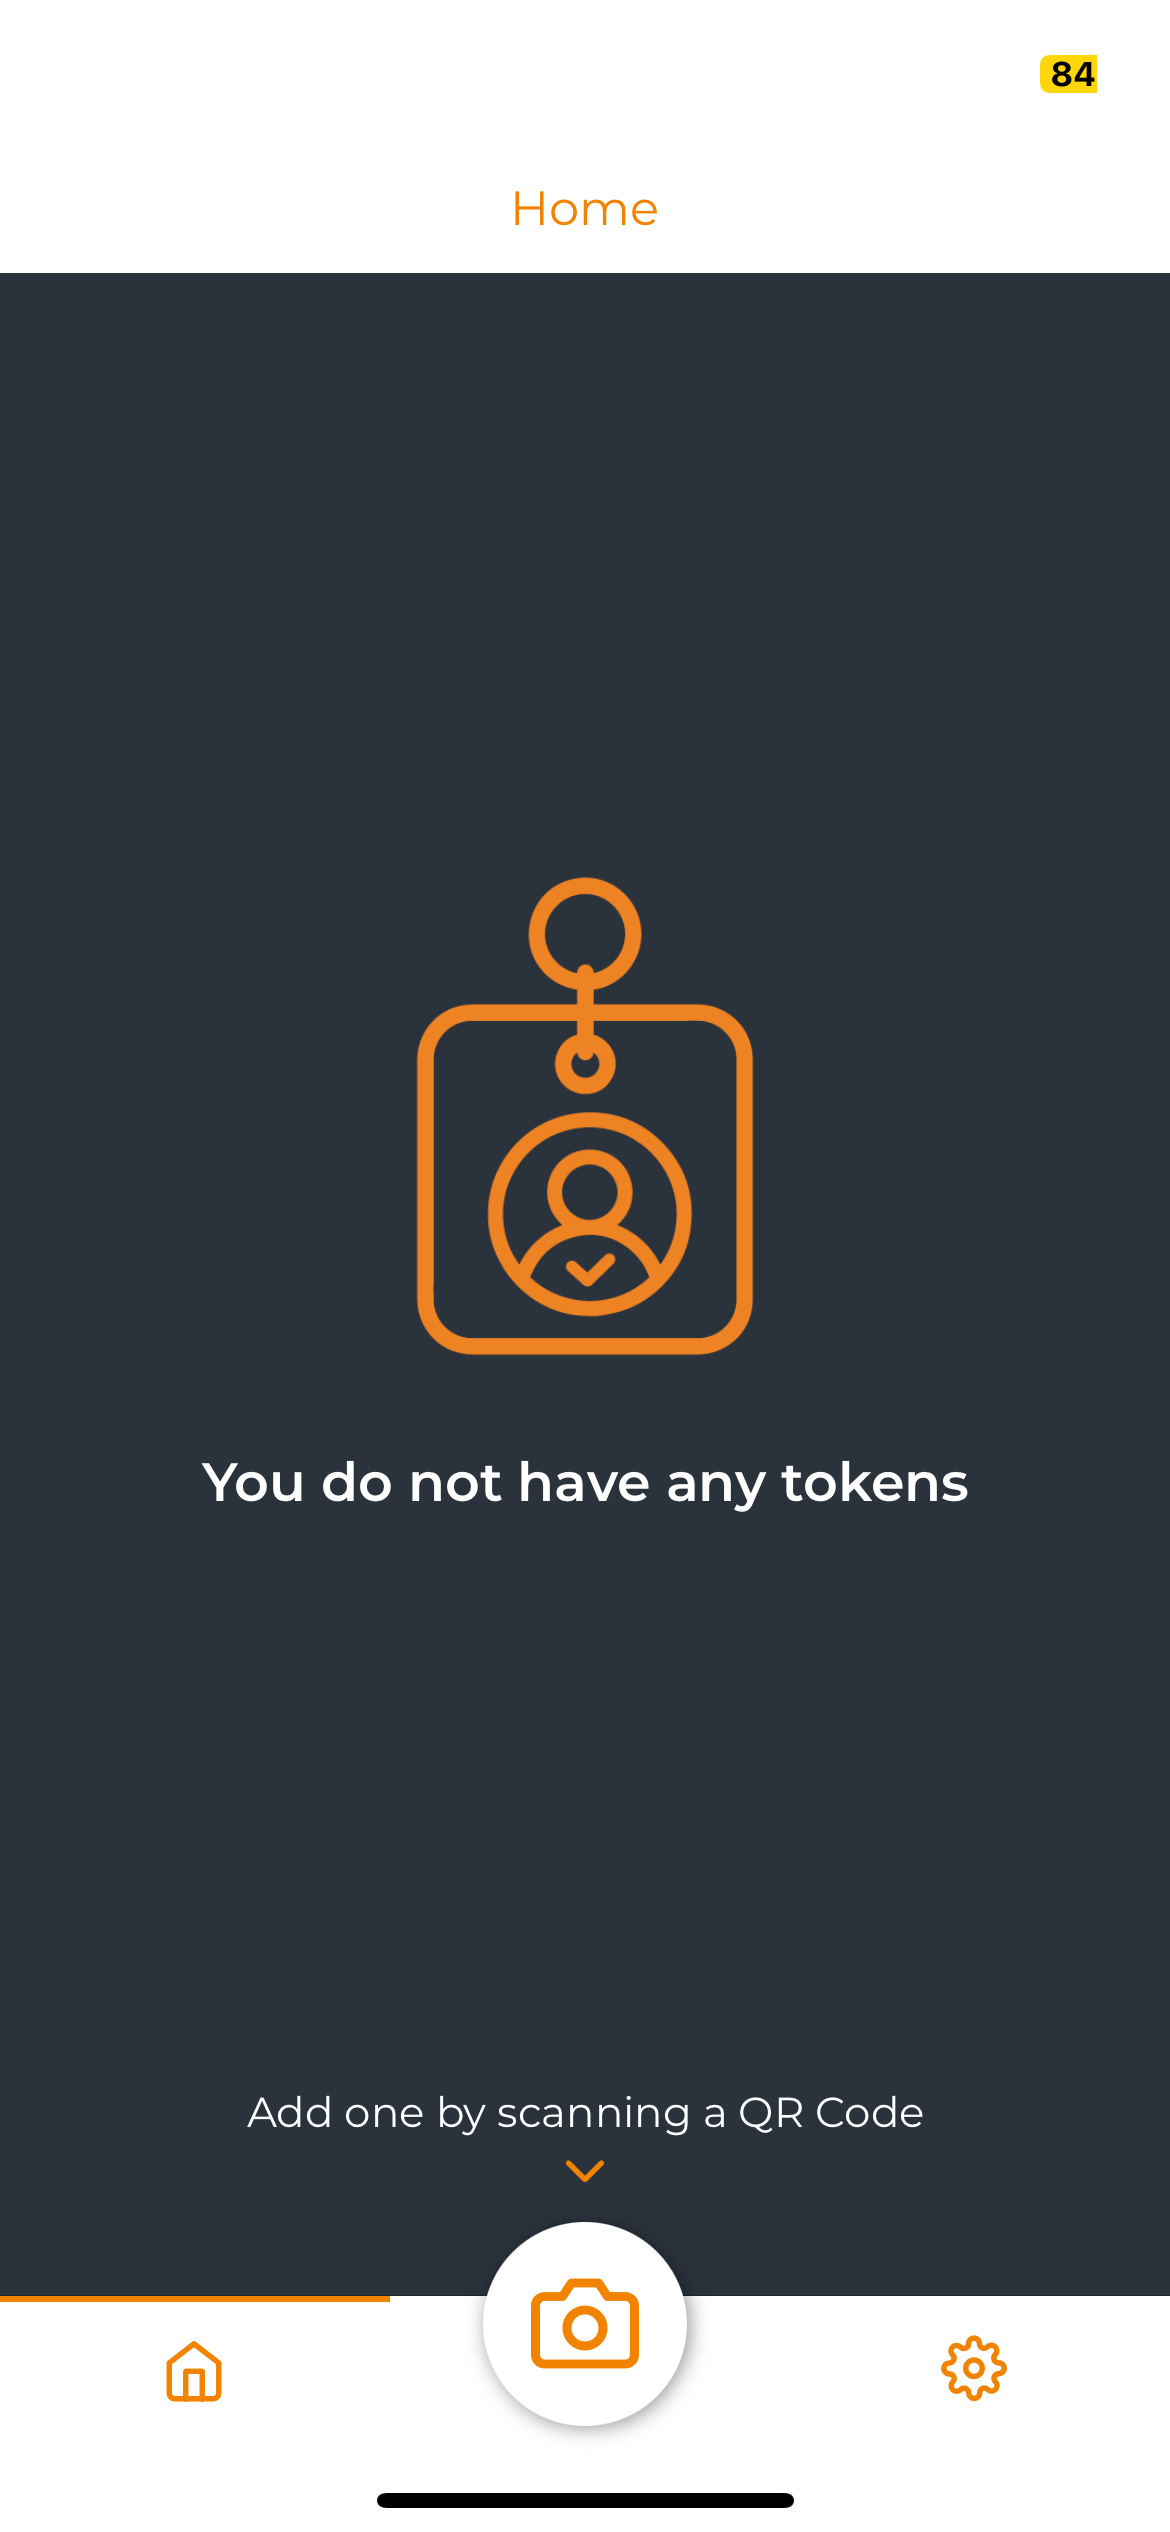
After a Token registration, the Home page looks like below:
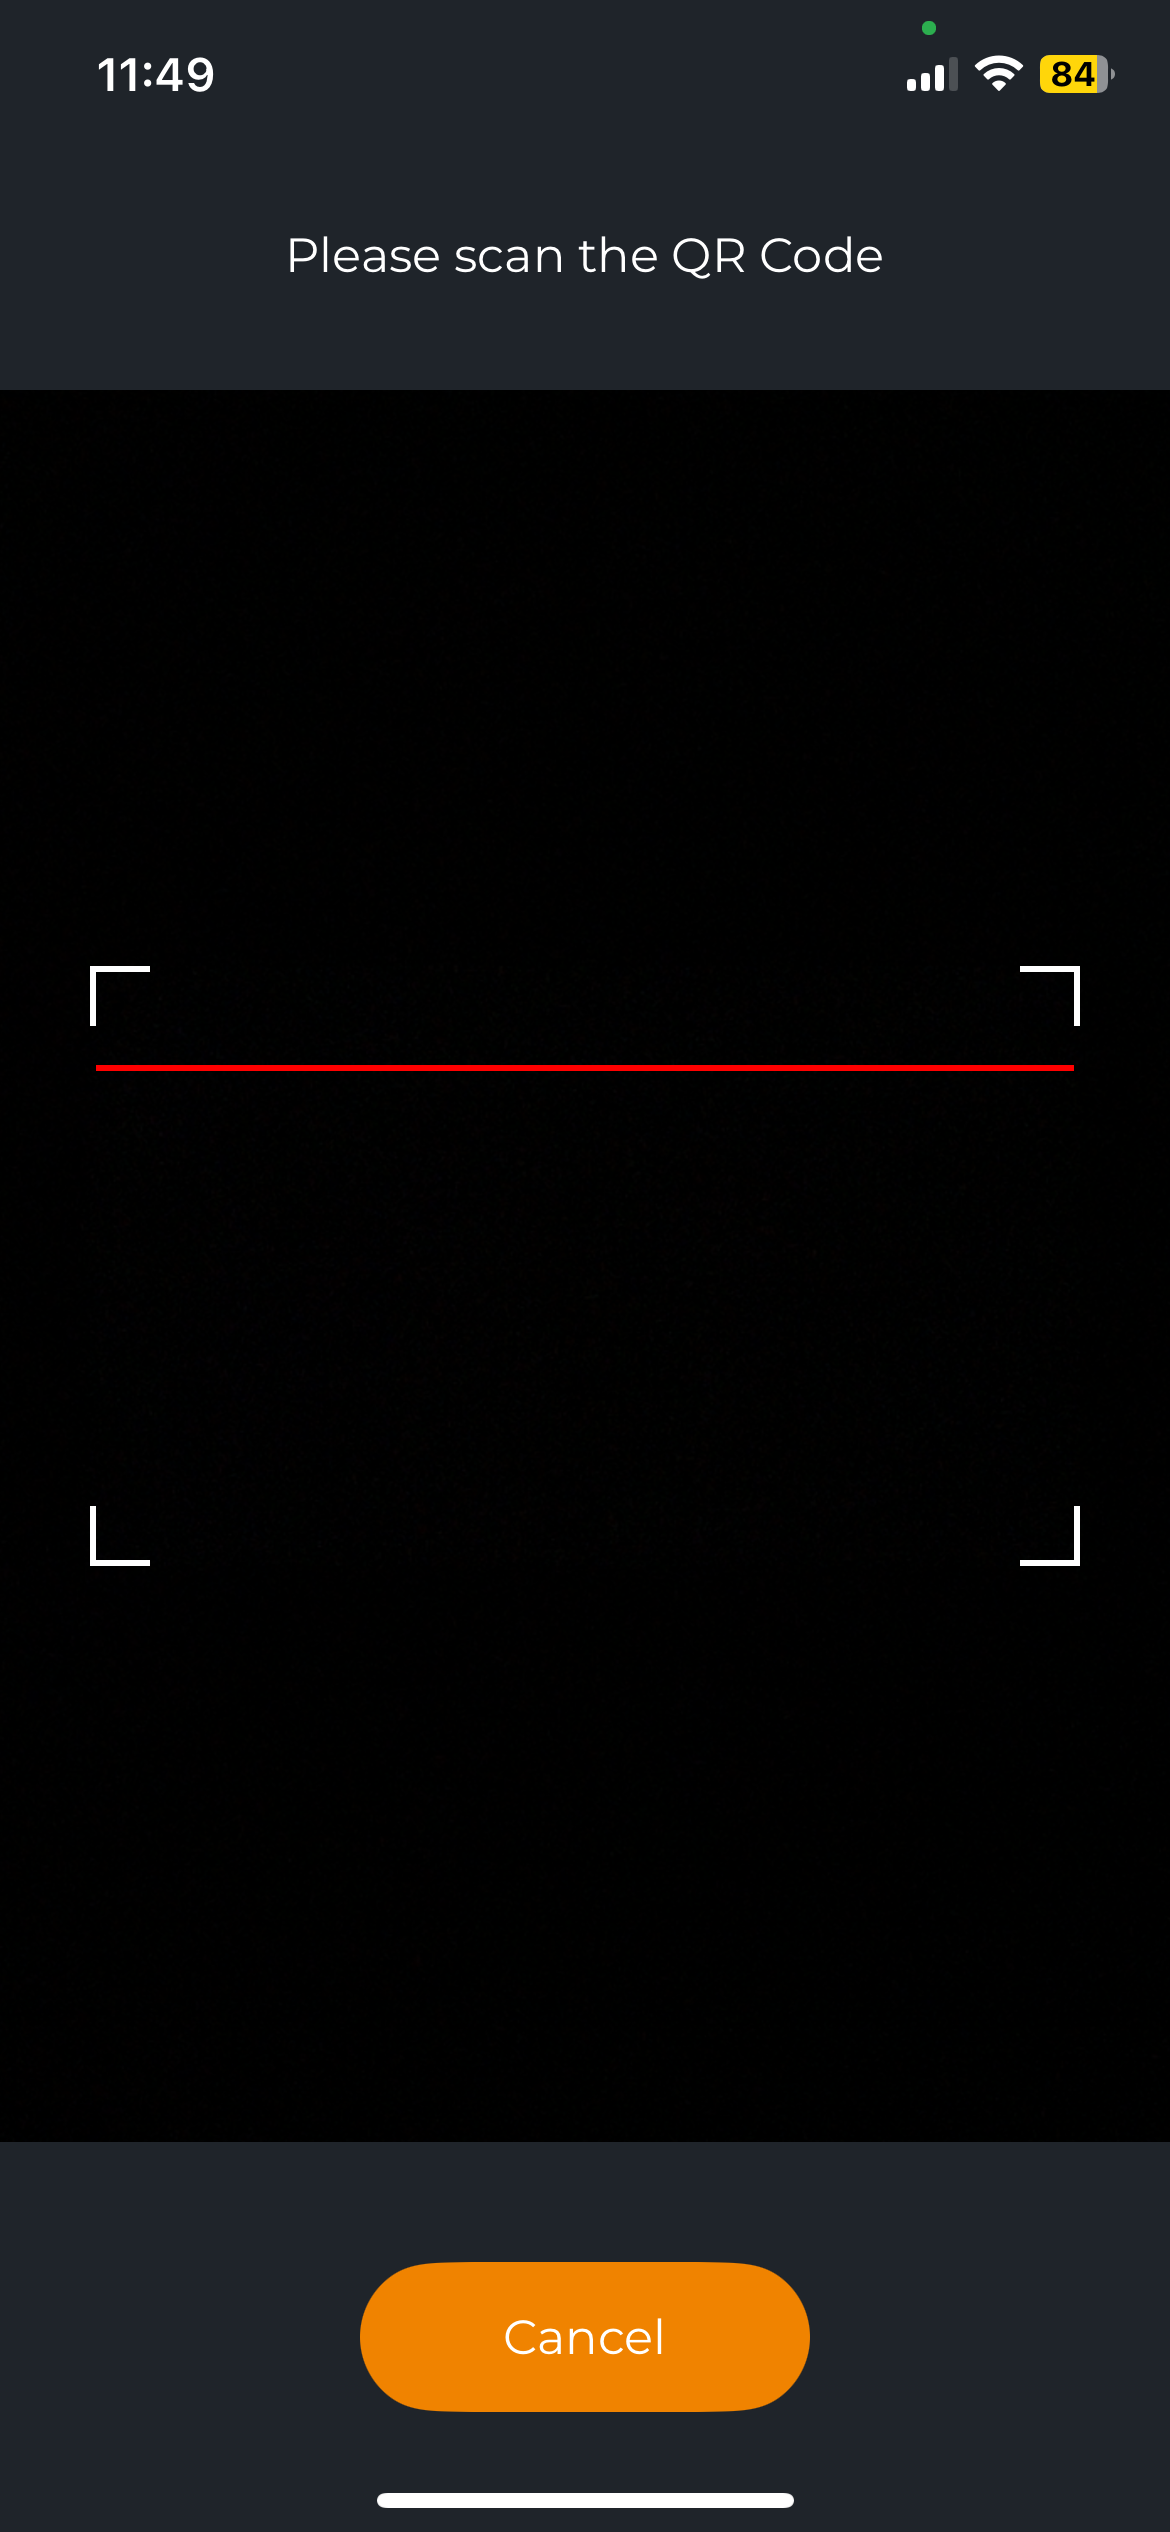
Camera
The camera button opens your camera to scan an enrollment QR code, transaction QR code, or offline authentication QR code.
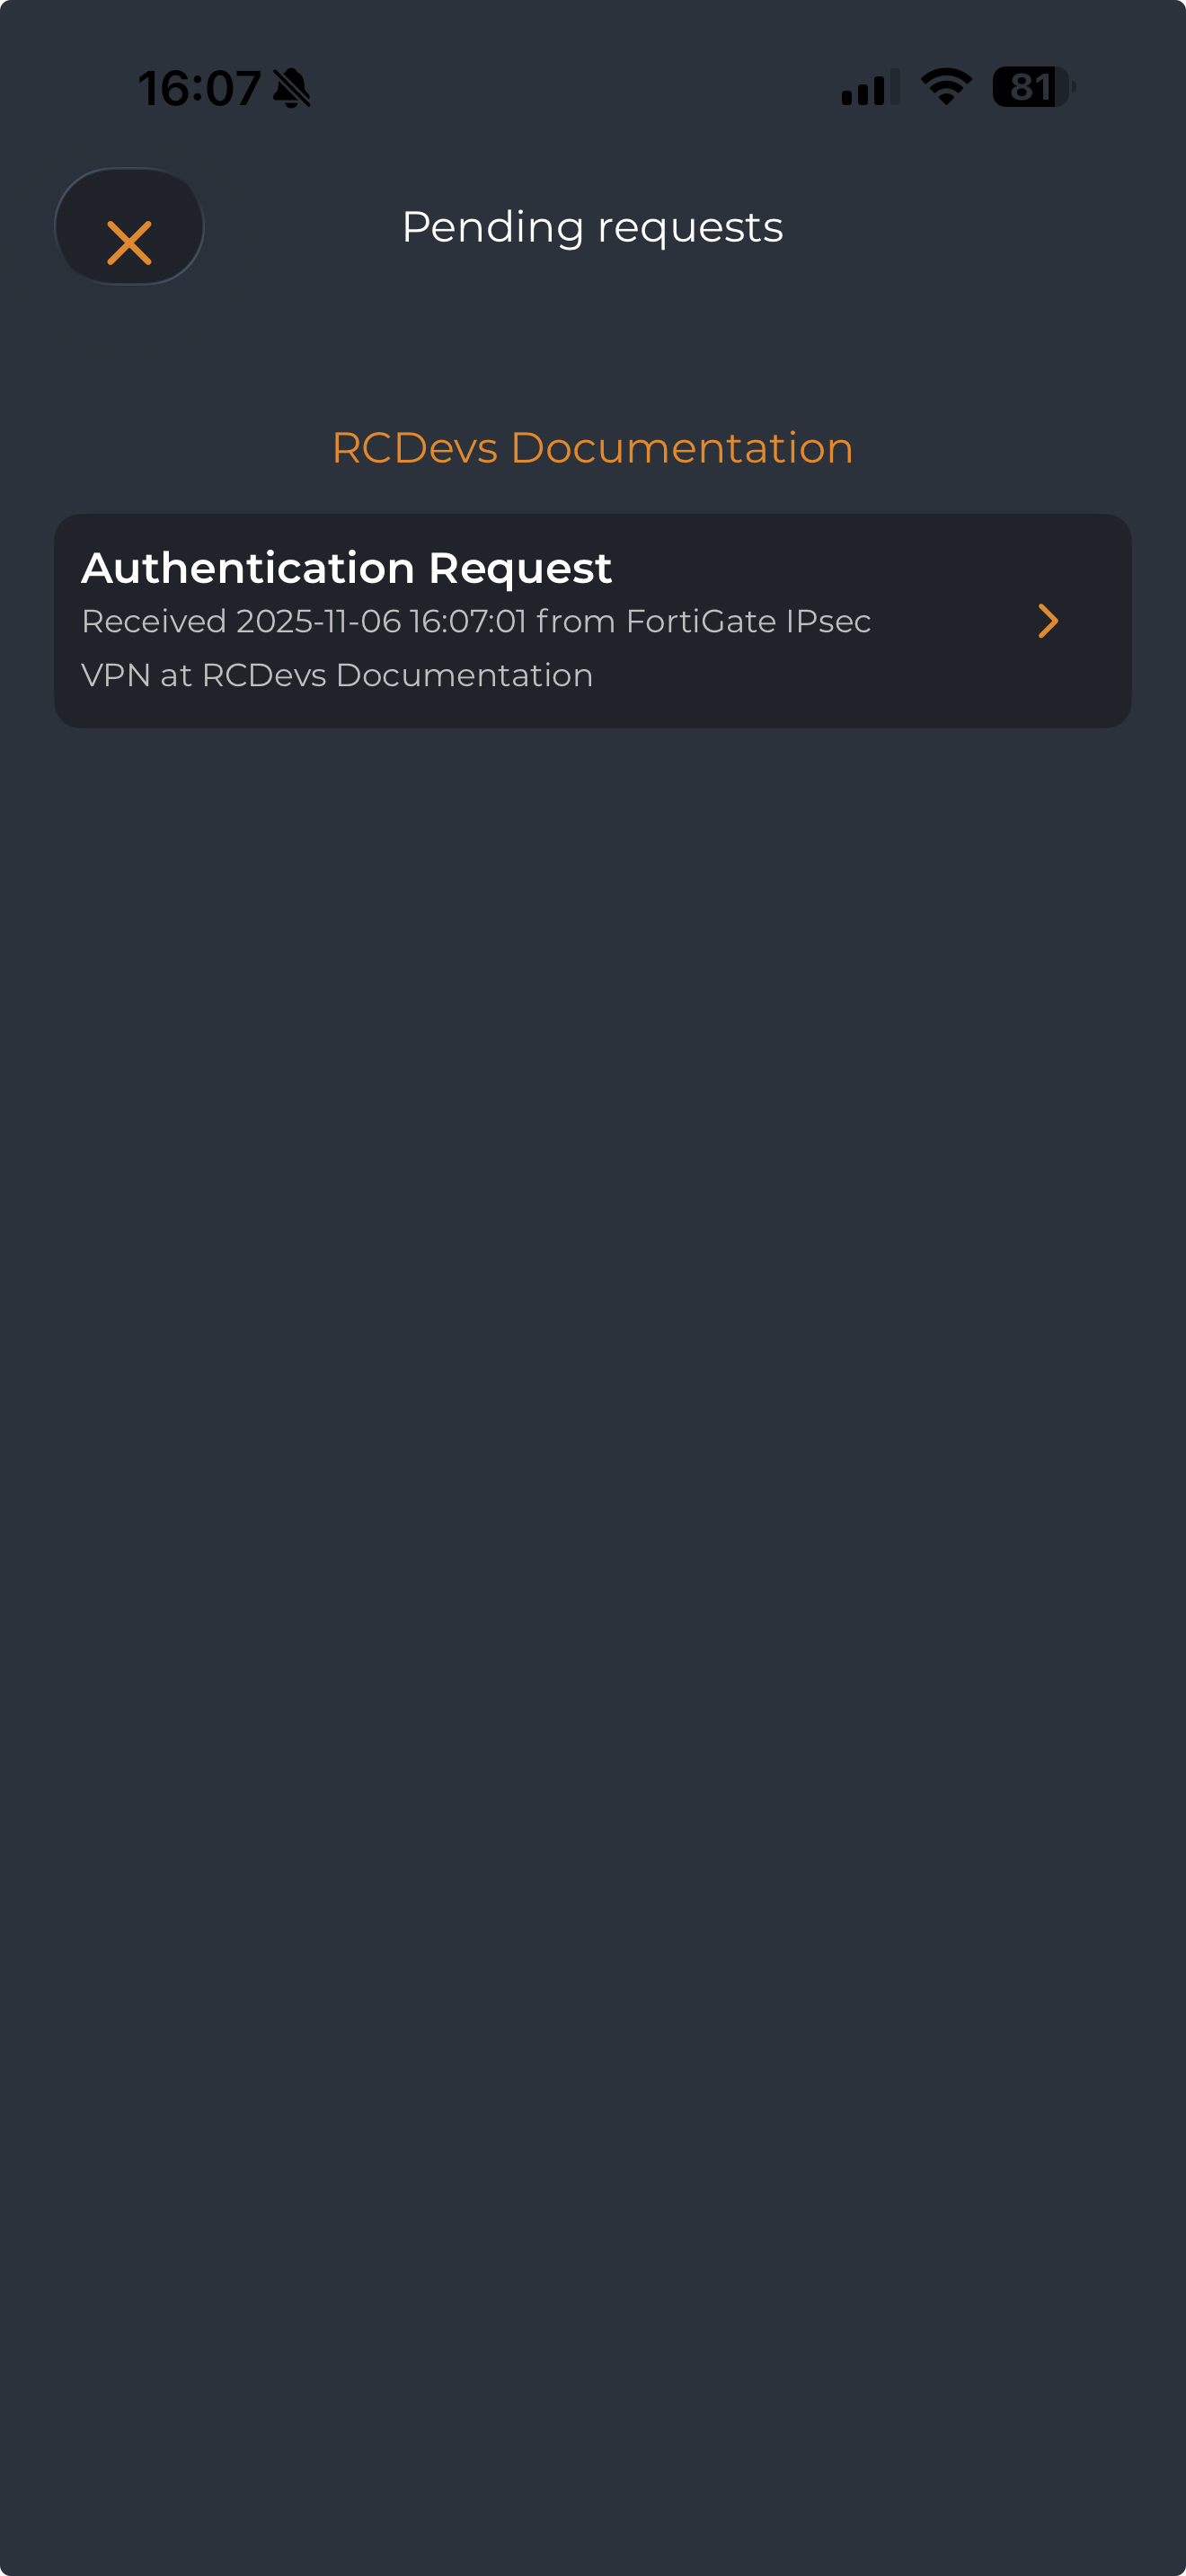
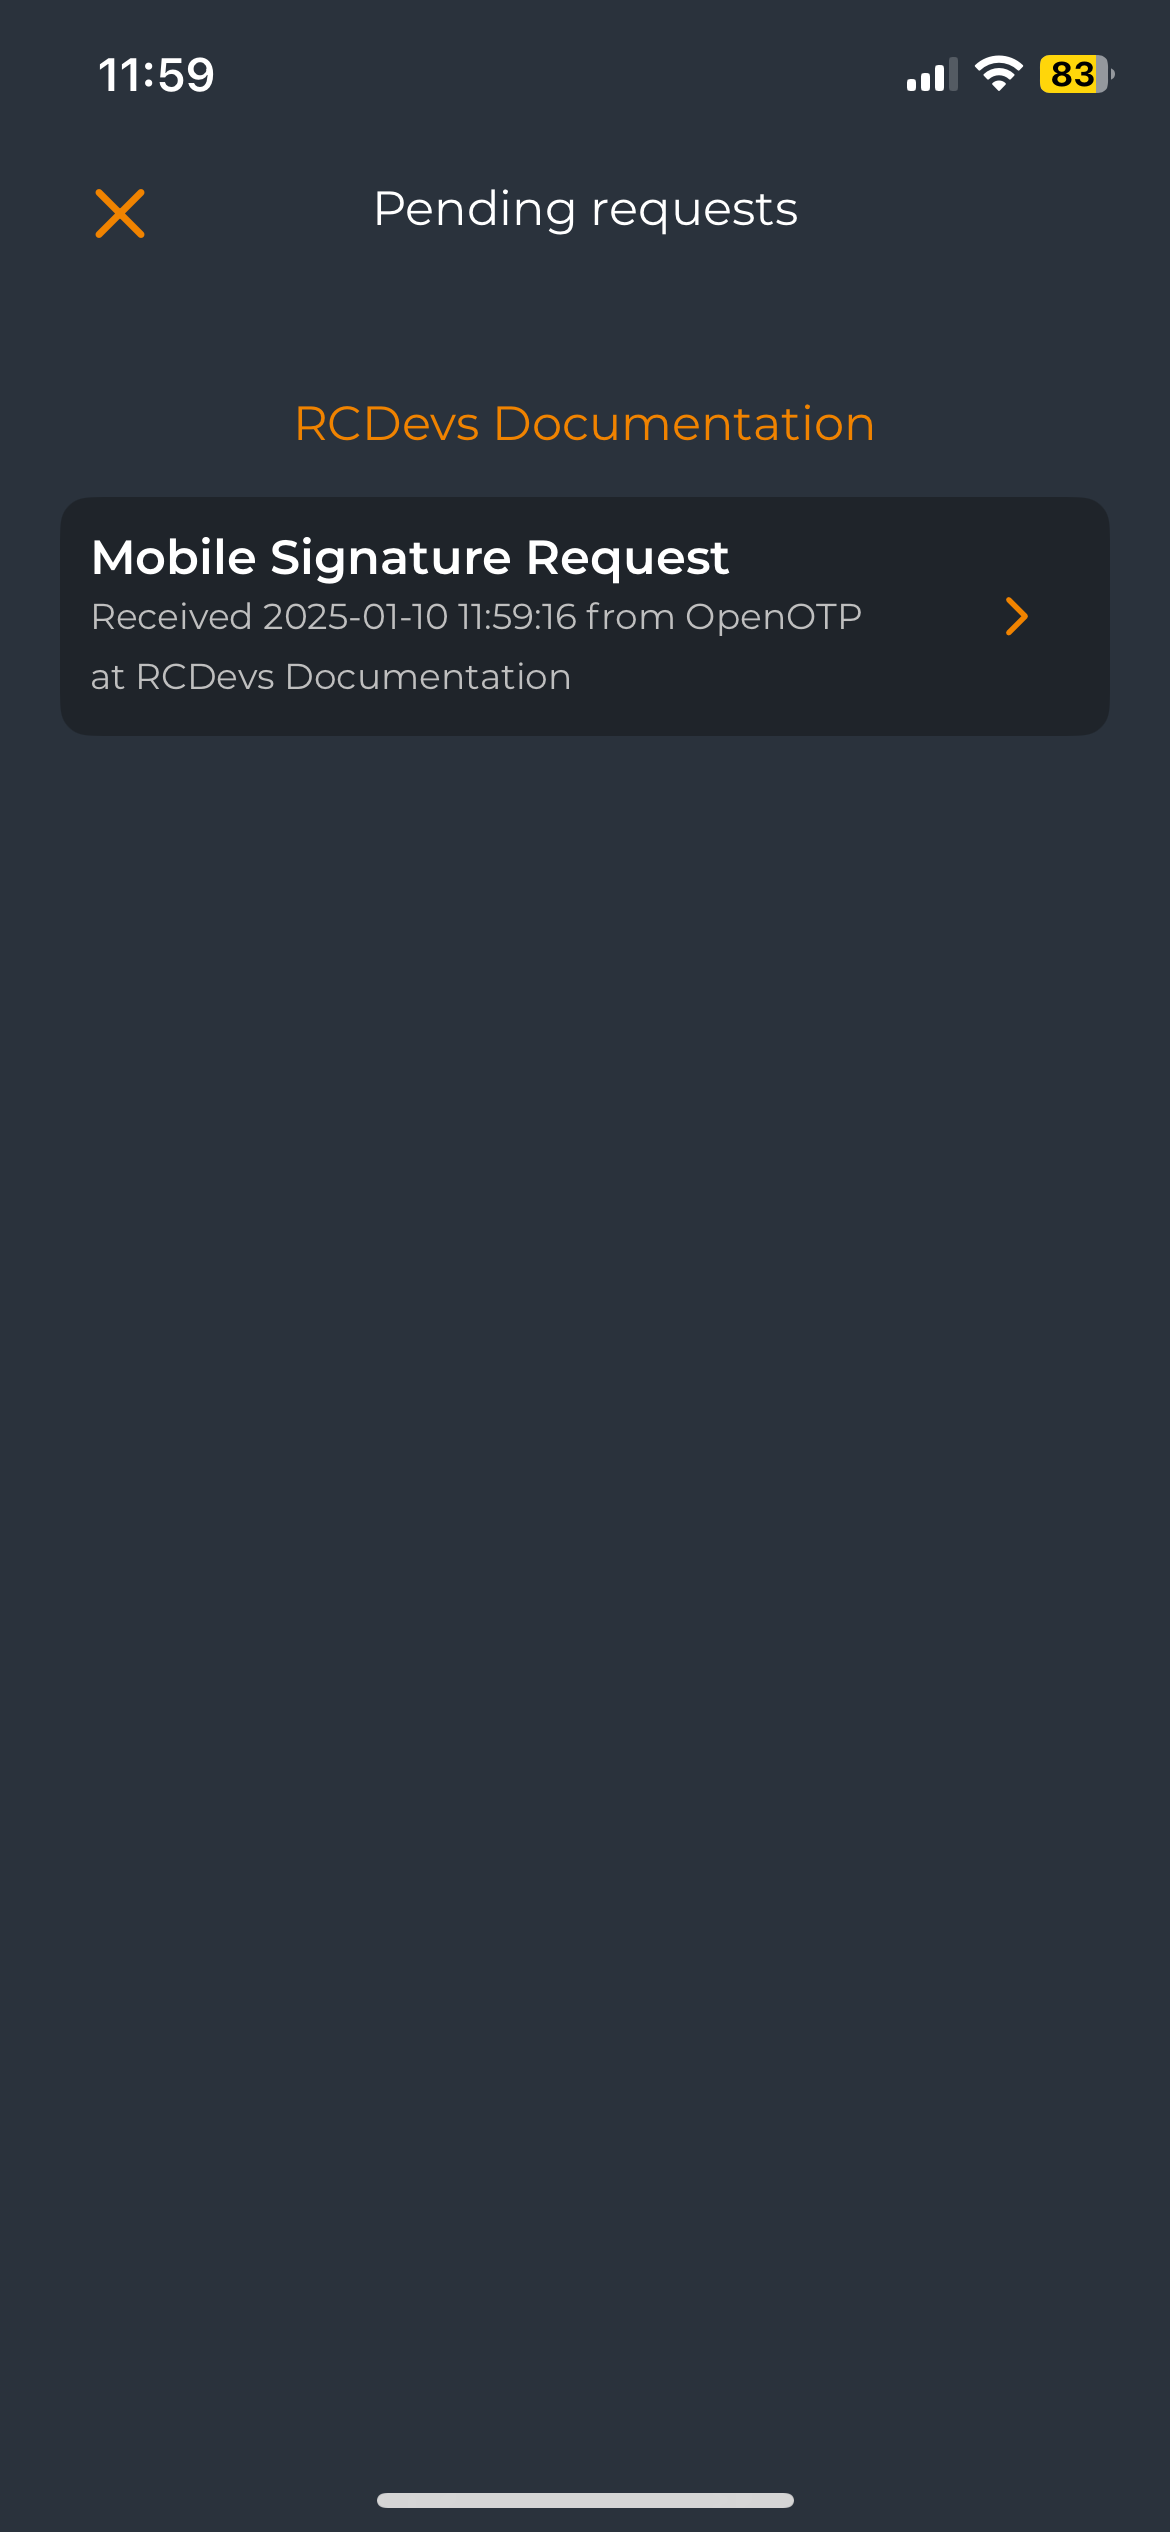
Bell
At the top right corner, a bell button appears once a token is registered. This menu can also be accessed to retrieve pending push login and PSD2/eSignature transactions from the OpenOTP backend.
Token view
When a Token is registered, you can click on it to access it.
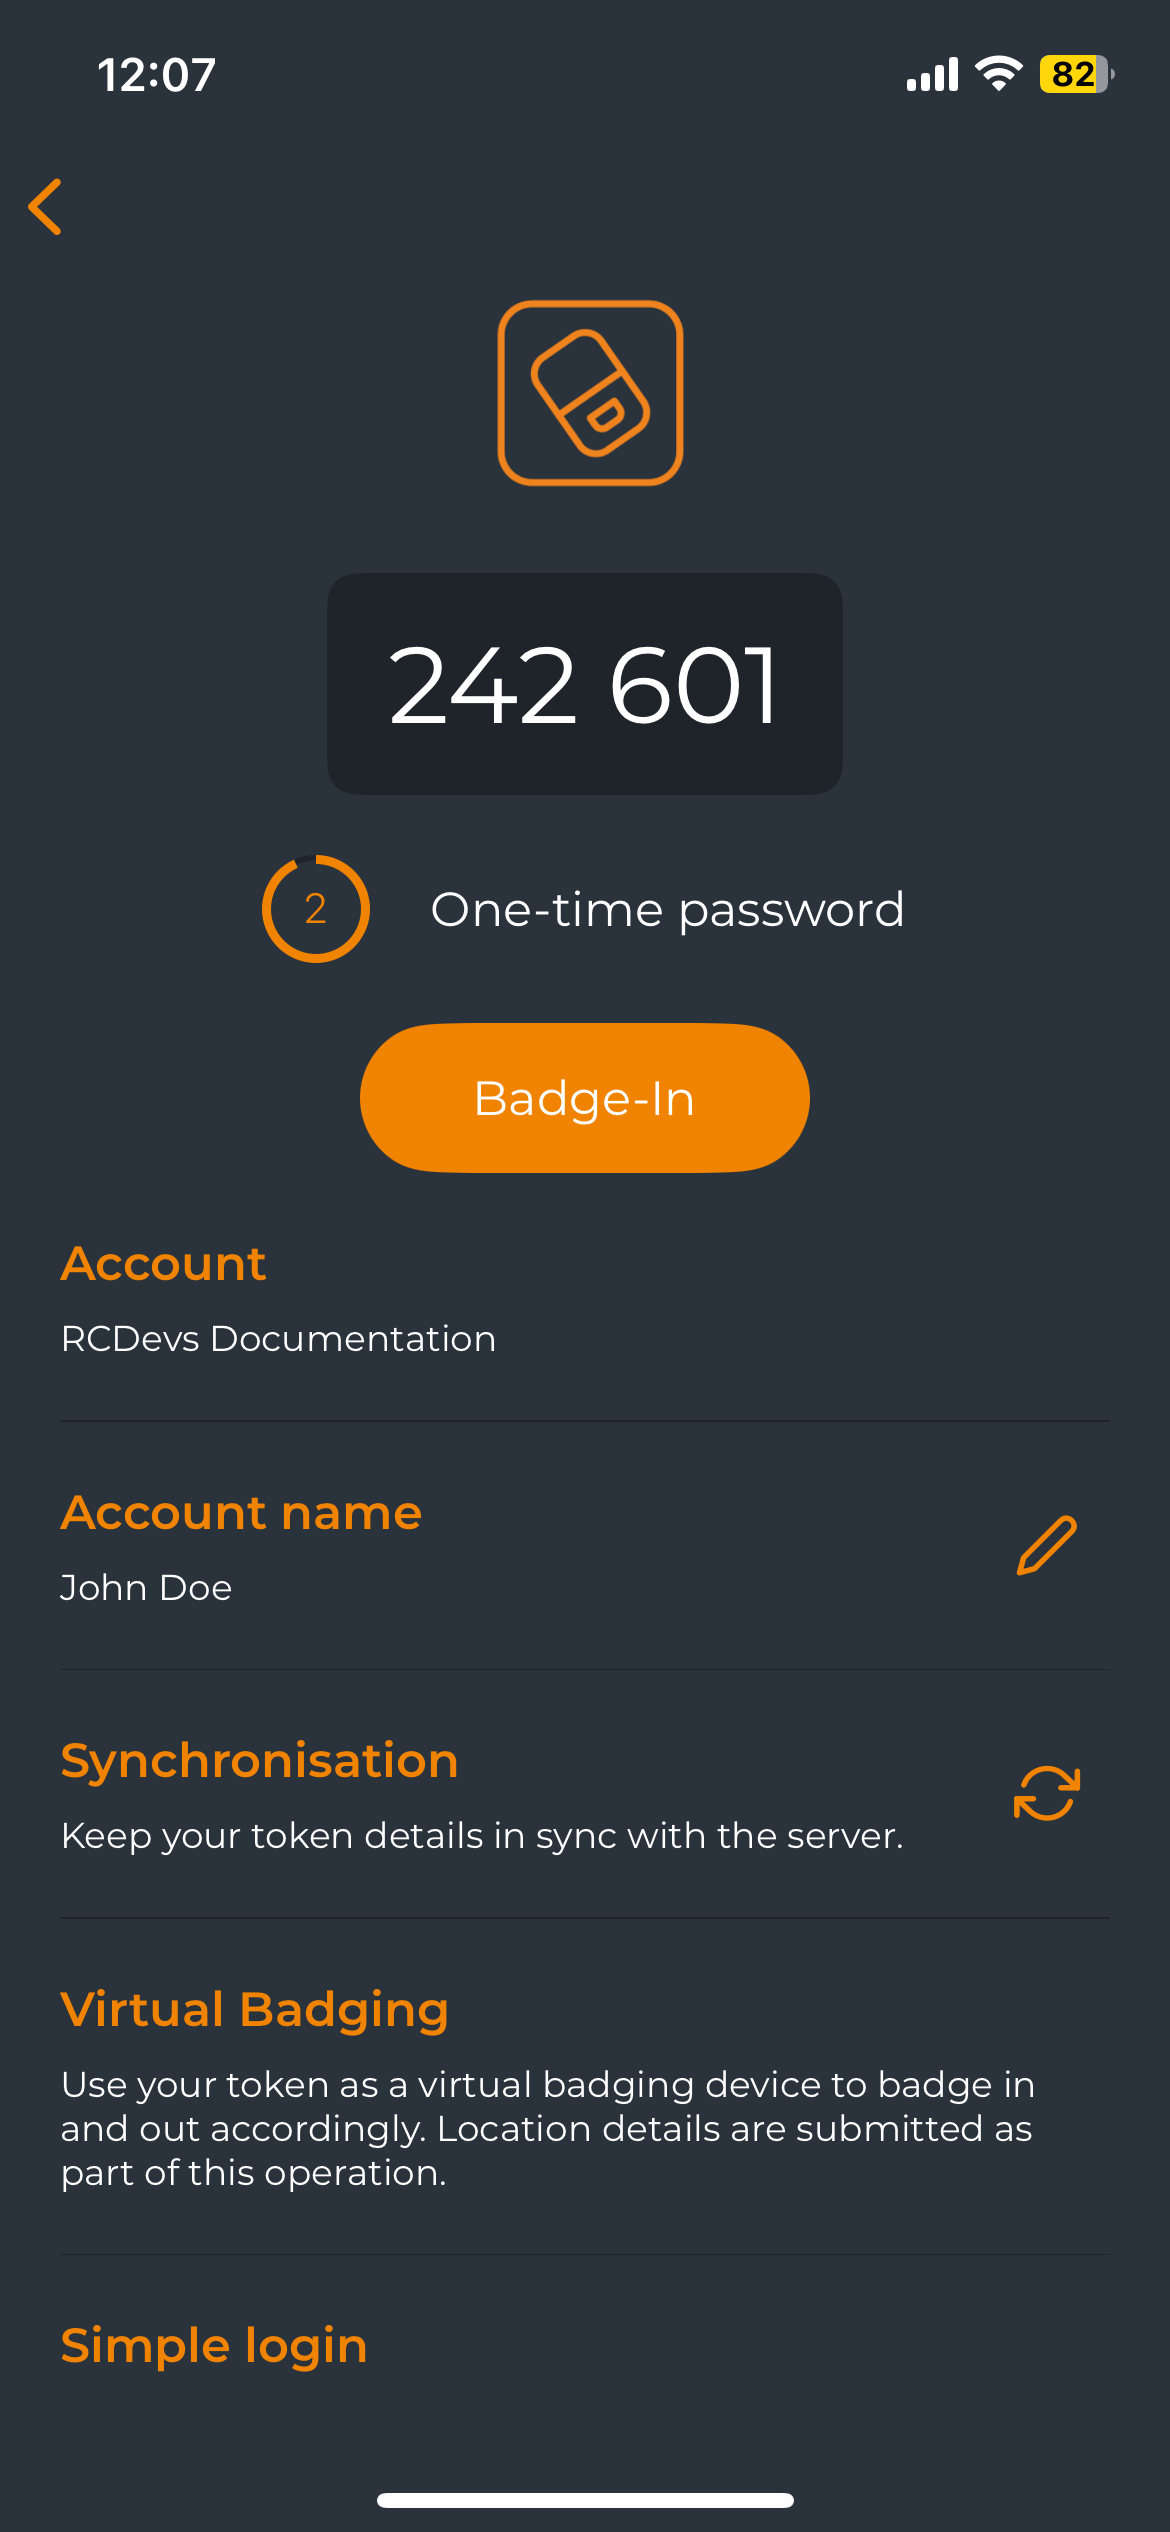
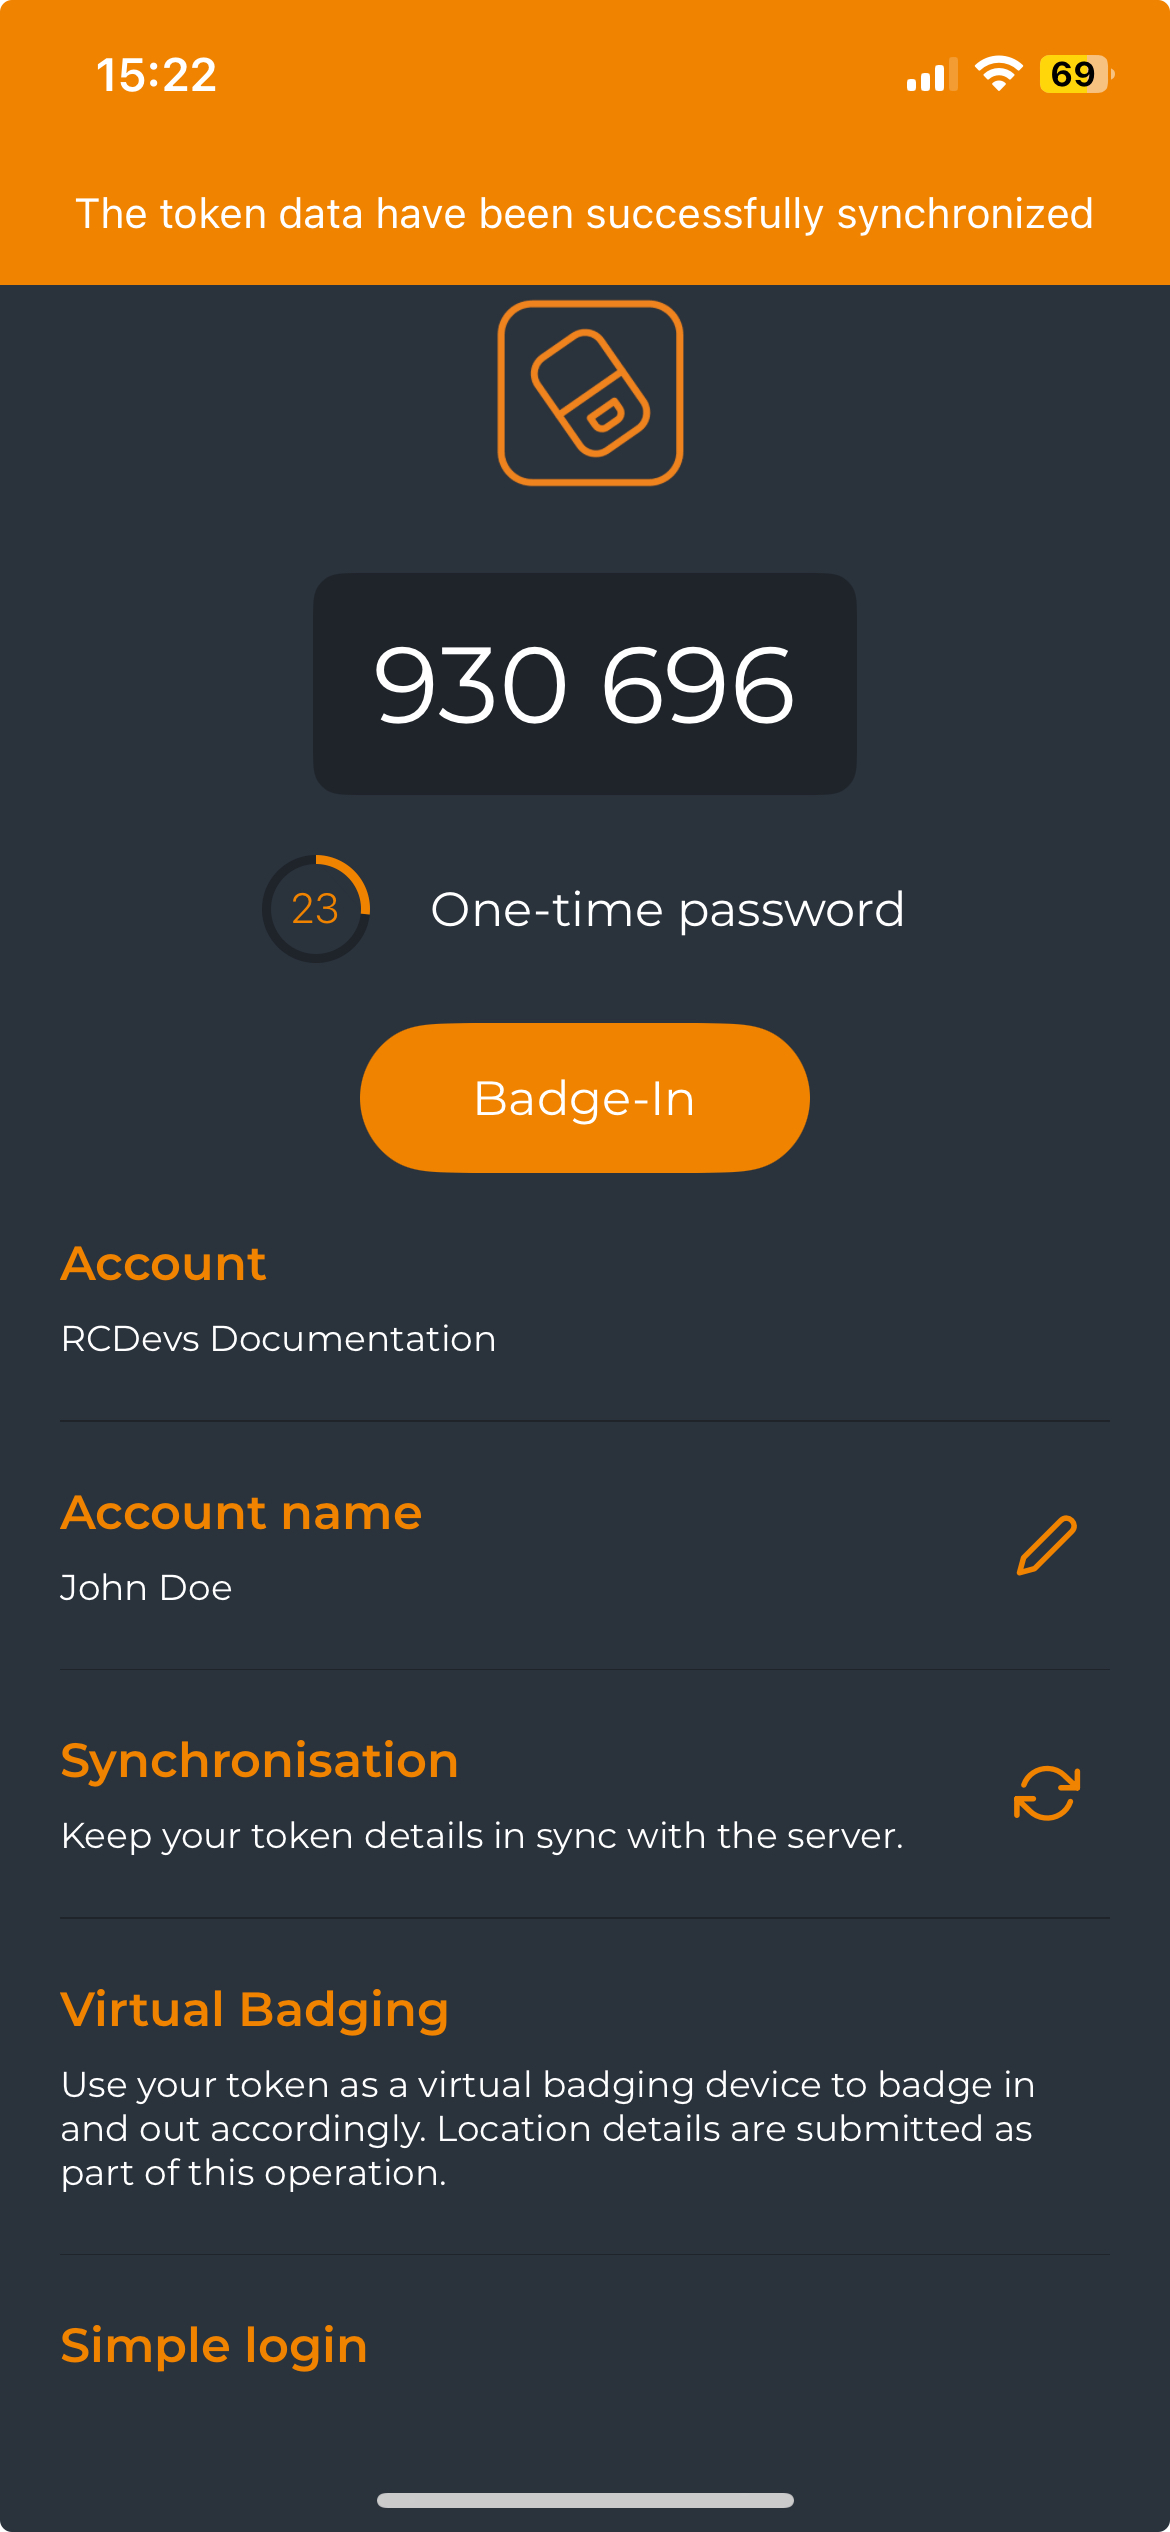
The Badge-in button will appear on the token page if the Badging feature of the OpenOTP server was enabled before the token registration. If the feature is enabled after the token registration, a token resync will be required on the mobile device during the next push transaction.
The Account Name displays the name of the account owner associated with the token. It can be edited by clicking the pencil button, if needed, without affecting the authentication process. This is purely a display information stored on the token.
The Synchronization button allows you to resynchronize the token. Resynchronization will update the following elements with the backend:
- Token secret key;
- Logo;
- Mobile Endpoint URL;
- OpenOTP configuration related to token options;
- HOTP counter for HOTP Tokens
The Token expiration setting configured at the OpenOTP server level allows you to automatically set an expiration time for registered tokens. For Push Tokens, the token will not expire. Instead, the backend will trigger a resync request on the mobile device to rotate the secret key. Afterward, the token's expiration will be renewed and extended to the duration configured on the OpenOTP server. This process will repeat each time the expiration time is reached.
You can scroll down on the Token view (if the screen is too small to display all information) to access the Delete button, which allows you to remove the token. When a token enrolled in push mode is deleted, the action triggers a removal on the backend, resulting in the token being removed from the user account on the OpenOTP server as well.
Settings
Click on the gear icon to access the settings page.
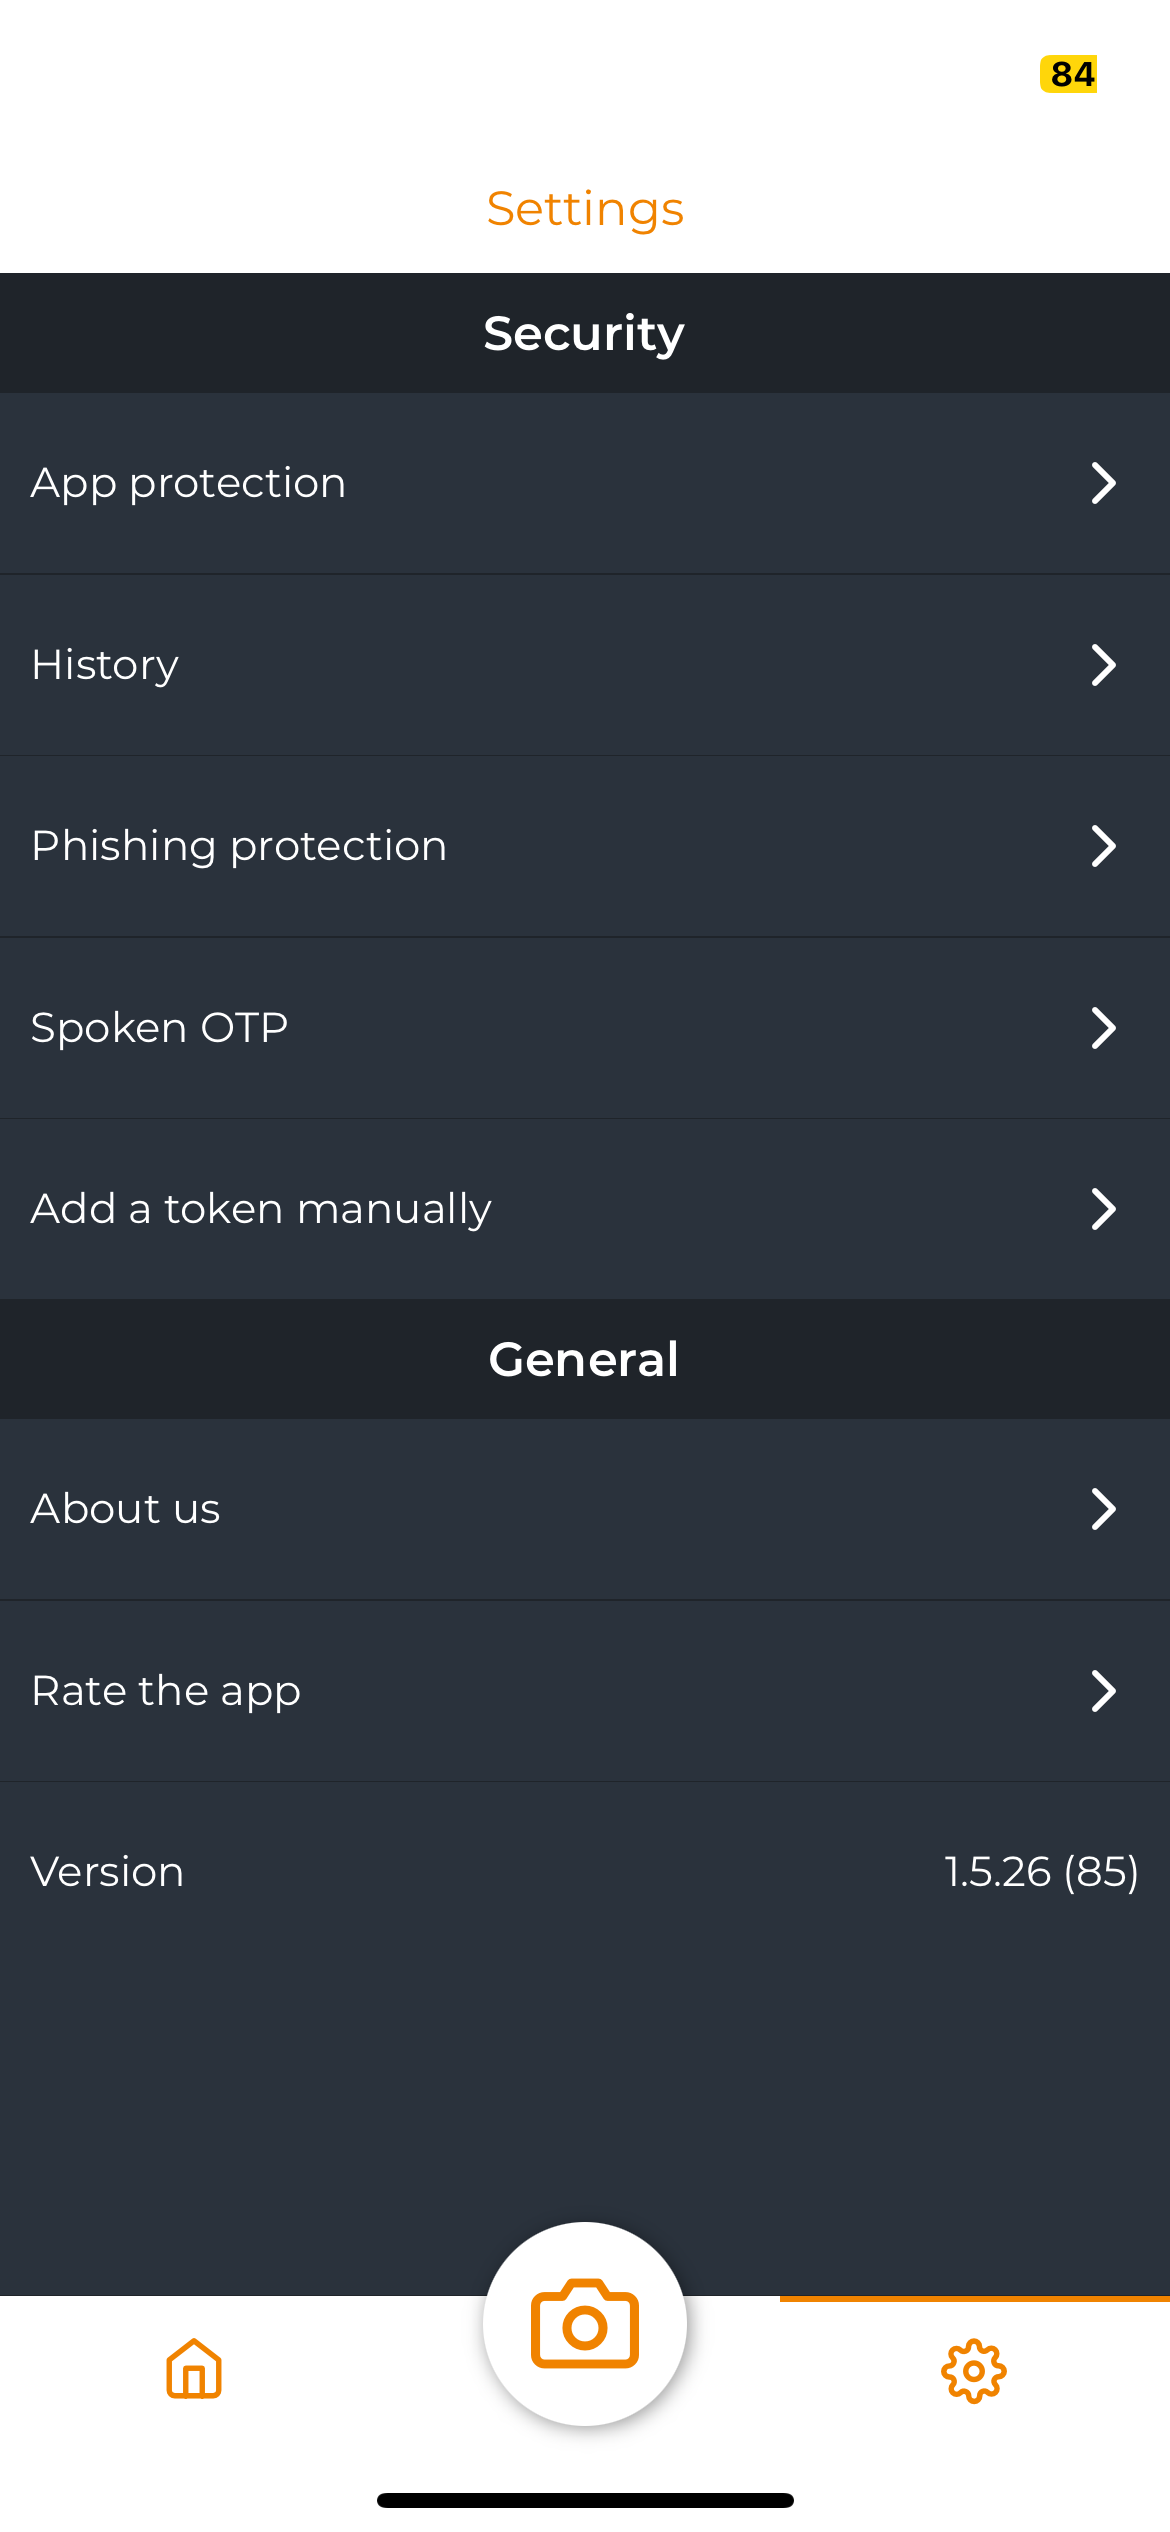
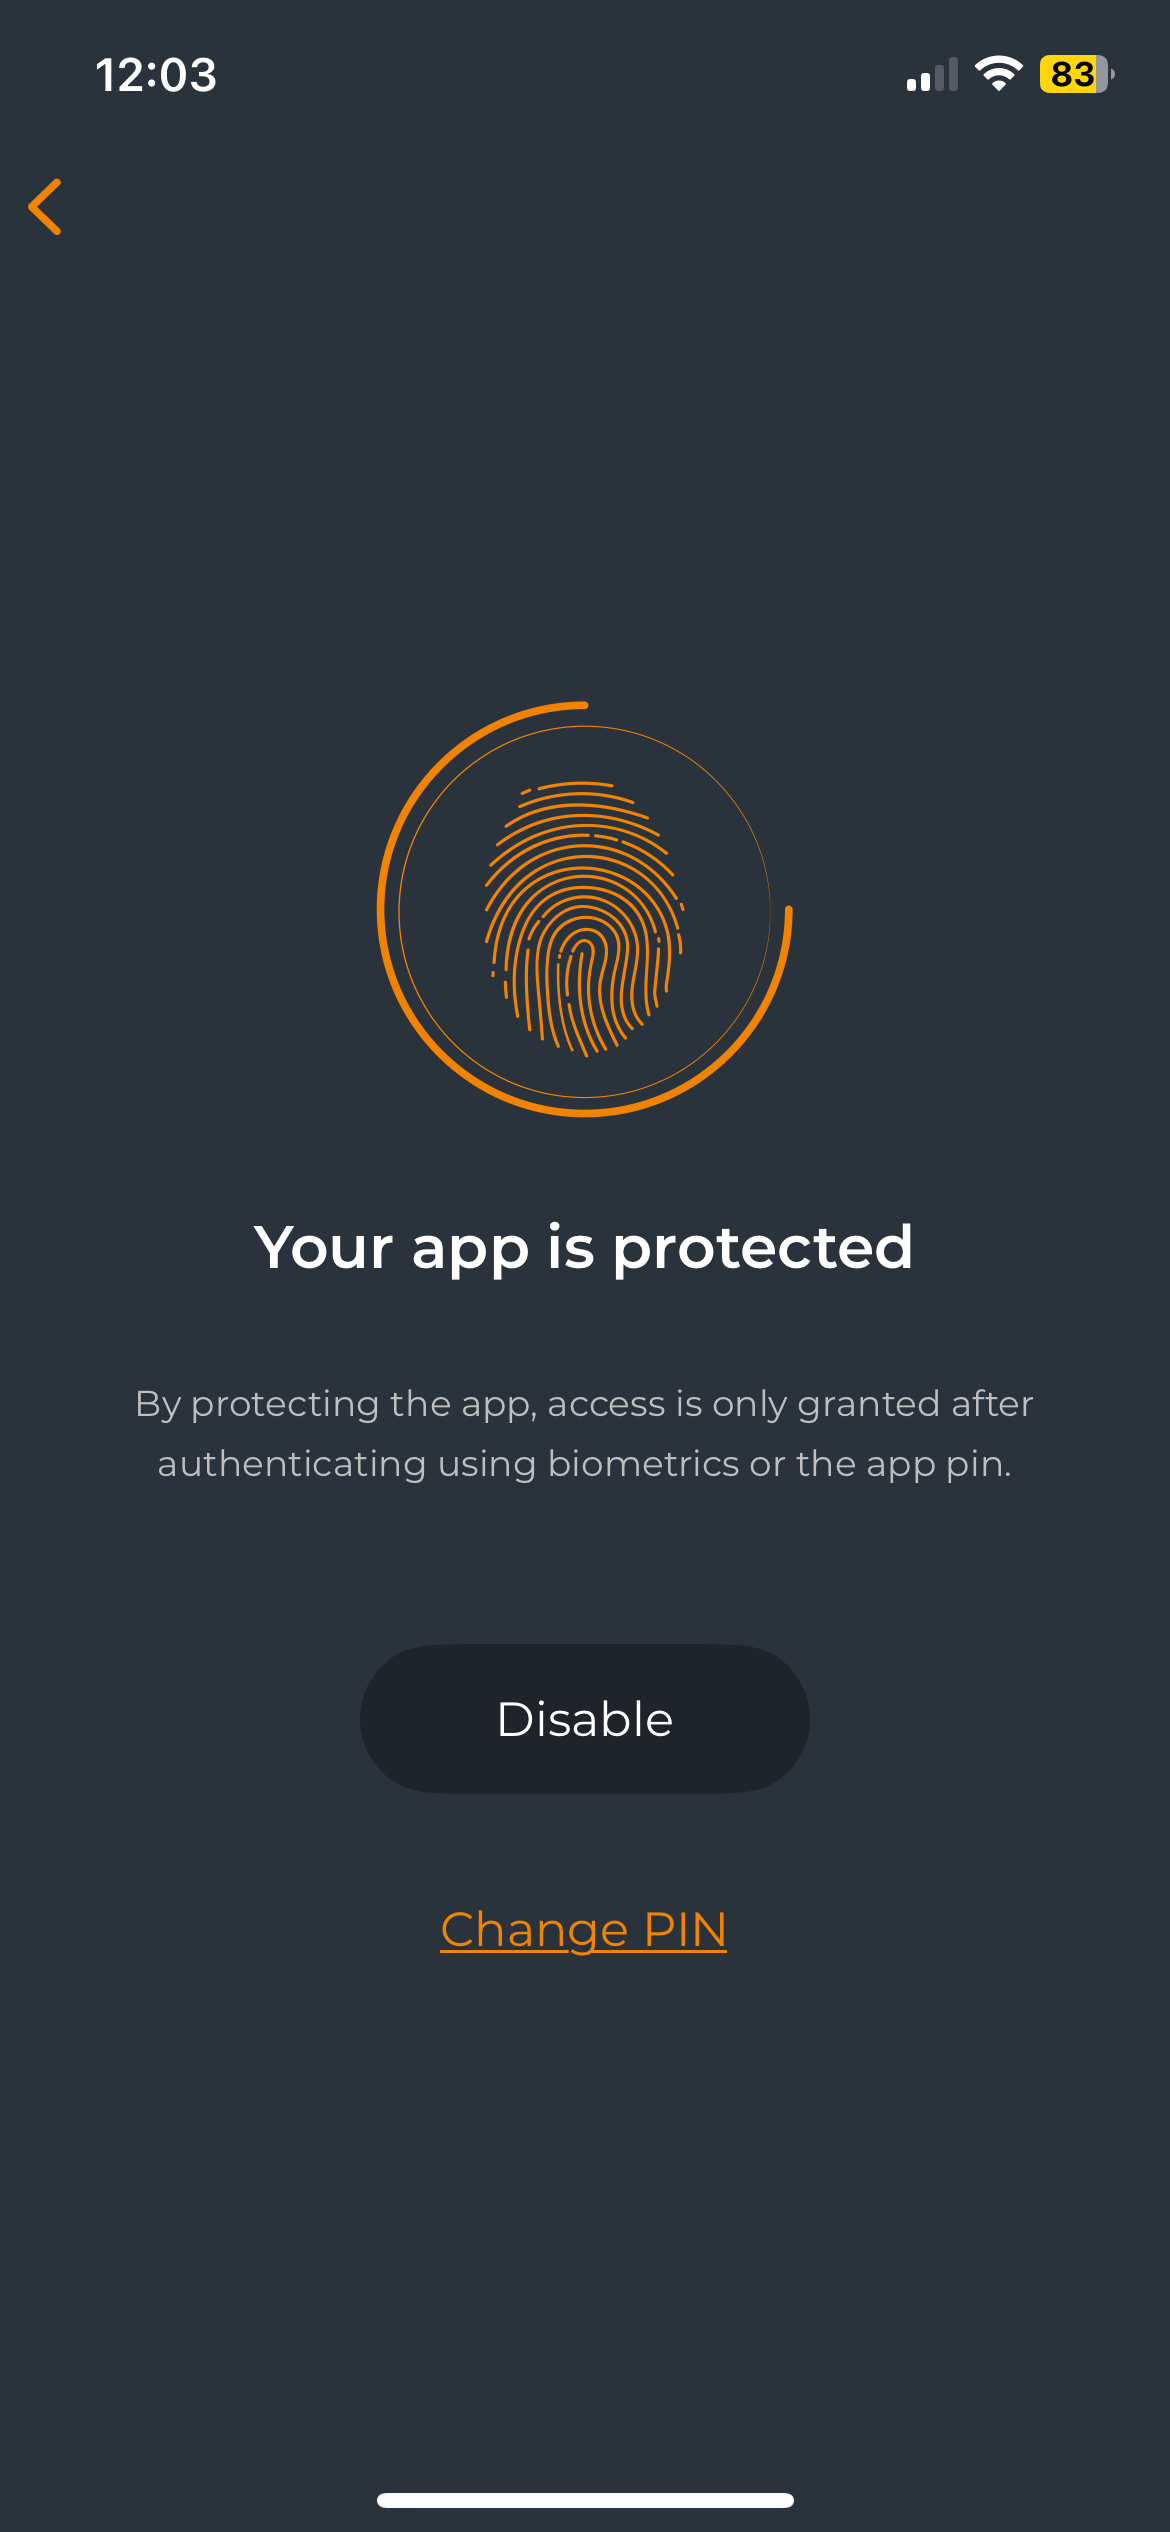
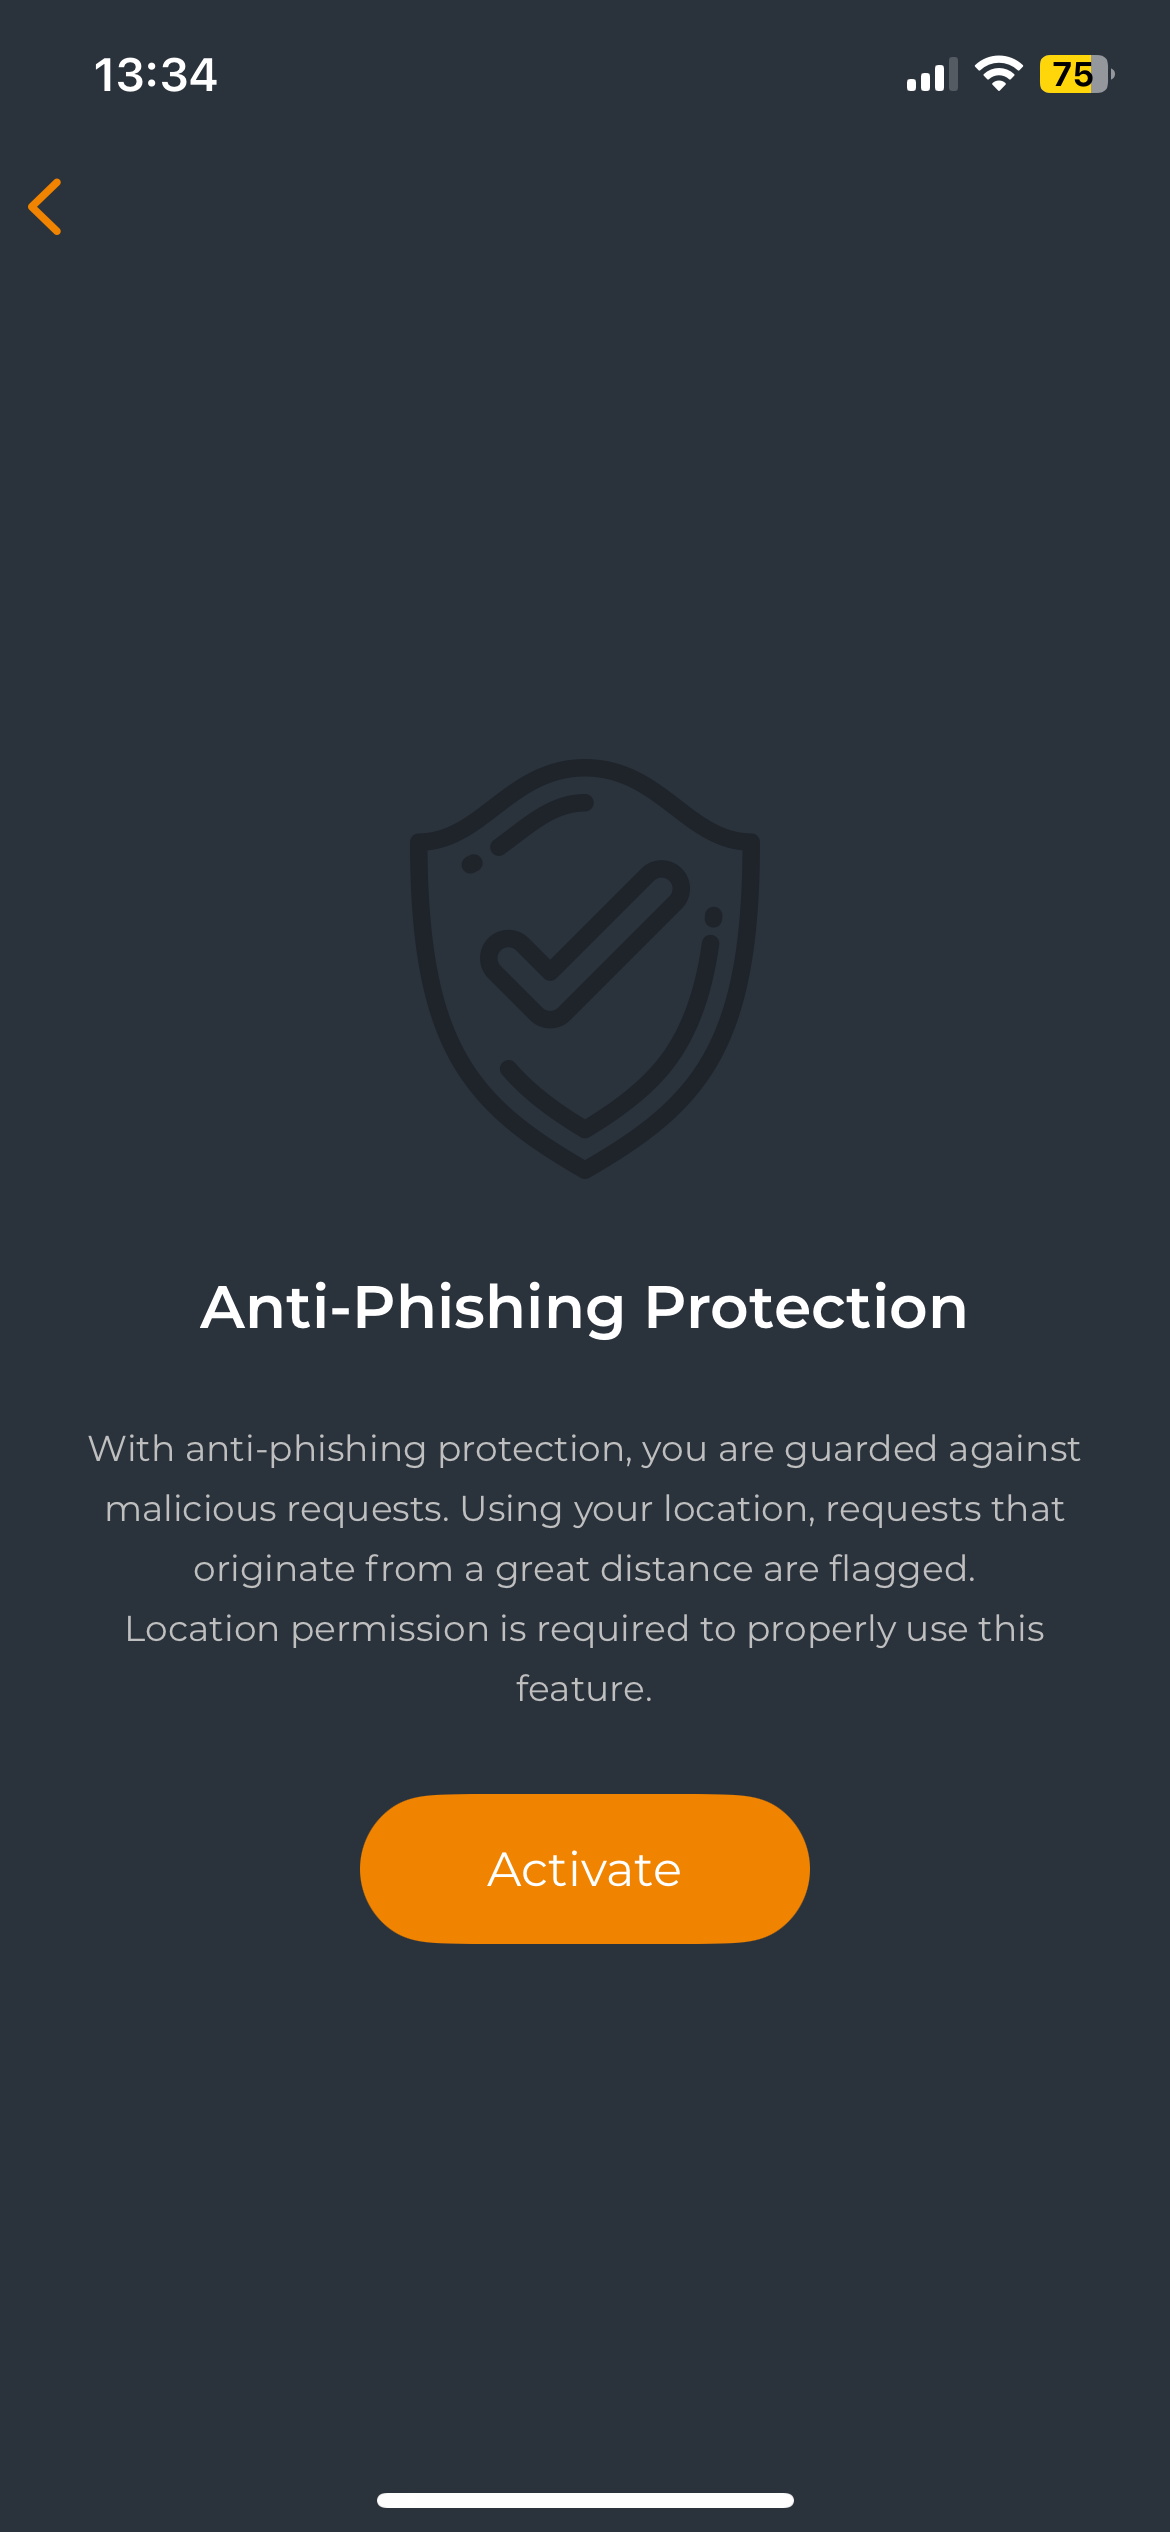
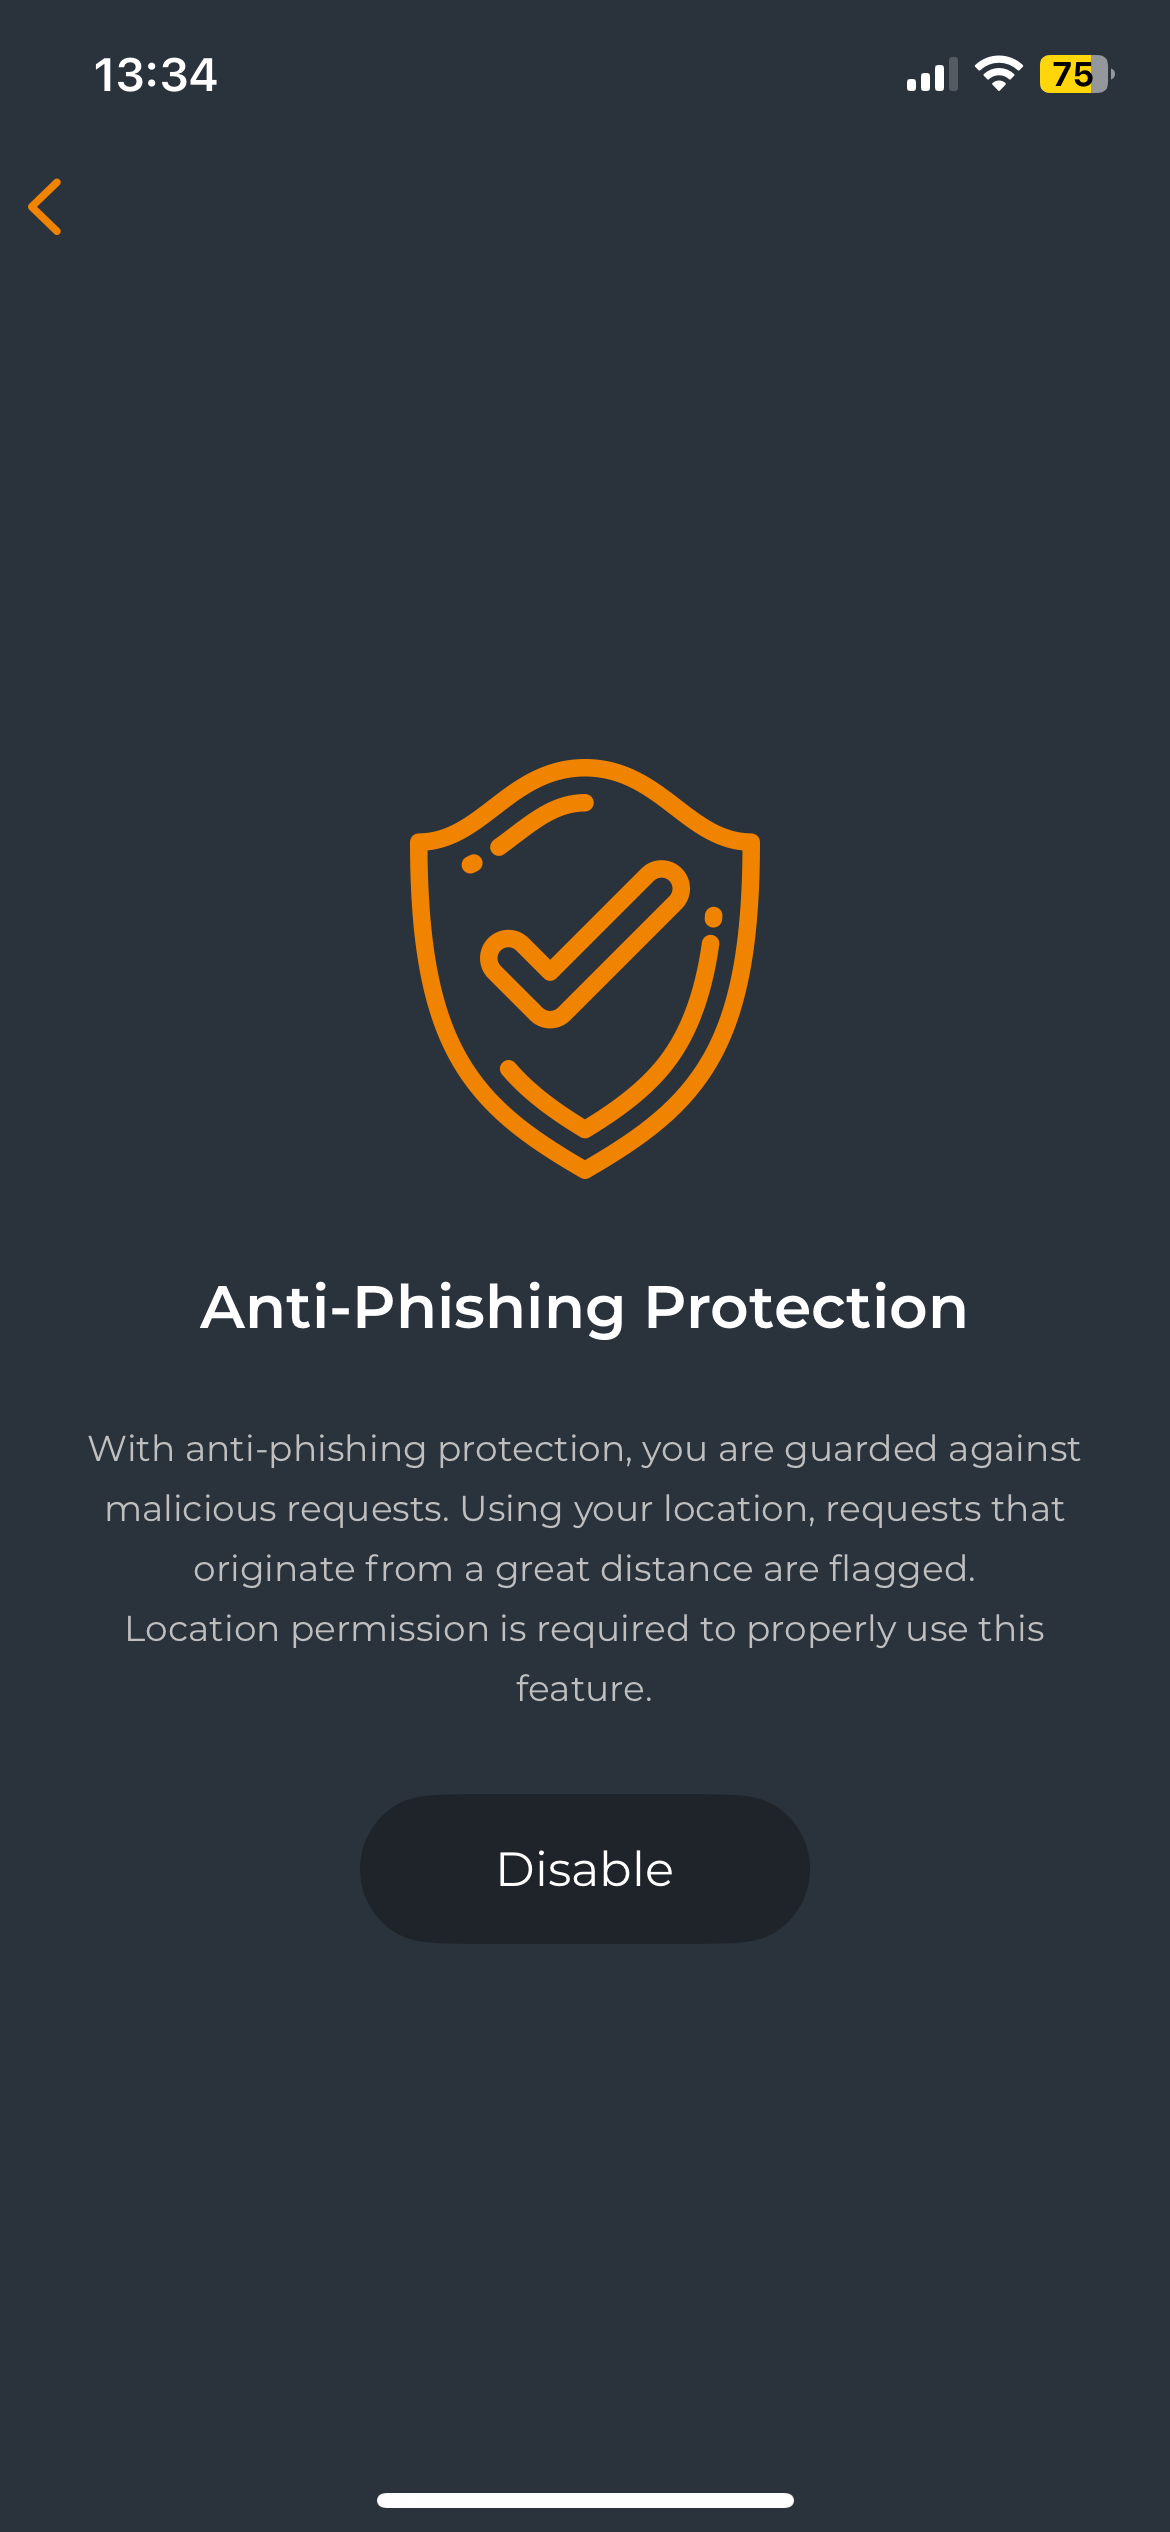
App protection
This menu allows you to set and change the PIN which protect the application.
When the application is not protected, you will see the following screen:
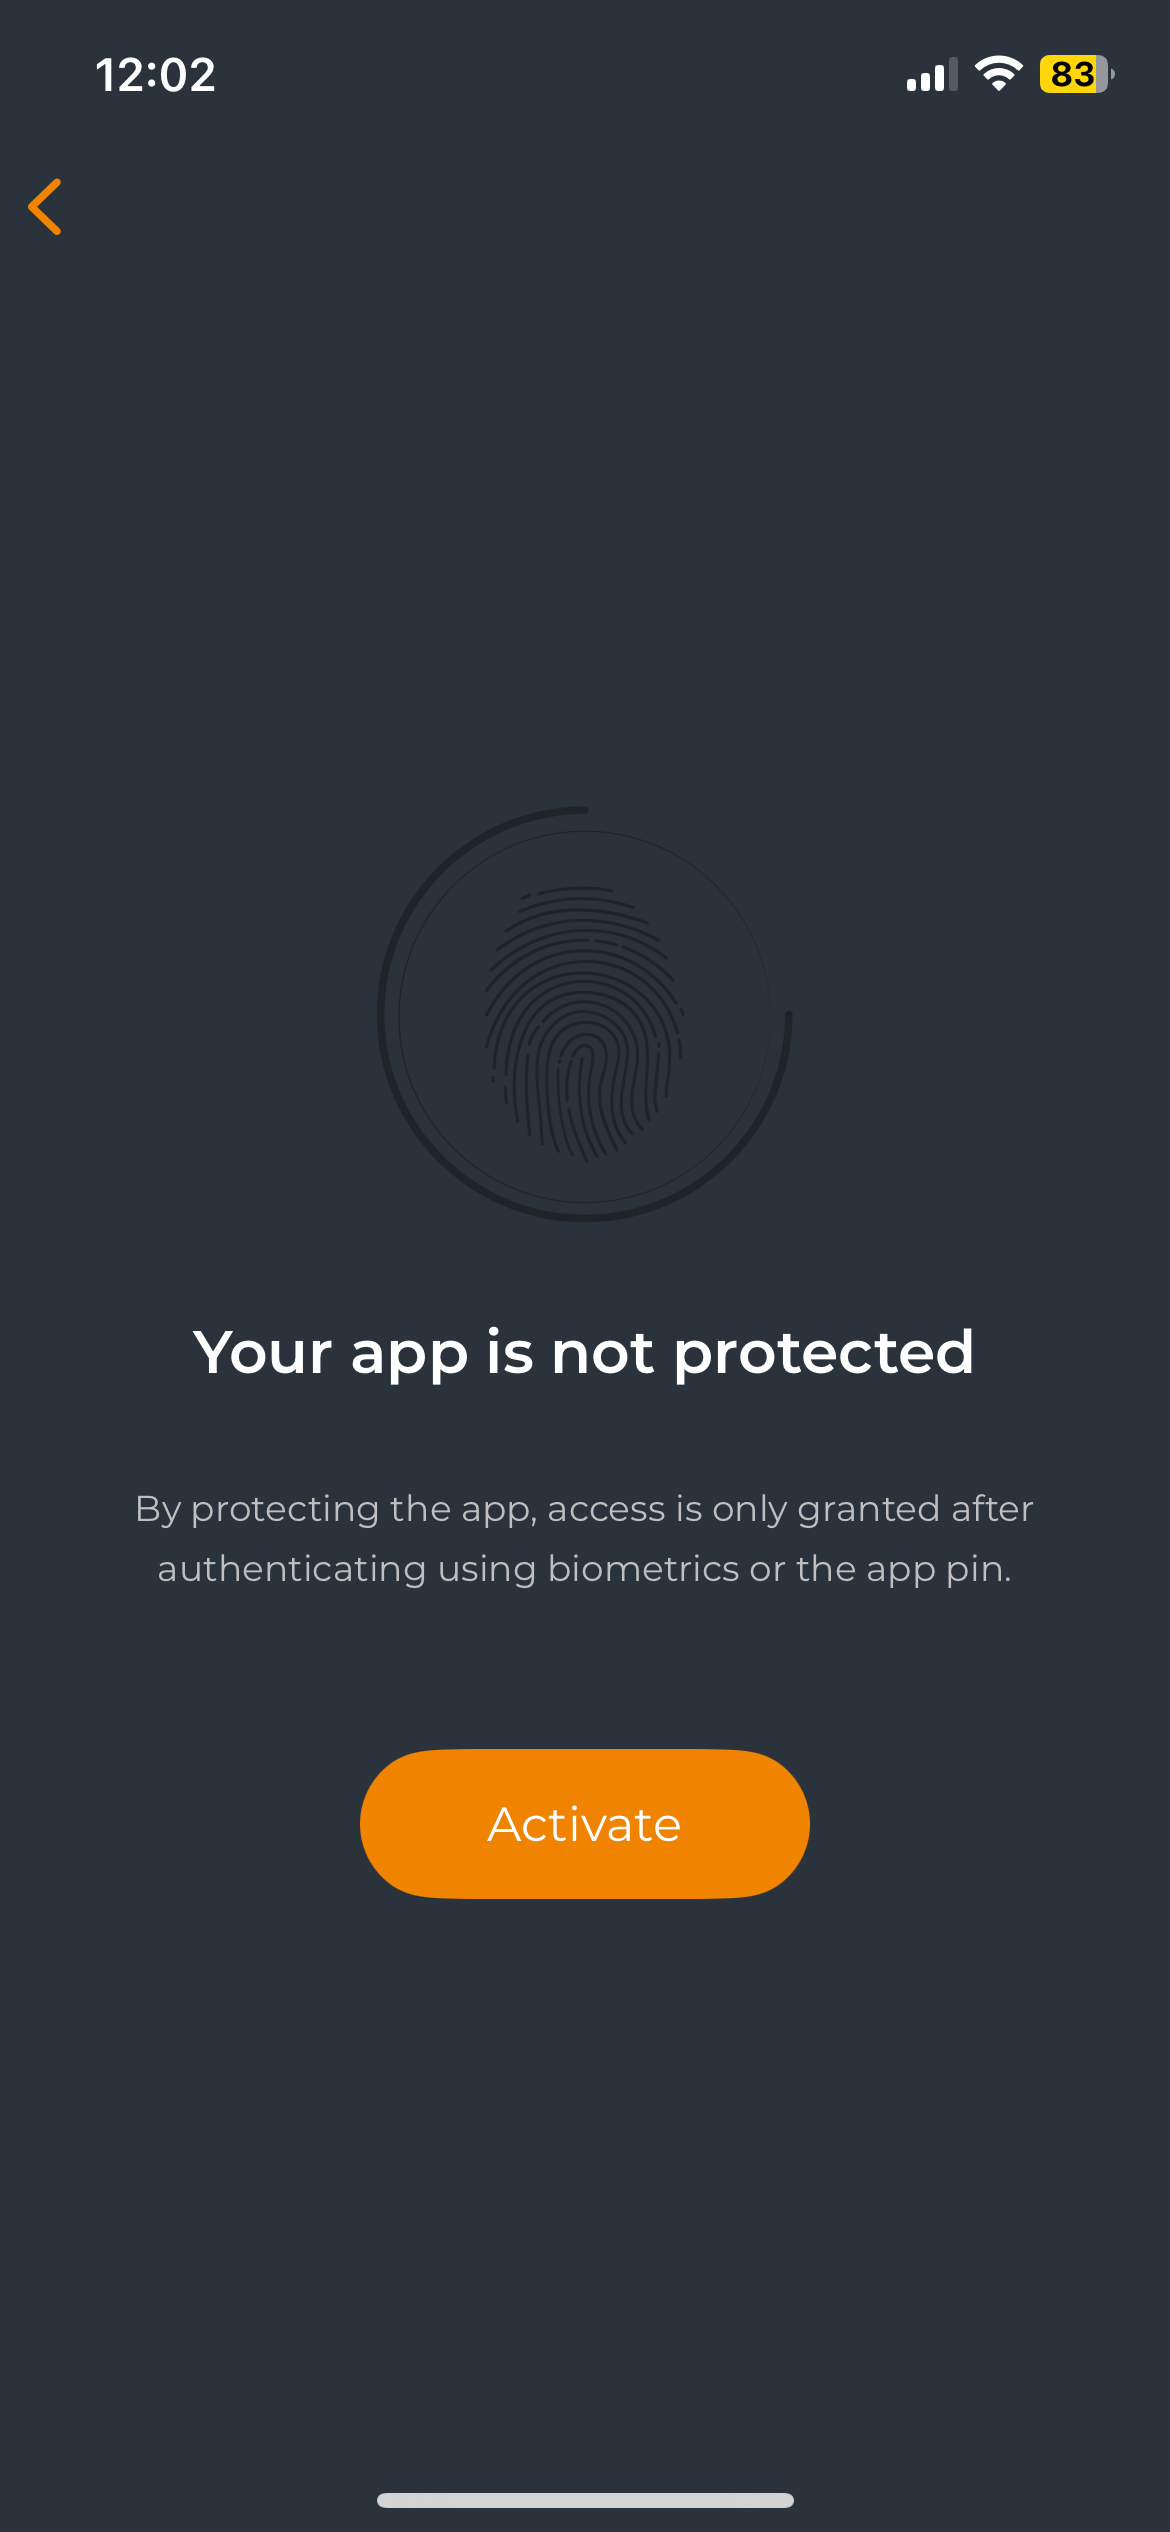
Click on Activate button to start the protection process and you will be prompted to the following screen in order to provide a PIN.
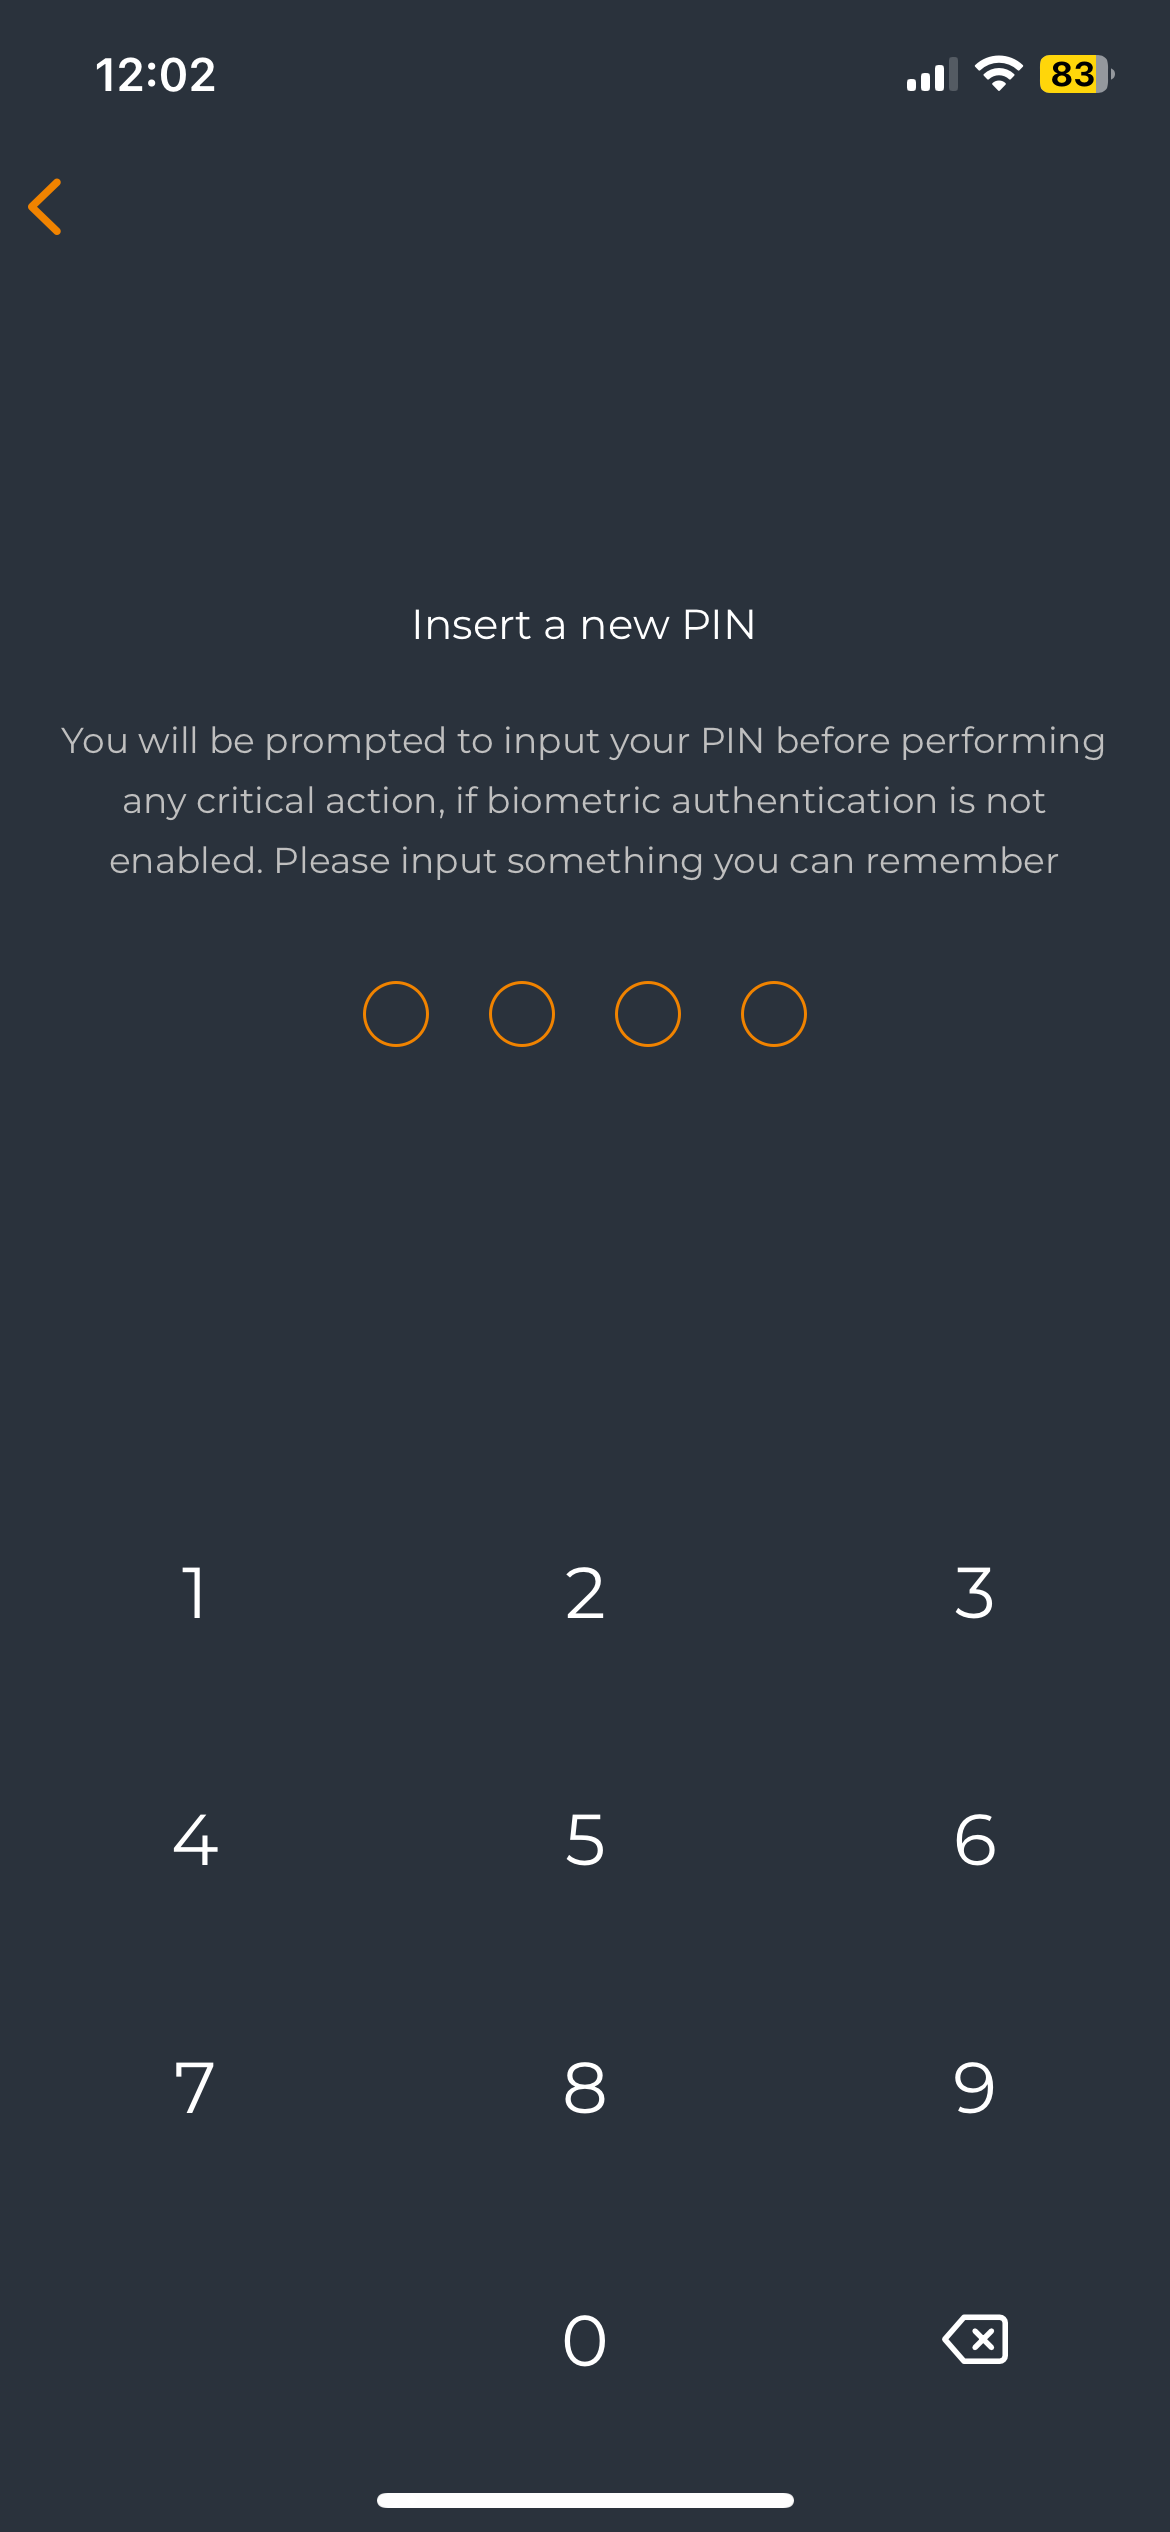
Once you enter your 4-digit PIN, the next screen will prompt you to confirm the PIN you previously entered.
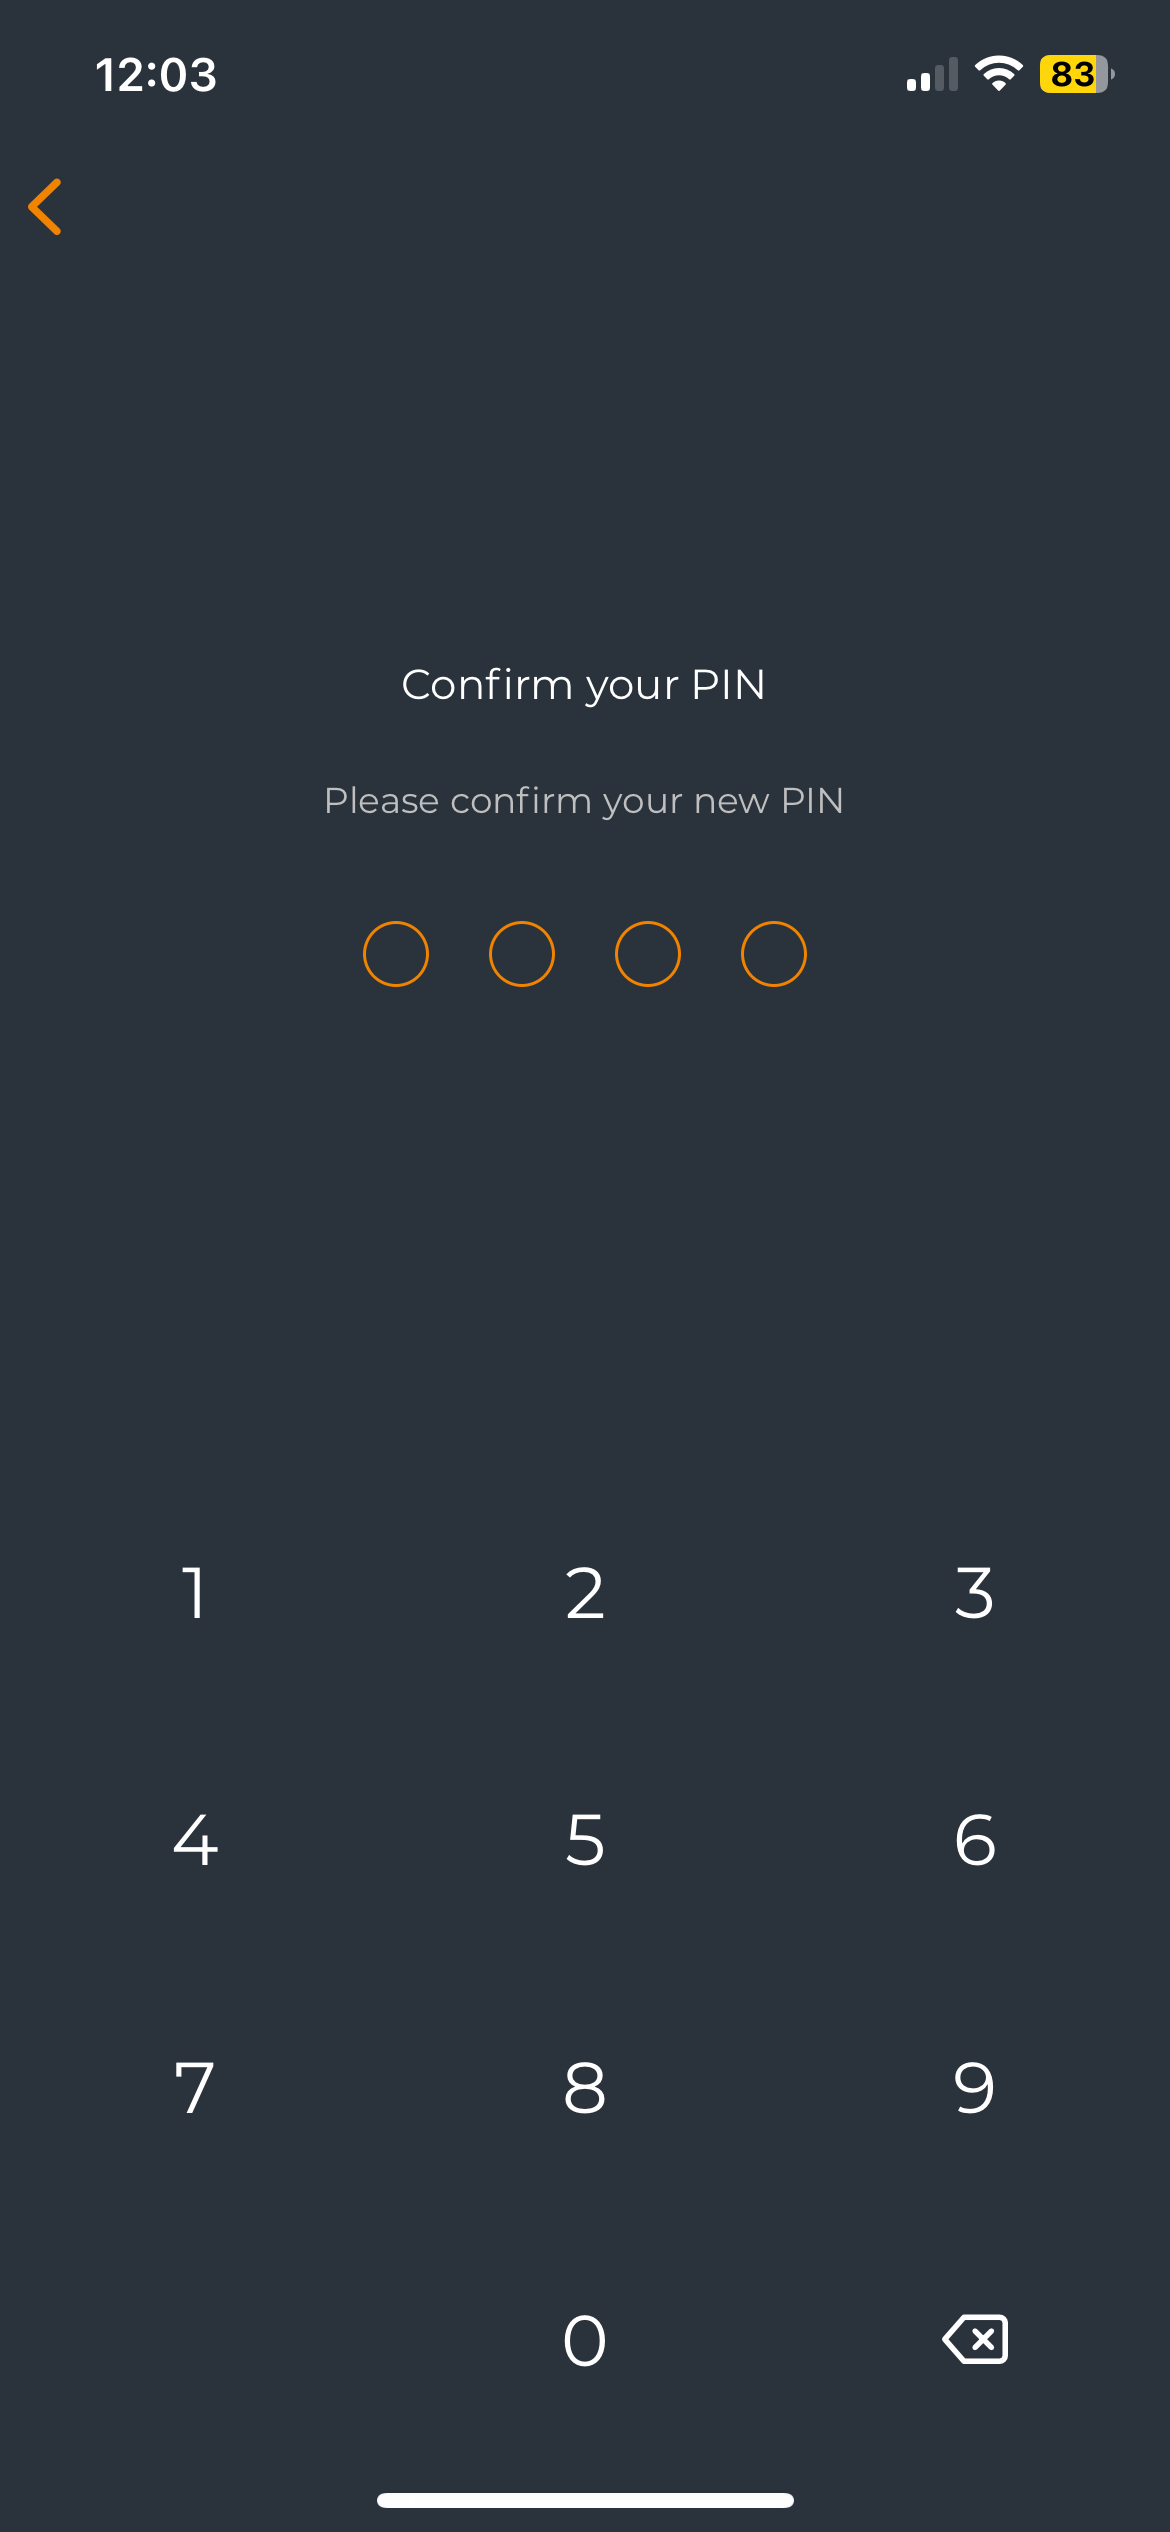
Confirm your PIN, and once confirmed, PIN protection will be enabled. If biometric protection is enabled and supported at the OS level of your device, biometric protection will be used instead.
Additionally, this feature can optionally be enforced at the OpenOTP server level through the Mobile option setting configured with the value Biometrics.
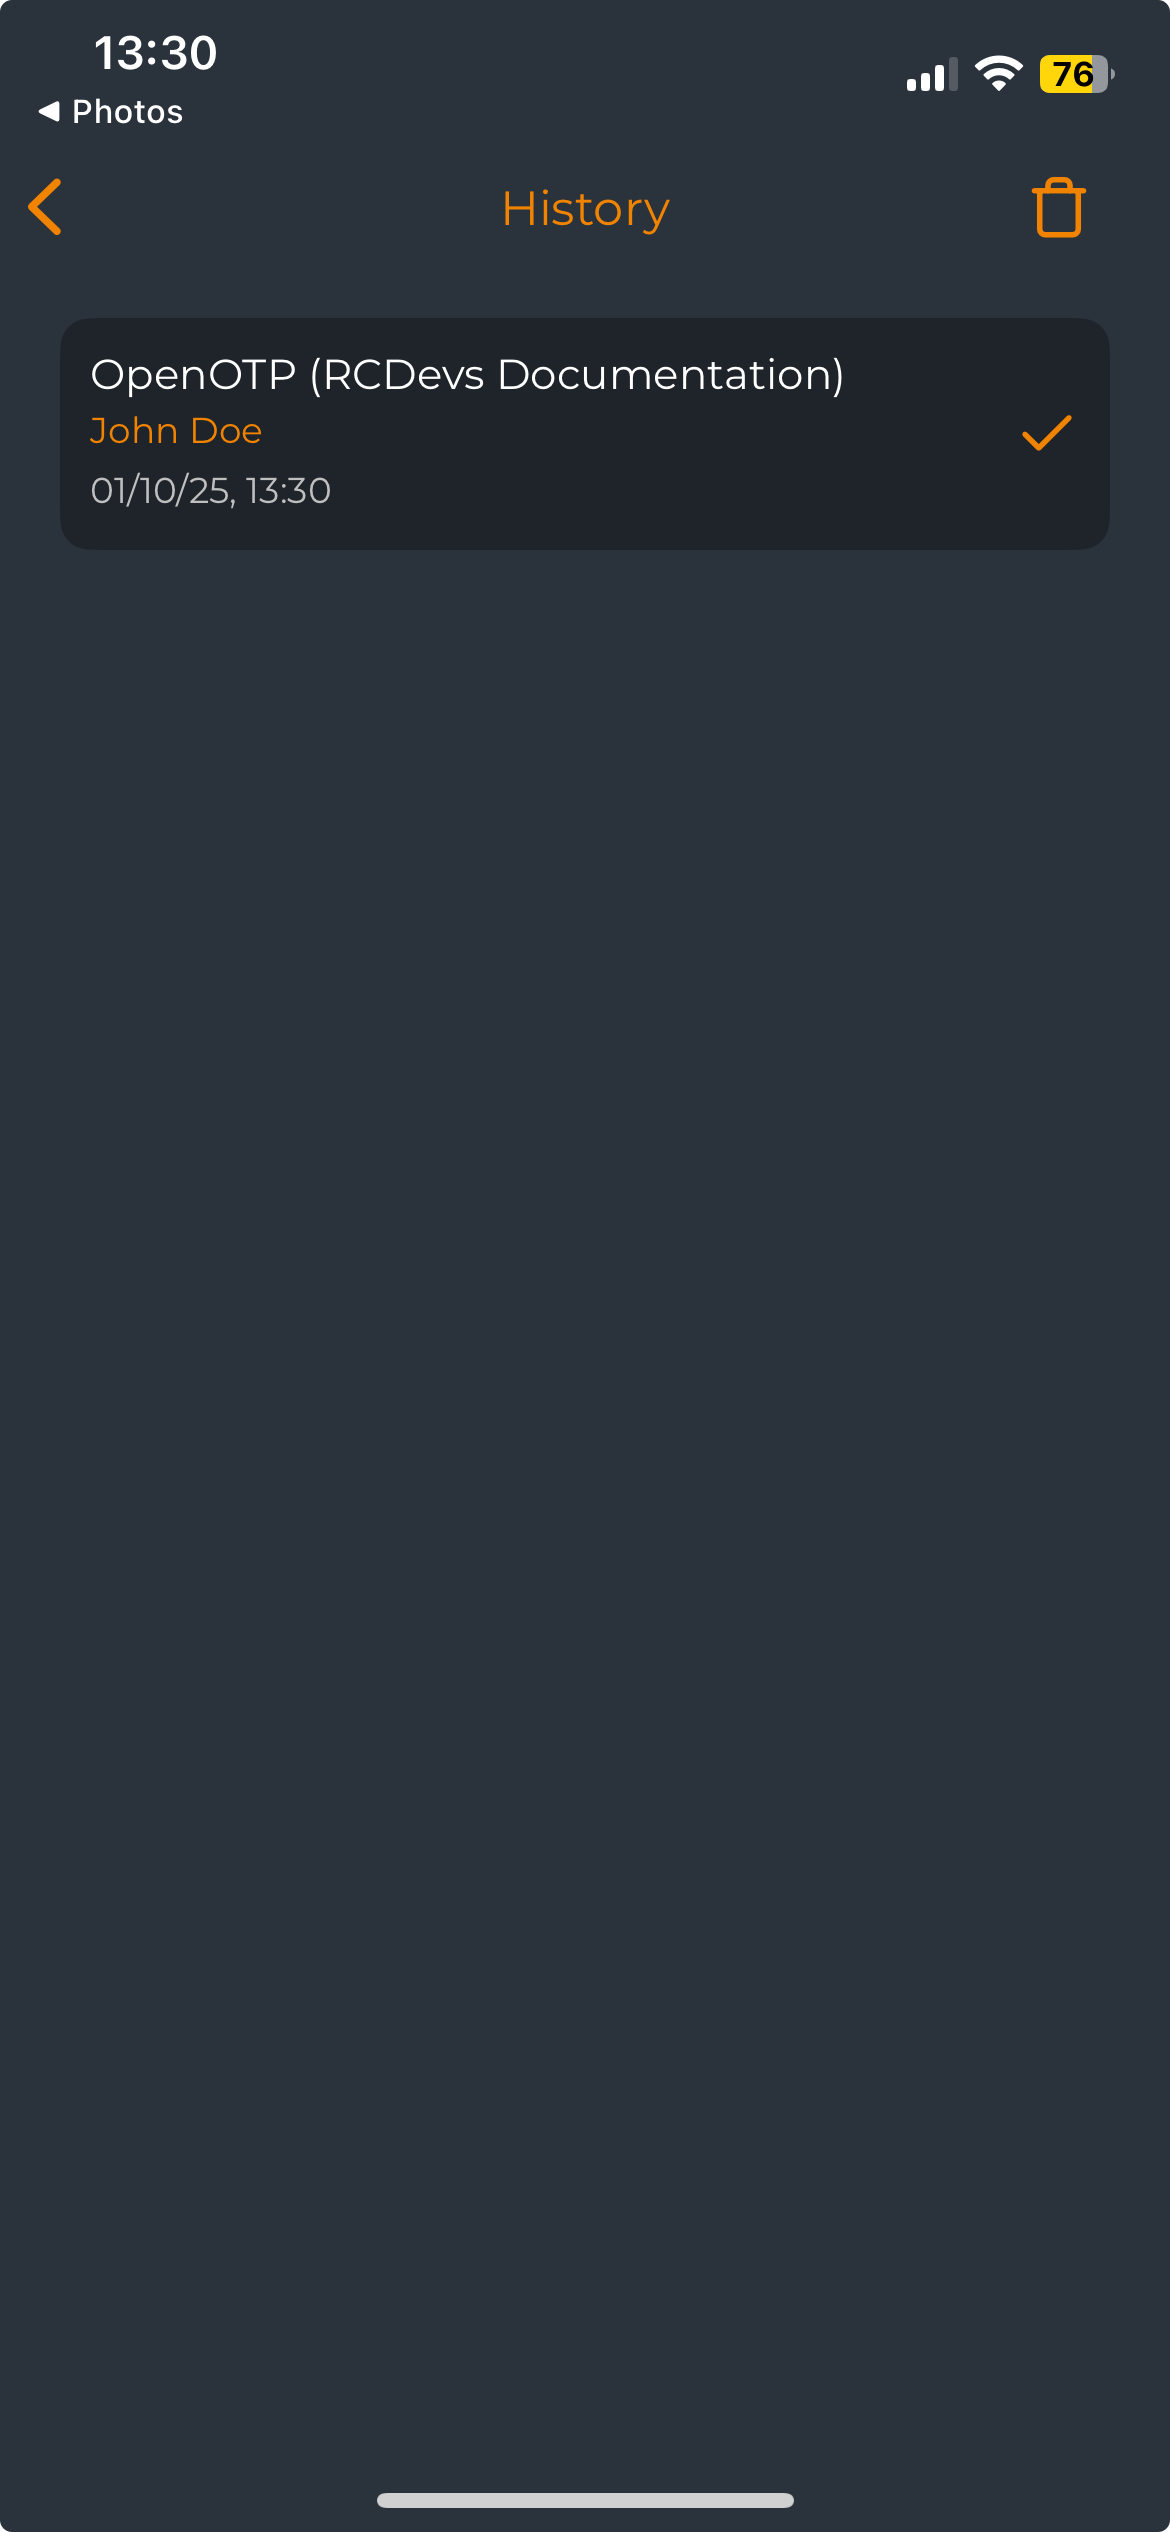
History
By accessing the History menu in your OpenOTP Token application, you can review the transaction history of operations performed using push mechanisms. Transactions not performed using push mechanisms will not be displayed here. You can click on the trash icon at the top right corner to clear the history entries.
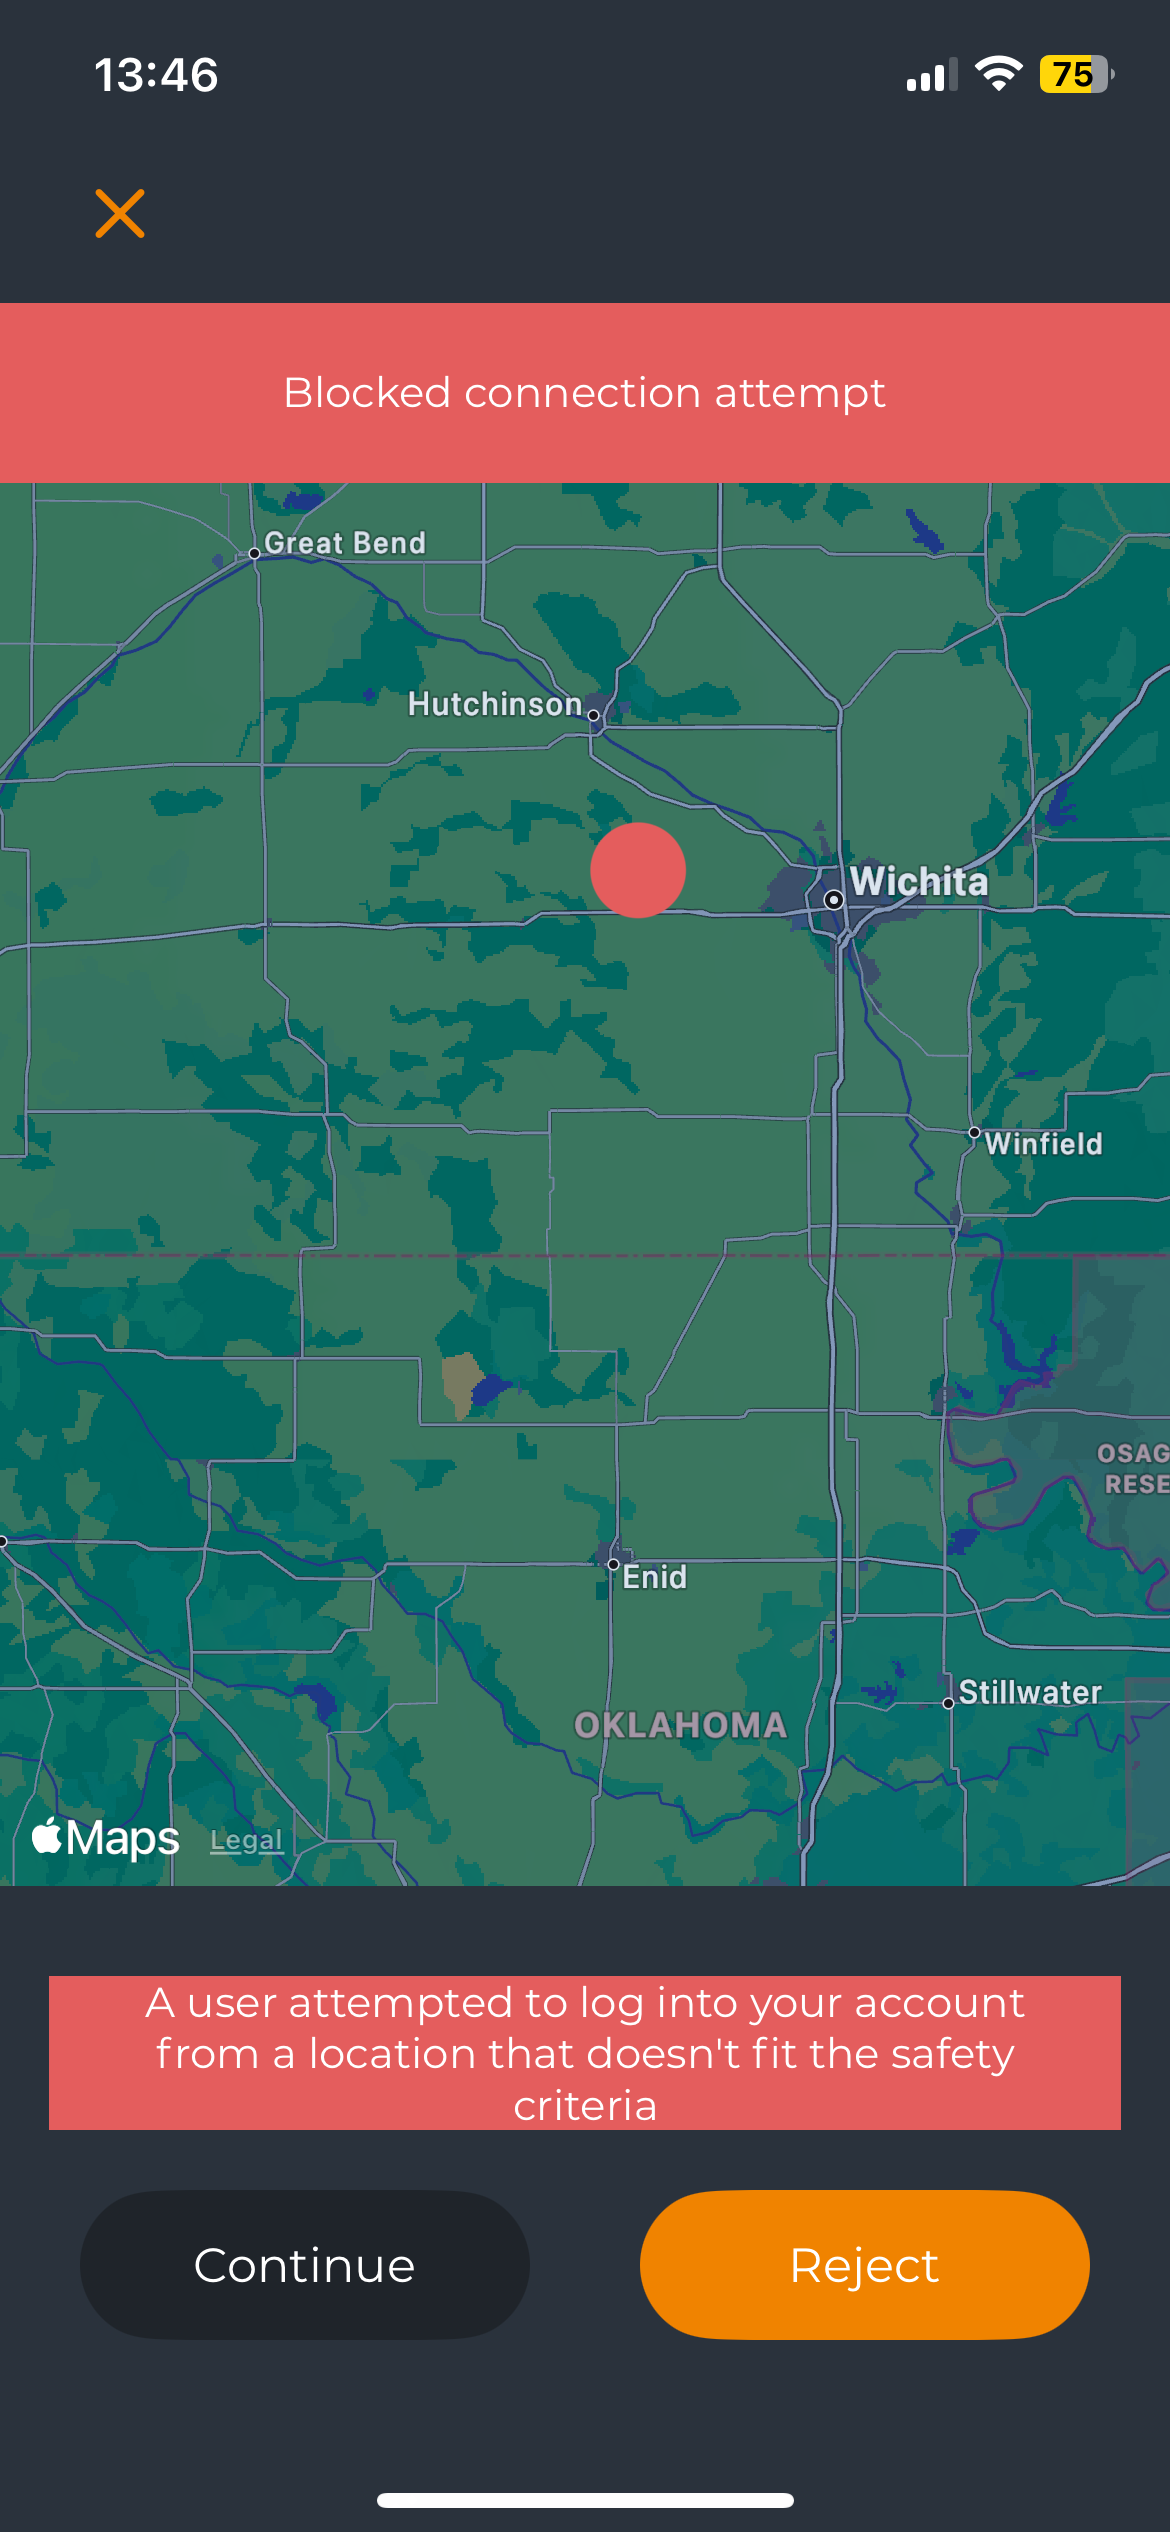
Phishing Protection
Phishing protection works by using the device's location and transactions performed with push mechanisms.
This feature compares the device's location during a transaction with the originating IP of the authentication request. If the distance between the device's location and the IP location is too large, an alert will appear when the transaction is presented on the device. The alert will inform the user of the login's origin. A map will be displayed to show where the authentication request appears to come from.
In this scenario, the user must confirm if they are the one initiating the request before the authentication request proceeds to complete the transaction. If the user is not originating the request, the map screen will provide an option to stop the login process.
Additionally, this feature can optionally be enforced at the OpenOTP server level through the Mobile option setting configured with the value Geomatching.
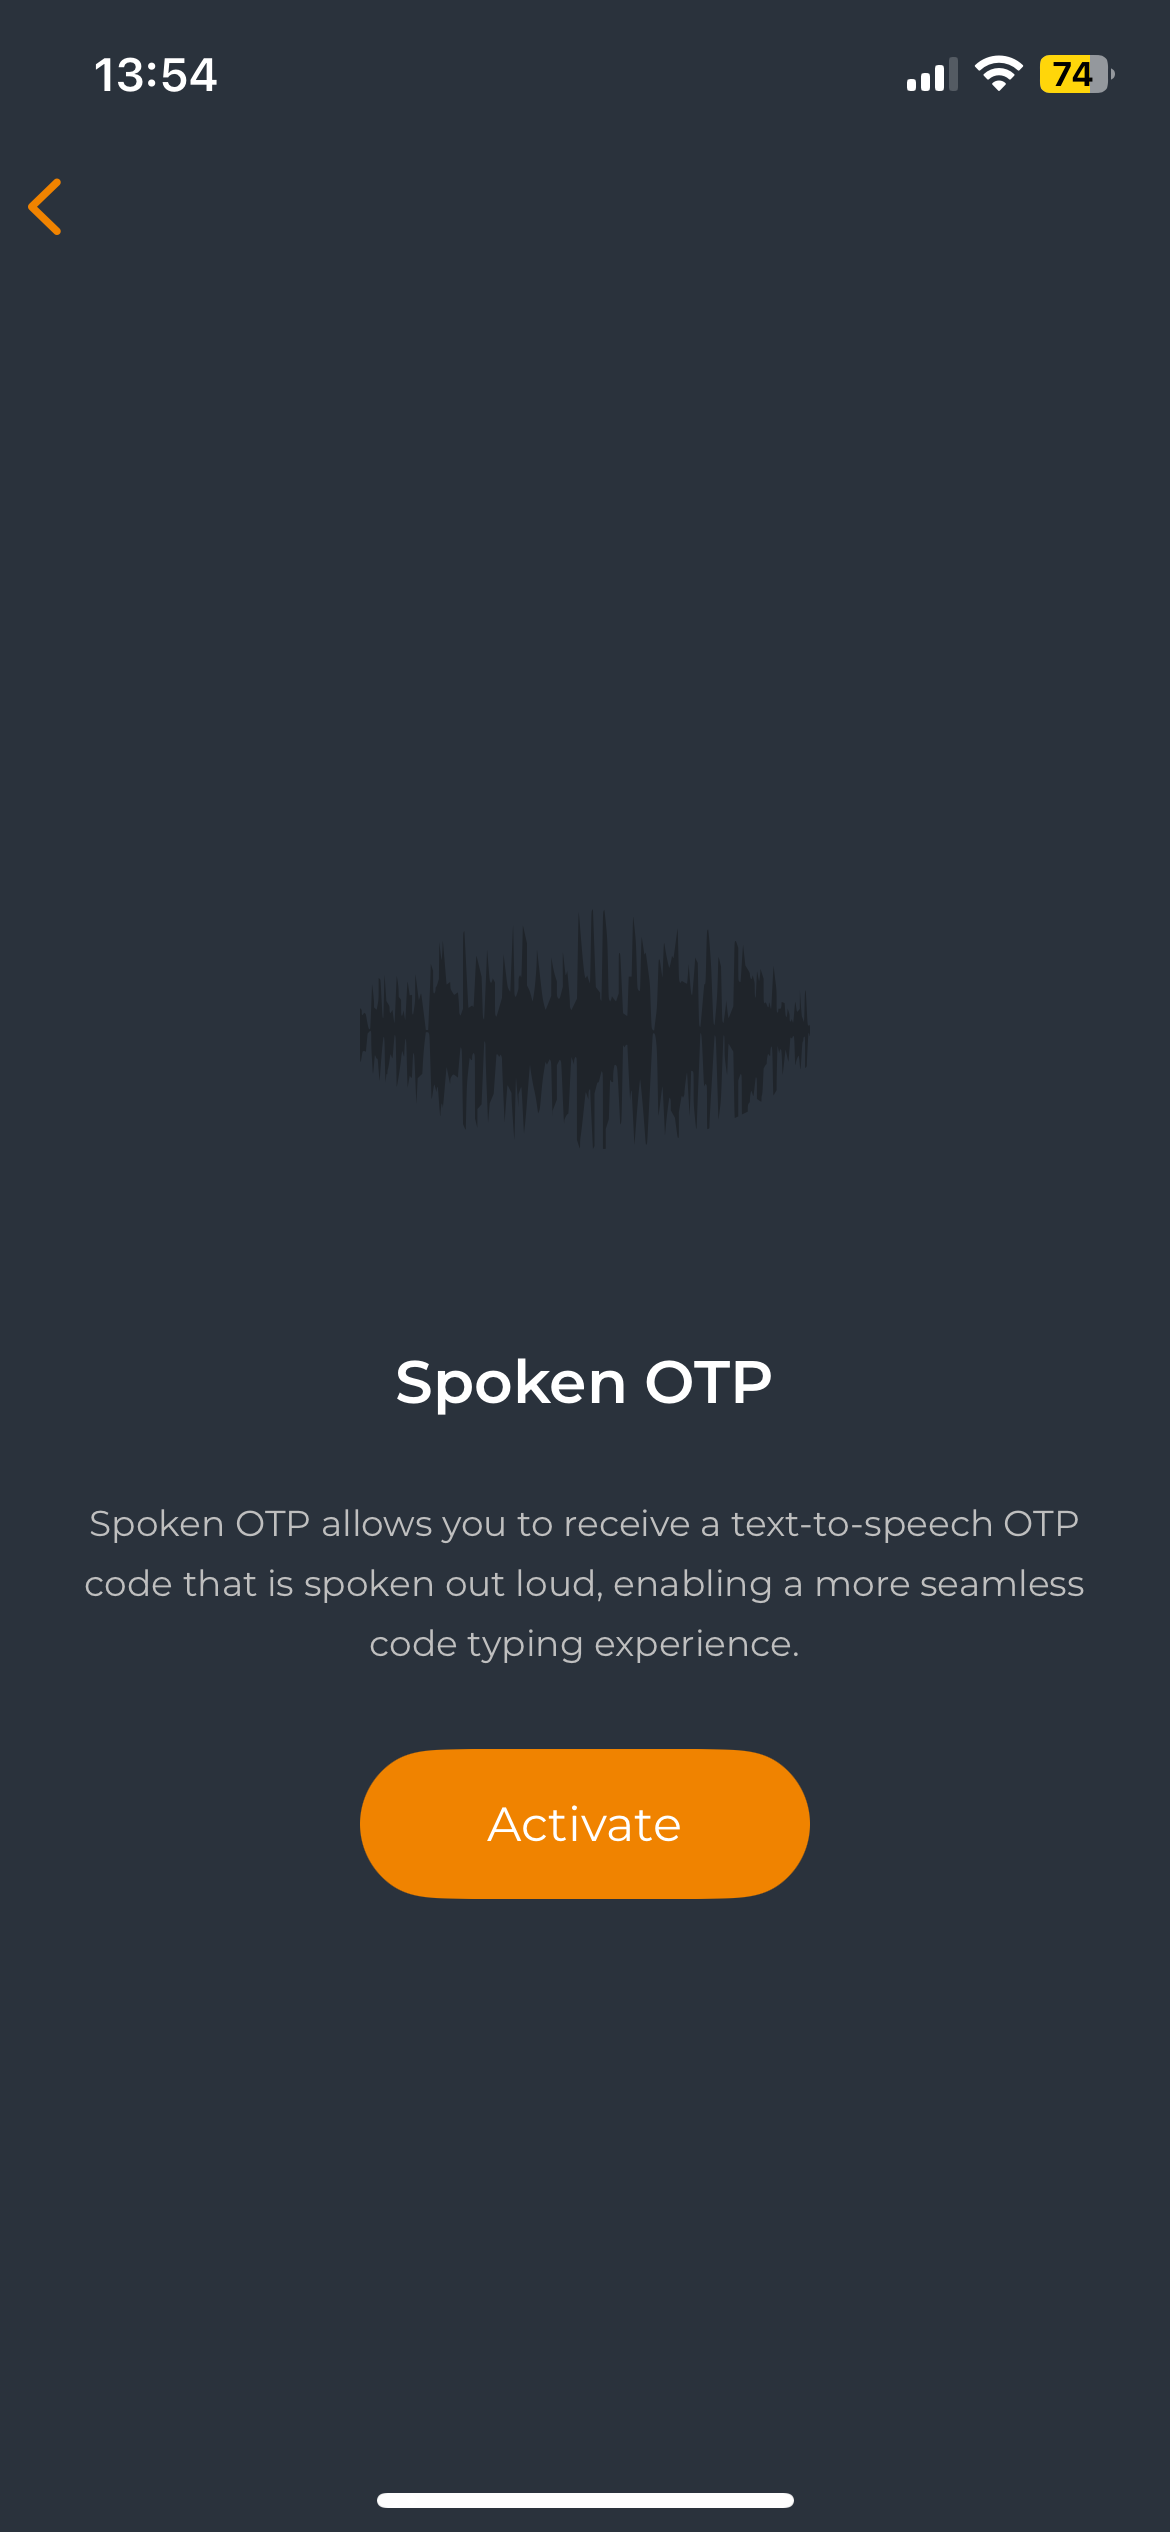
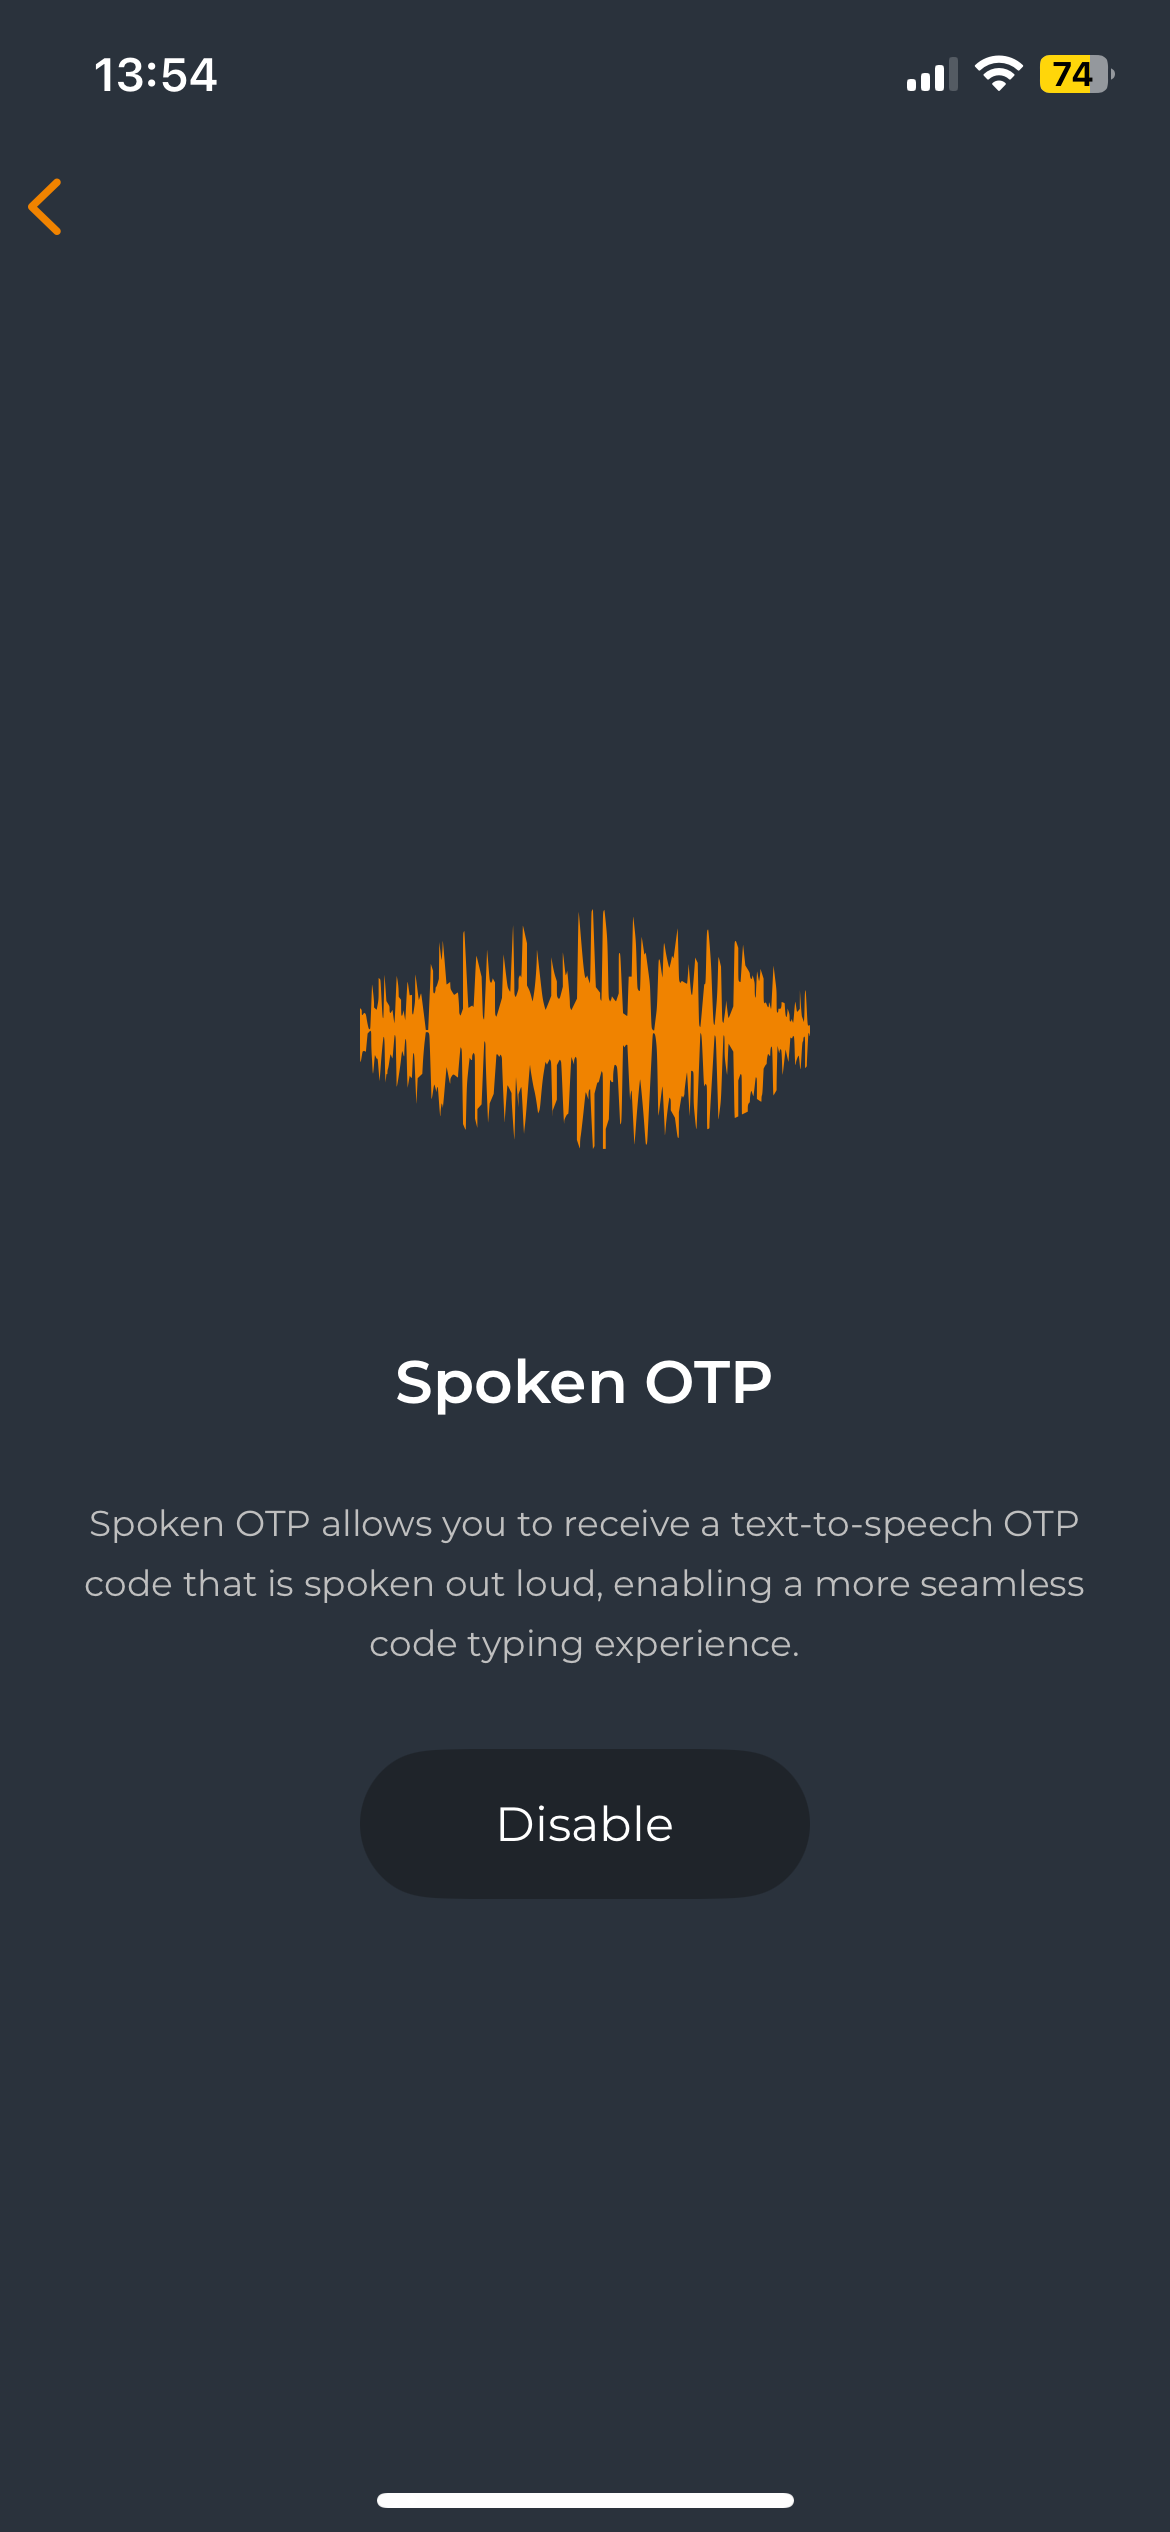
Spoken OTP
The Spoken OTP feature dictates the one-time password (OTP) aloud when it is displayed on the device. This feature is specifically available for Push Displayed OTP codes and is especially useful for users with visual impairments or in situations where it’s difficult to look at the screen. Additionally, this feature can optionally be enforced at the OpenOTP server level through the Mobile option setting configured with the value SpokenOTP. If it is not enforced at the server level, users can enable or disable the feature at their convenience.
Add a token manually
The OpenOTP Token application provides the option to enroll a token manually; however, push tokens cannot be registered using this method. Manual enrollment is recommended for advanced users. The standard enrollment method is through a QR code.
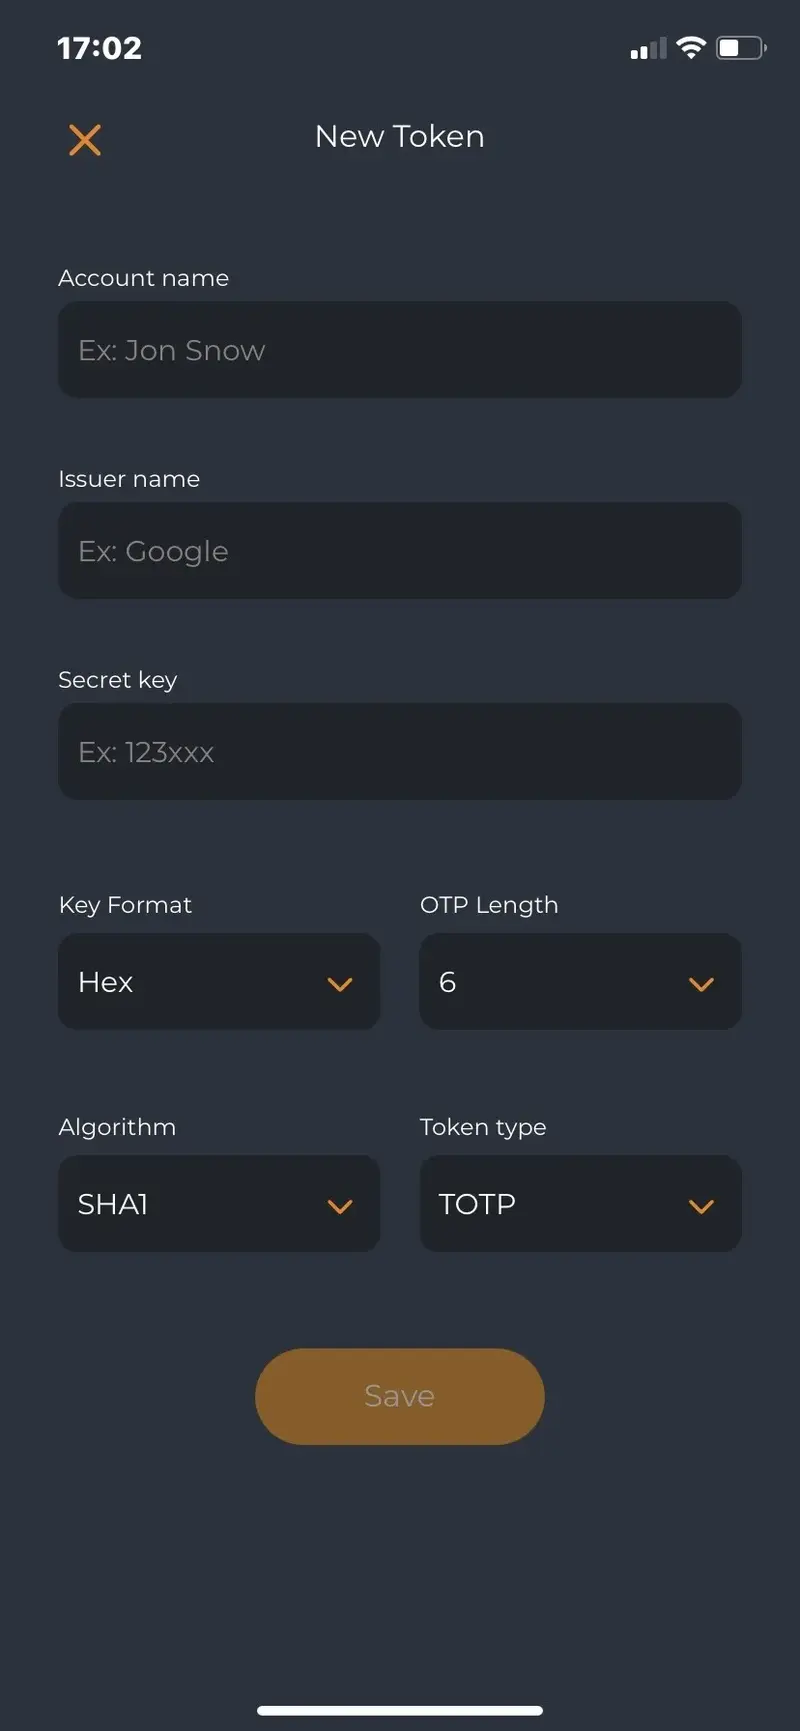
- Account: This is your account name (e.g., administrator).
- Issuer: Typically, this is your company name.
- Algorithm: Choose between SHA1, SHA256, or SHA512.
- OTP Length: You can select either 6 or 8 digits.
- Key Format: The key format can be set to Hexadecimal, Base32, or Base64.
- Key: The secret key used for generating OTP codes.
- Time-Based: Enable this setting for a time-based token. If not enabled, the token will be event-based.
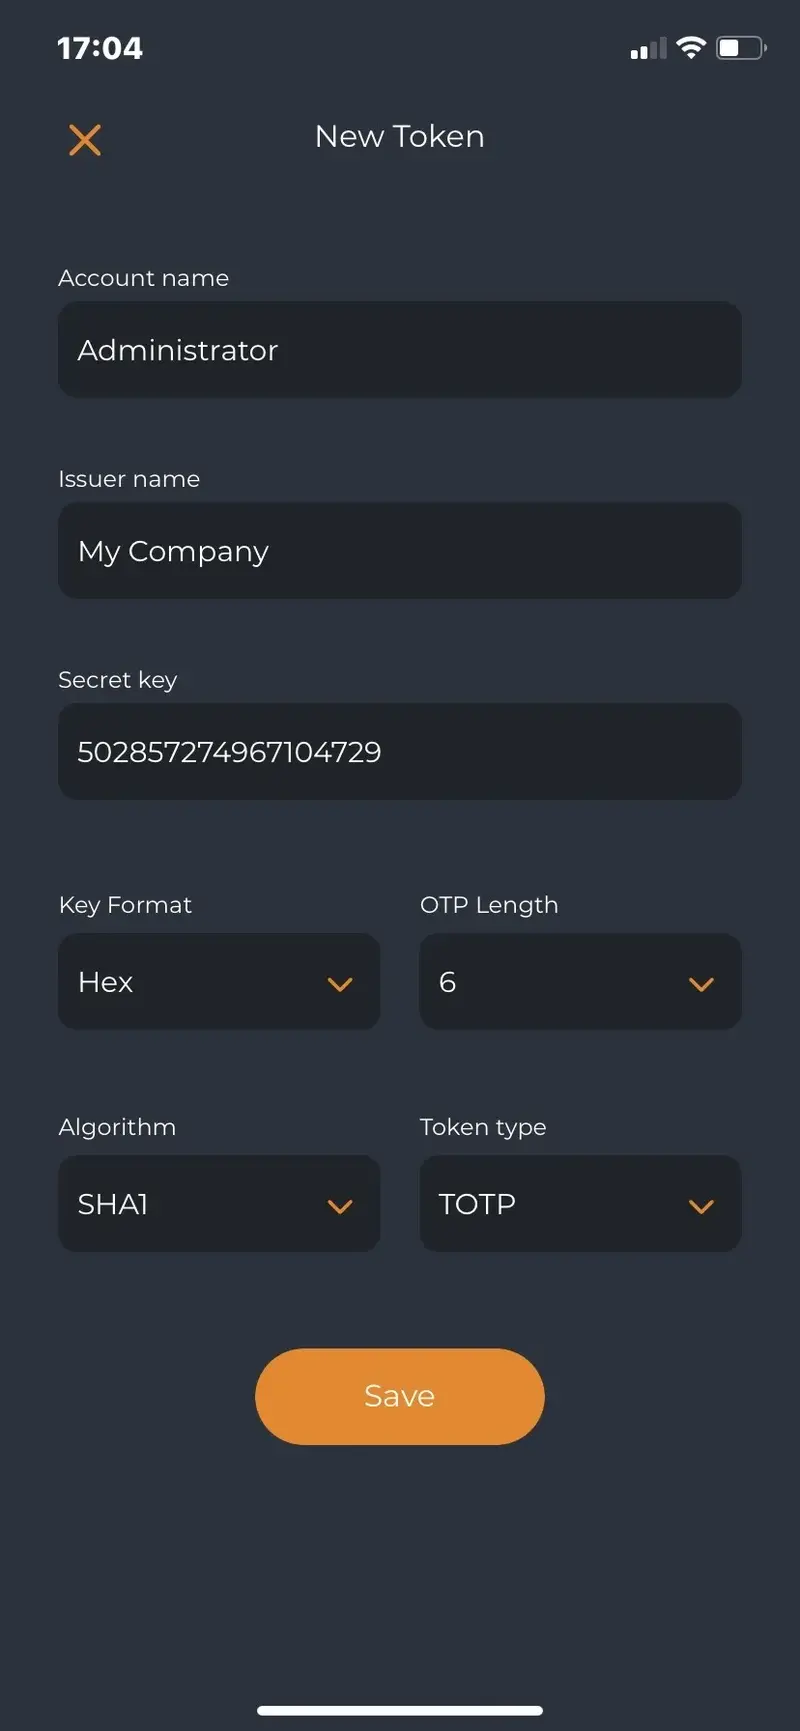
Click the Save button to save your manually registered token.
About us
The About Us menu provides information about RCDevs, including the company's headquarters address.

Rate the app
The Rate the App option redirects you to the Google Play or Apple App Store, where you can leave a rating and review for the app.
Version & Logs
This section displays the version of the application running on your device and its build number. This information may be requested for troubleshooting or debugging purposes. Additionally, if you click Version five times, the application logs will be displayed. In the logs view, you will find two buttons: one to refresh the logs and another to copy the logs to the clipboard.
Token Management
Token Registration
The OpenOTP Token application allows you to register tokens either via QR code or manually. QR code registration is the recommended and most commonly used method, ensuring a seamless and secure enrollment process. Manual token registration is available for advanced users but does not support push tokens. During registration, users need to provide specific details such as the account name, issuer, algorithm, OTP length, key format, secret key, and whether the token is time-based or event-based.
The QR code can be generated through various interfaces provided by RCDevs:
- WebADM Administrator portal;
- User Self-Service Desk portal;
- User Self-Registration portal;
- HelpDesk portal;
- WebADM Manager APIs;
- A Push Token QR code can also be sent via email as a detached QR code. In this scenario, the QR code is an enrollment QR code that does not contain the complete secret key. The final secret key is negotiated between the mobile device and the OpenOTP backend during the communication process after the QR code is scanned by the OpenOTP Token application. The enrollment QR code session is protected by a PIN, which is generated during the QR code enrollment. This PIN must be provided after scanning the QR code to proceed with the negotiation with the OpenOTP backend. Once the enrollment QR code has been scanned and the enrollment is successfully completed, the QR code becomes unusable. For security reasons, the PIN should be provided through a different channel than the enrollment QR code.
The OpenOTP Token application can also be used to scan QR codes provided by other providers such as Google, Microsoft, and others. However, push functionalities are only available within the application associated with the respective provider and its systems.
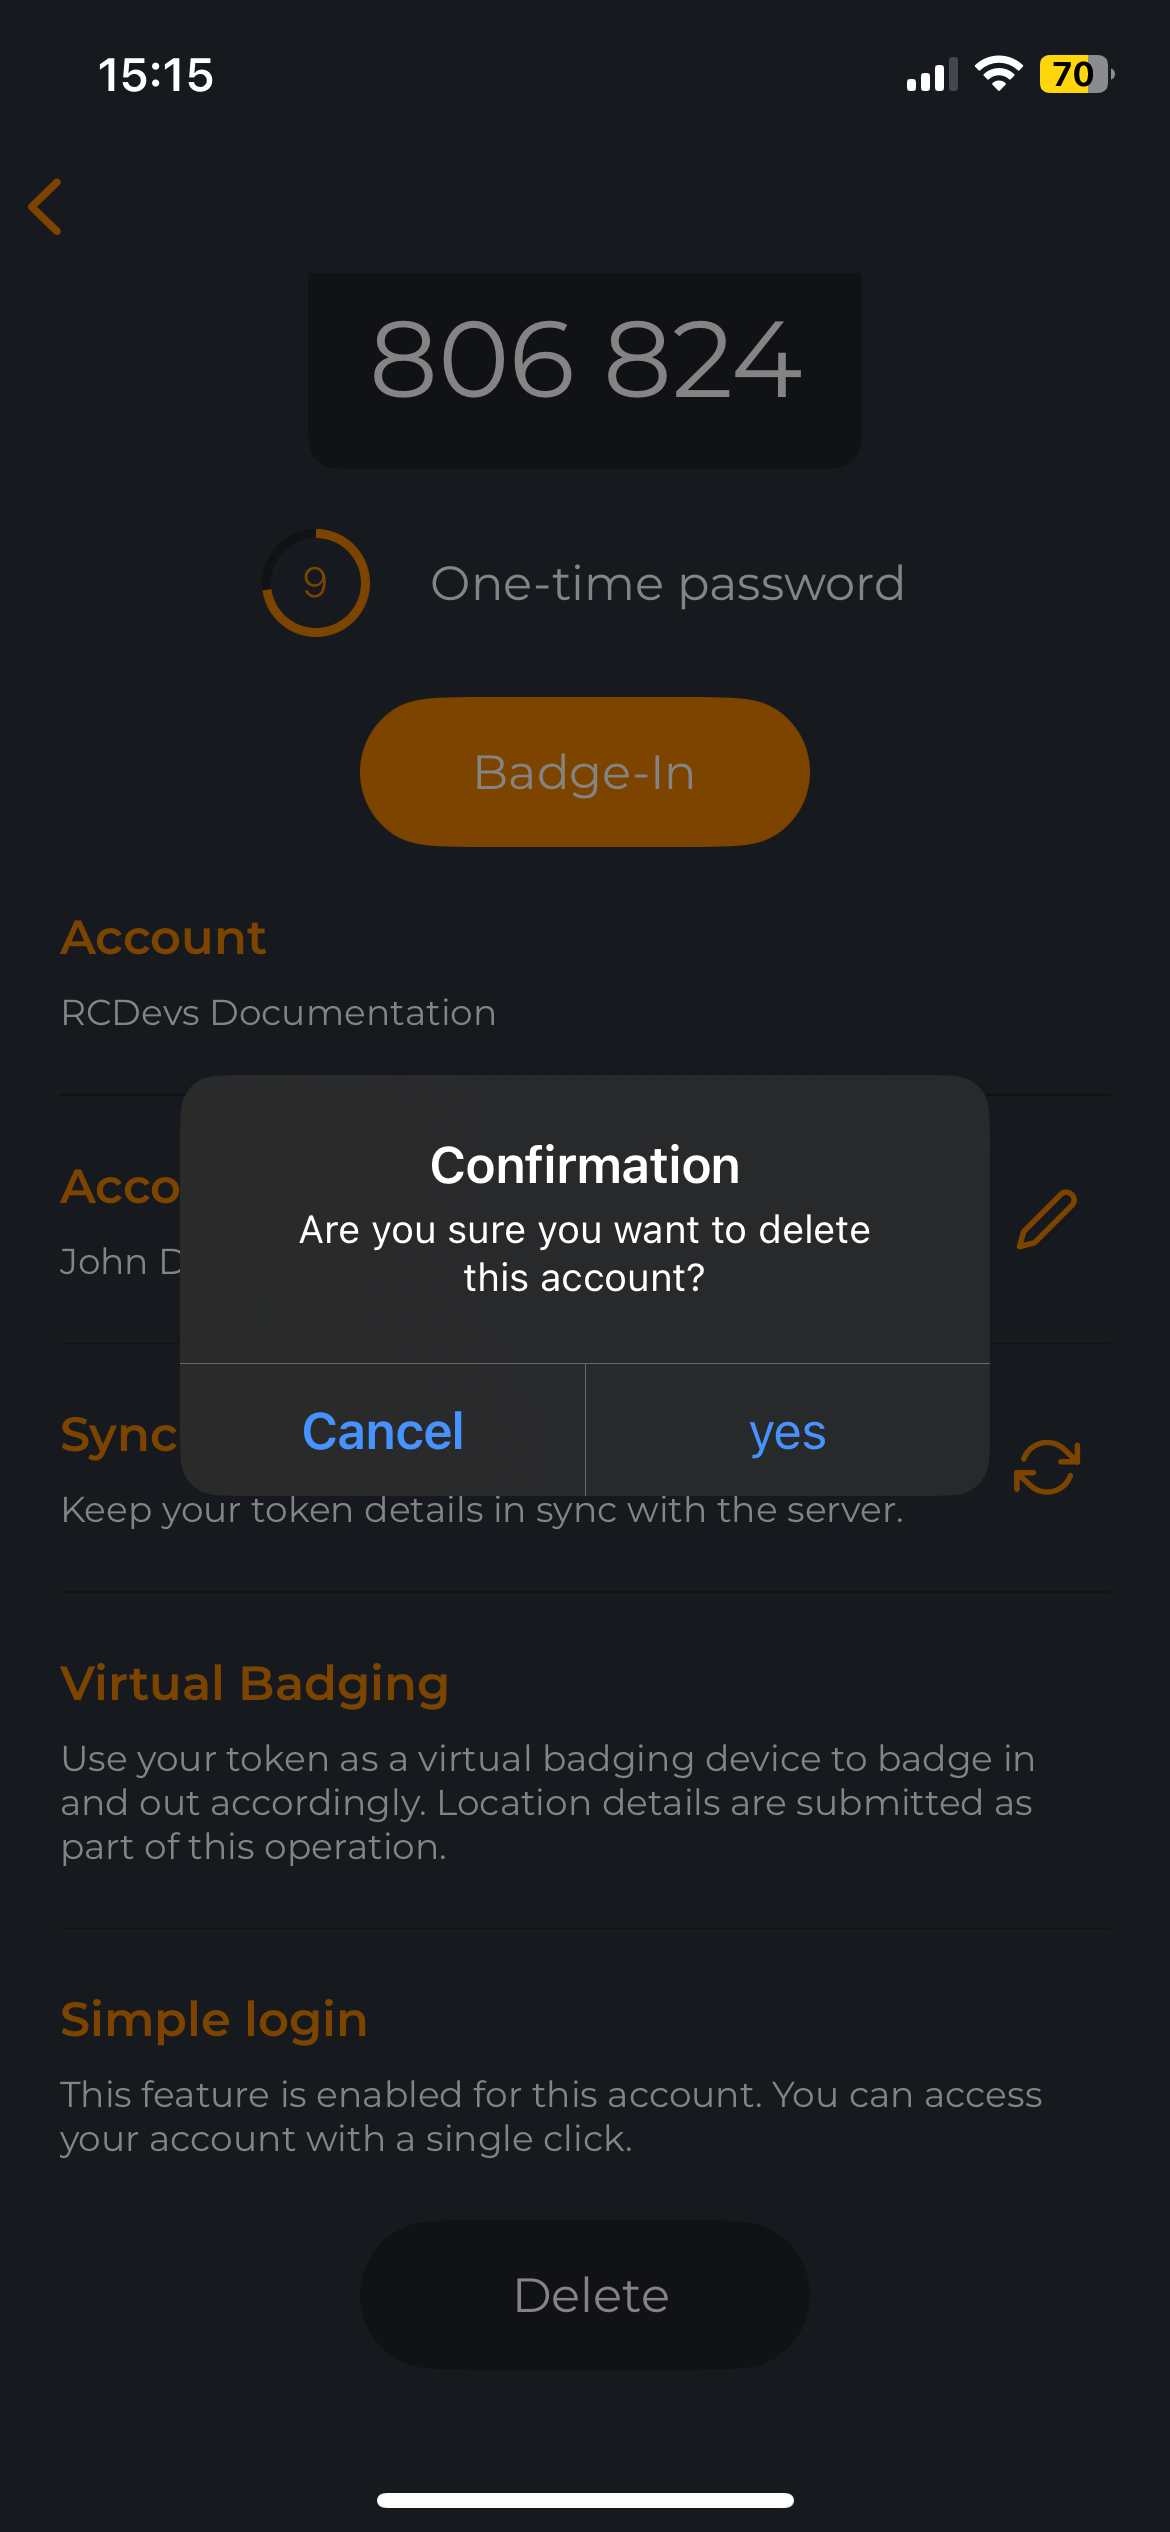
Token Deletion
Tokens can be deleted directly from the Token view in the application. To delete a token, tap the three dots icon in the top-right corner and select Delete. A confirmation screen will appear; confirm the action to remove the token.
Deleting a token enrolled in push mode triggers a removal action on the backend, ensuring the token is also removed from the user’s account on the OpenOTP server. However, deleting a token that is not enrolled in push mode will not remove it from the account.
Token Export
Starting with iOS version 1.5.32 (build 104) and Android build 62479903, the OpenOTP Token application supports exporting tokens from one mobile device to another.
Tokens can be exported only from the OpenOTP Token application and imported only into the same application on a different device. Exporting tokens to third-party applications is not supported.
Push-enabled tokens
Exporting a push-enabled token triggers a resynchronization with the OpenOTP Mobile endpoint. During this process:
- The token secret is rotated.
- The PushID of the new device is registered on the backend.
- Device metadata (manufacturer, model, etc.) is updated.
After a successful import on the new device, the push-enabled token on the original device is invalidated and can no longer be used.
Export of push-enabled tokens is controlled by the ExportQR setting under Mobile Push Options > Mobile Options in OpenOTP Server configuration.
When this option is disabled, push-enabled token export is not permitted and the export option is not available in the application.
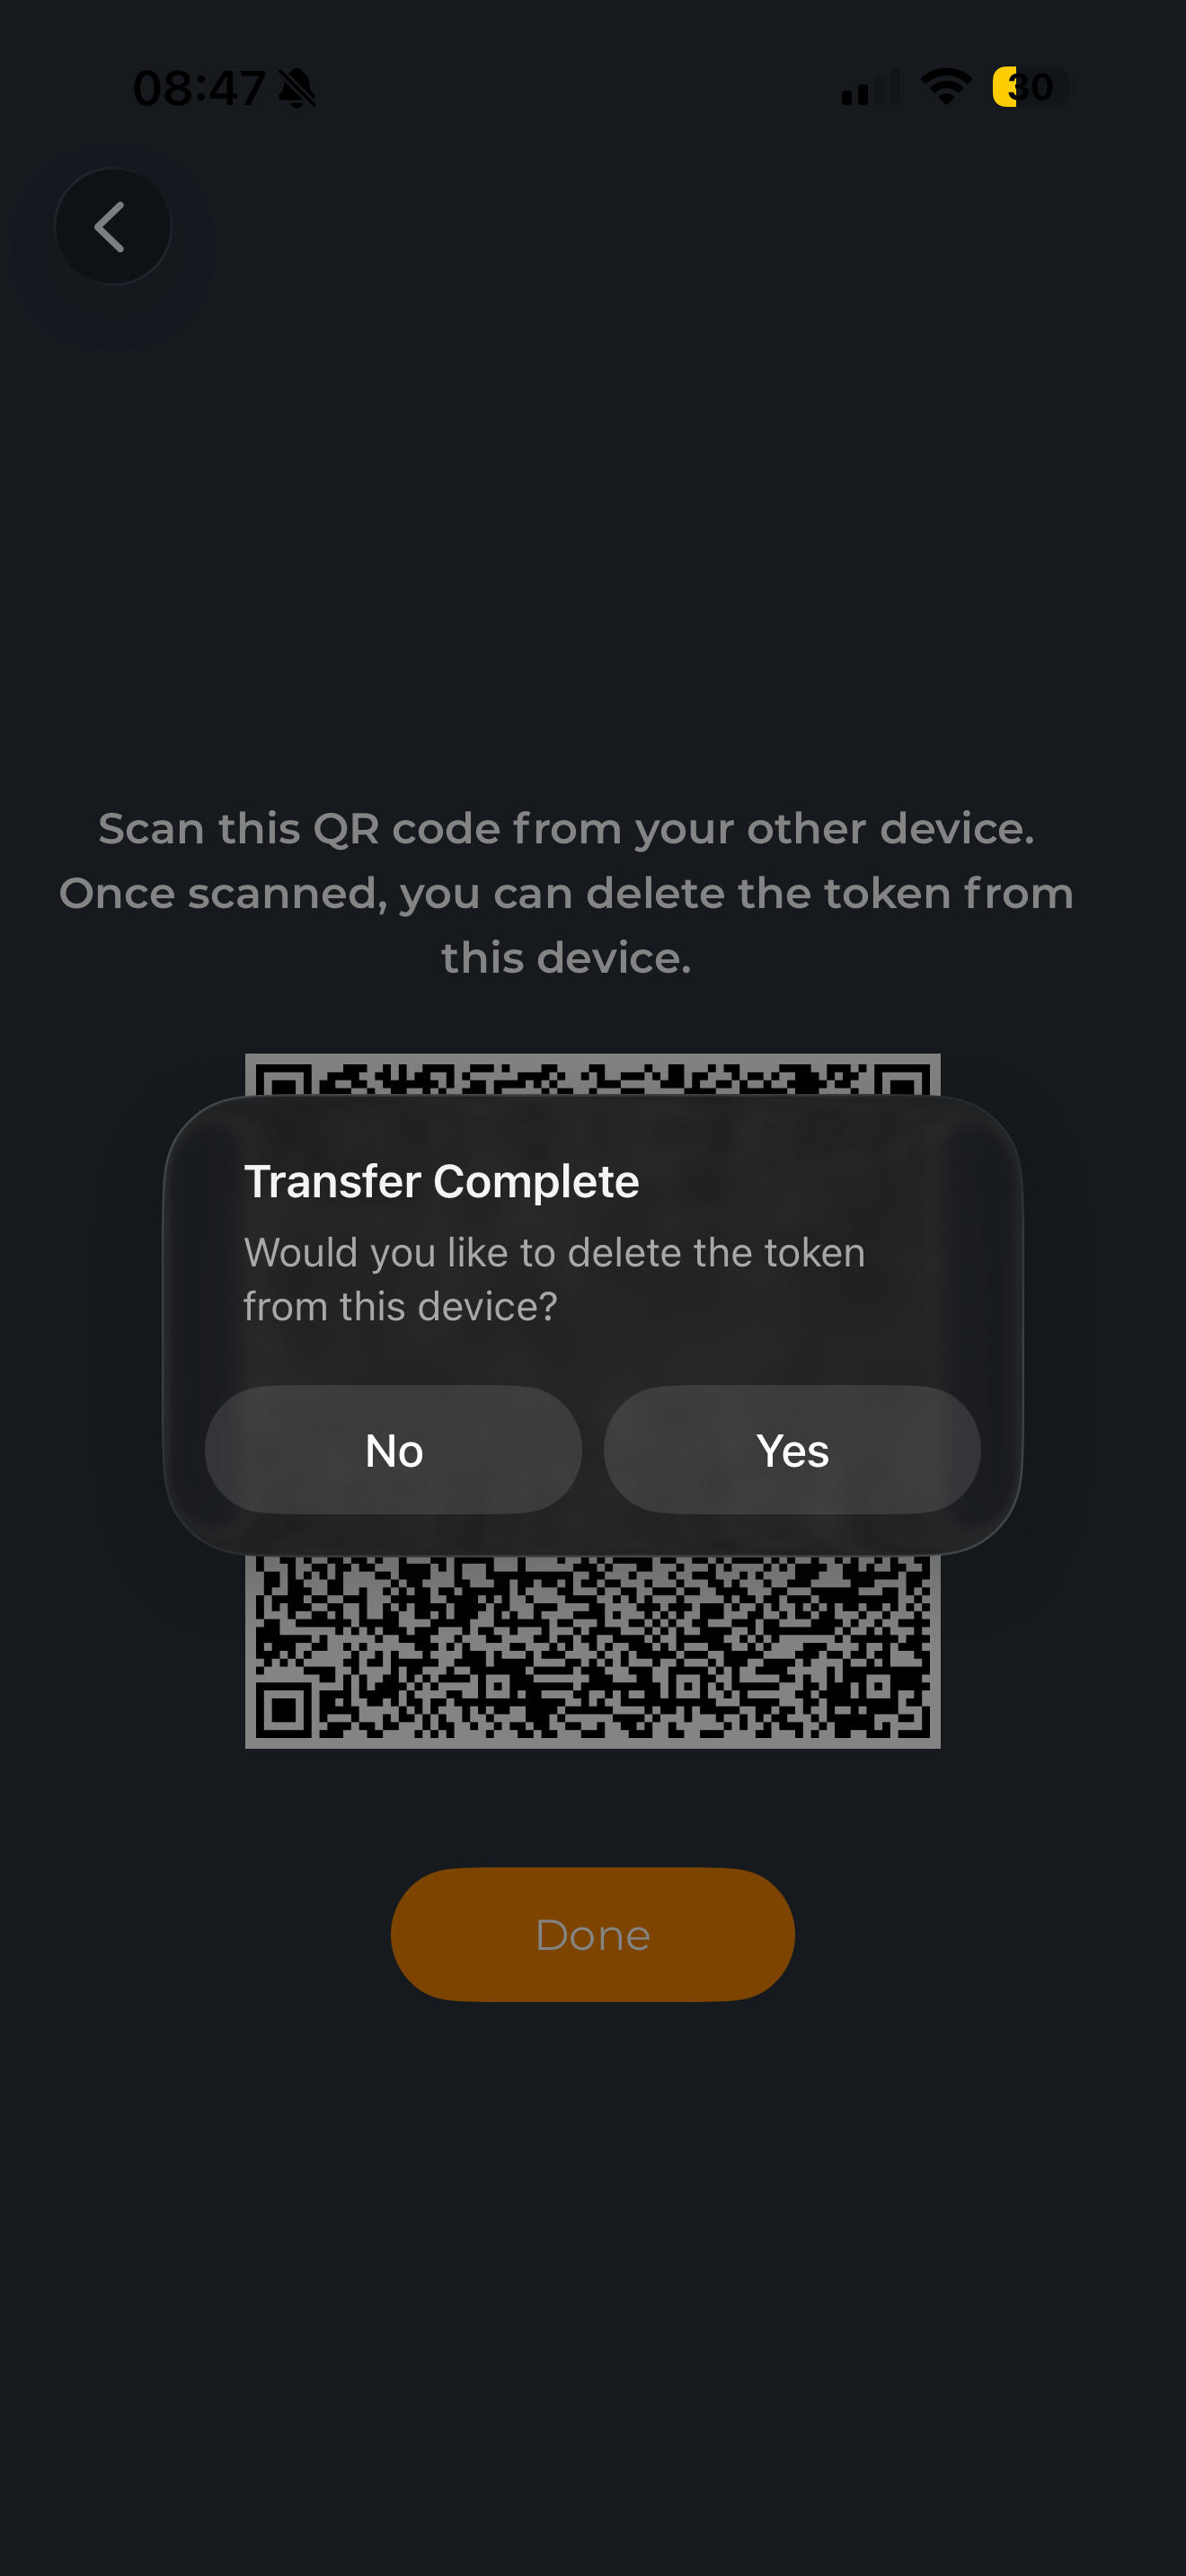
After a successful export, the user is prompted to click Done and asked whether to remove the token from the original device. If the user selects No, the token remains visible on both devices; however, it is no longer valid on the original device because the secret key has been rotated on the backend during the import process.
Offline tokens (TOTP/HOTP)
Offline tokens (standard TOTP/HOTP) can be exported.
After a successful export, the user is prompted to remove the token from the original device. If the user selects No, the token remains active on both devices.
This configuration is not recommended, as duplicating a token across multiple devices increases the risk of compromise.
Exporting
Click on an expotable token, tap the three dots icon in the top-right corner and select Export.

A QR code is displayed. Scan this QR code using the OpenOTP Token application on the other device.
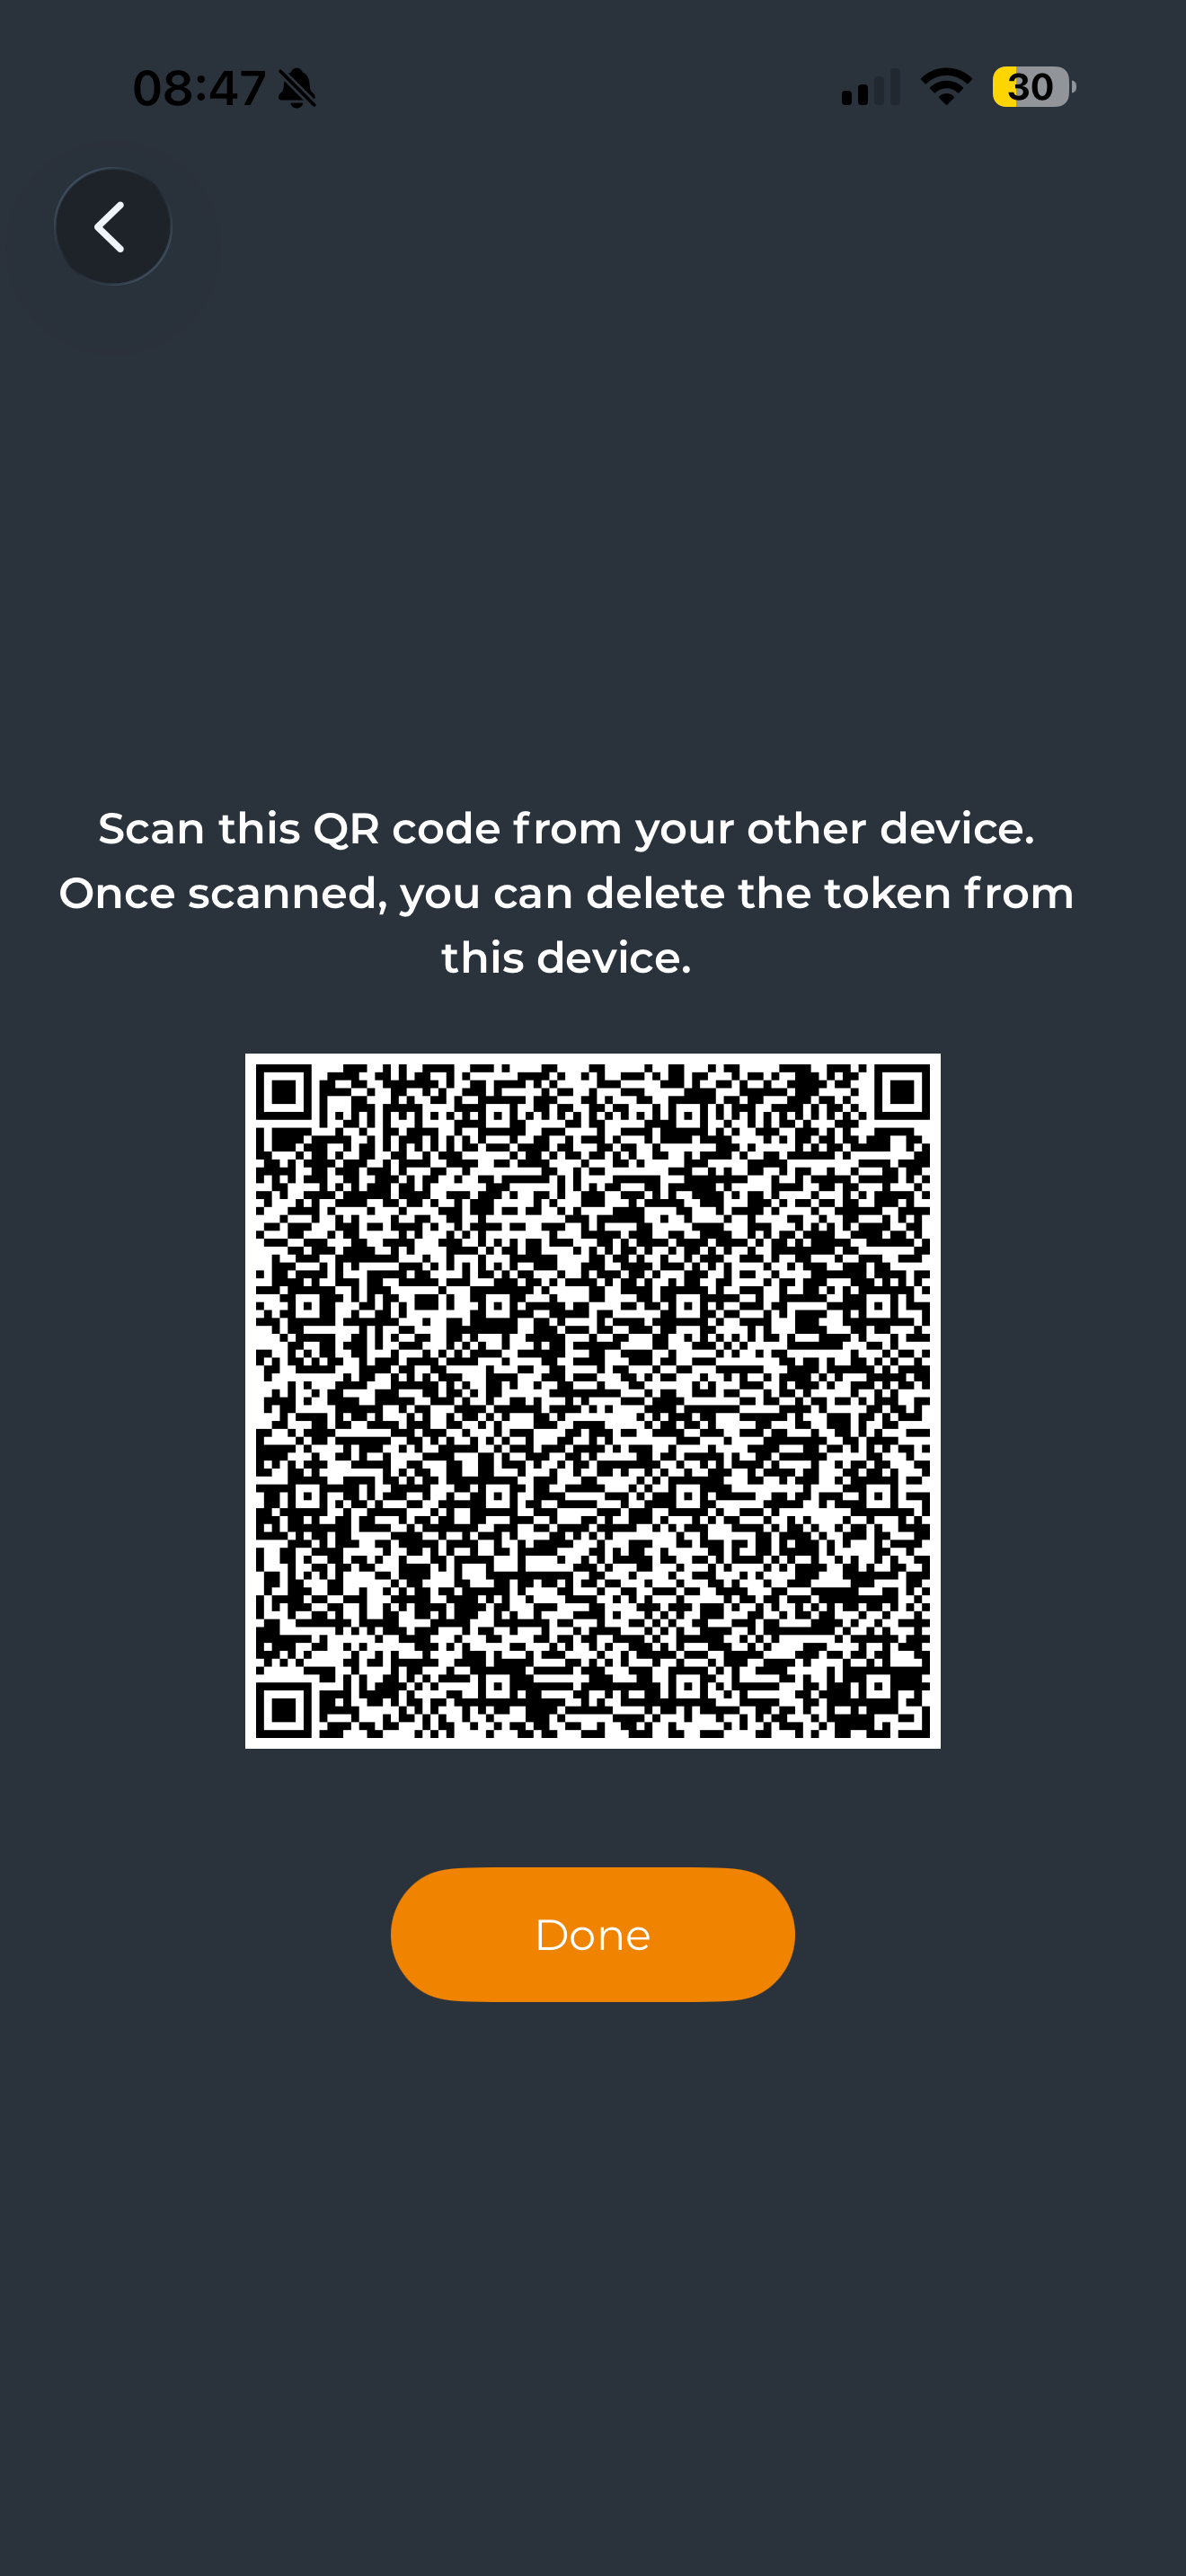
Once the token has been successfully exported to the new device, tap Done on the original device. You will then be prompted to remove the token.
Token Resynchronization
The Synchronization button in the Token view allows you to resynchronize your token with the backend server. This process updates essential elements such as the token's secret key, logo, mobile endpoint URL, and OpenOTP configuration options related to token settings. Resynchronization ensures that your token remains up-to-date and functional, especially after server-side changes or key rotations triggered by token expiration.
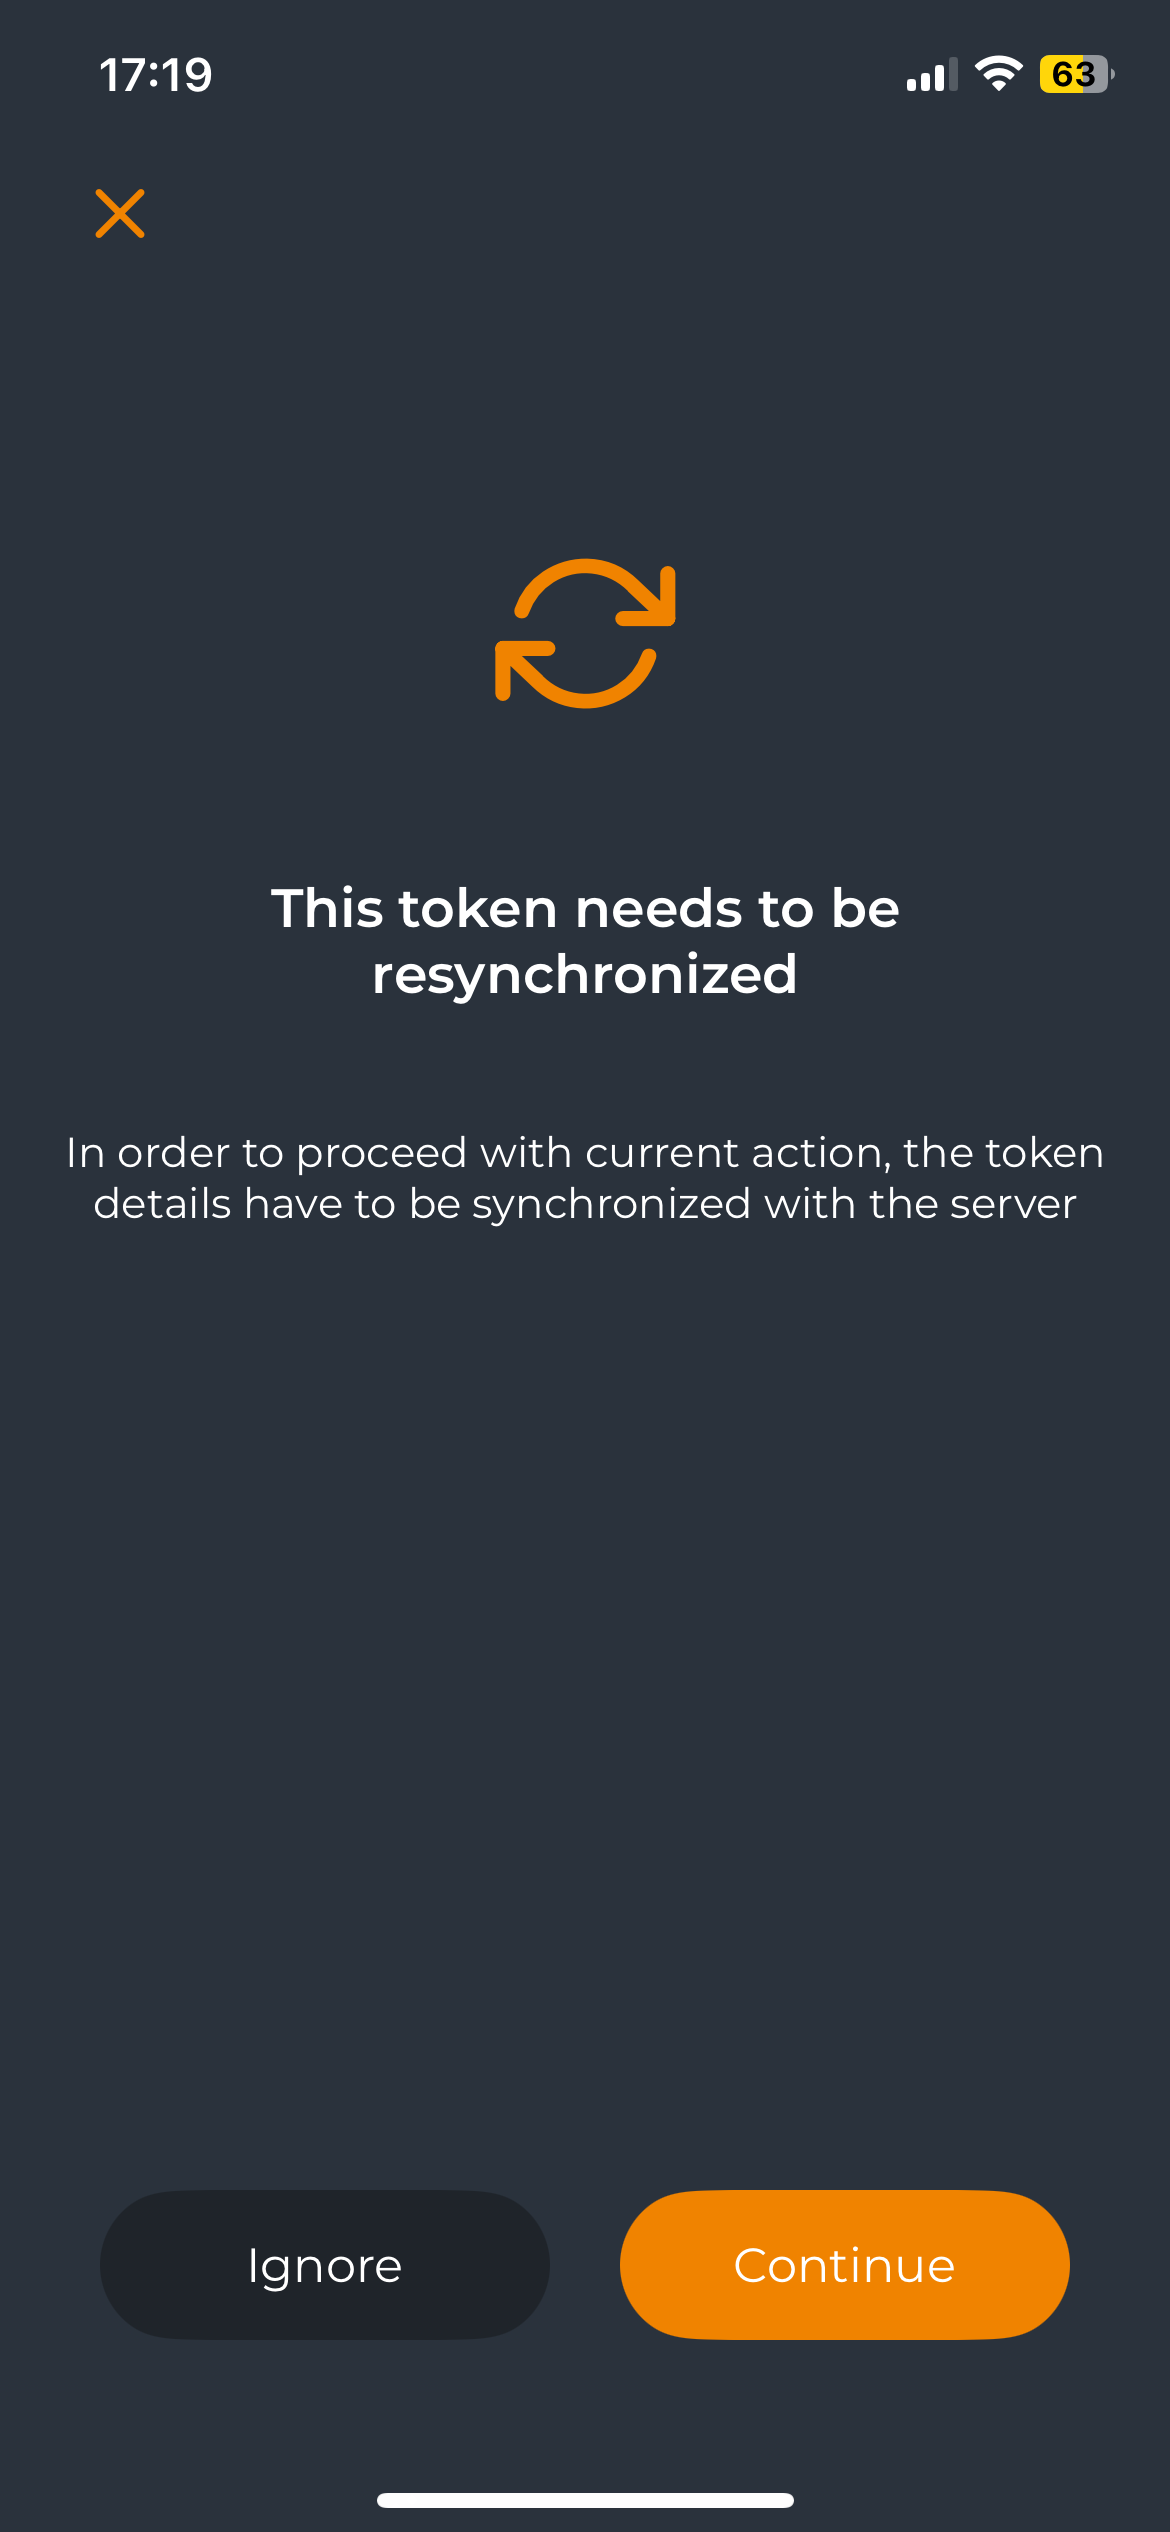
If something changes on the backend that needs to be reflected on the mobile side, the user will be prompted with the following screen asking them to resync their Token.
Push Login Methods
Transactions involving push notification mechanisms require configuration at multiple levels, including selecting a network topology to relay push responses to your WebADM backends and OpenOTP service.
For more details, refer to the Endpoint and Publication Documentation.
After completing this configuration, you must enable the necessary settings in the OpenOTP service configuration. For detailed guidance, refer to the OpenOTP Server documentation.
The various Push login methods described below can then be activated at different levels, including:
- Group,
- User,
- Client Policies
For detailed guidance on configuring OpenOTP settings at the desired level and understanding override mechanisms, refer to the Policies & Conditional Access documentation.
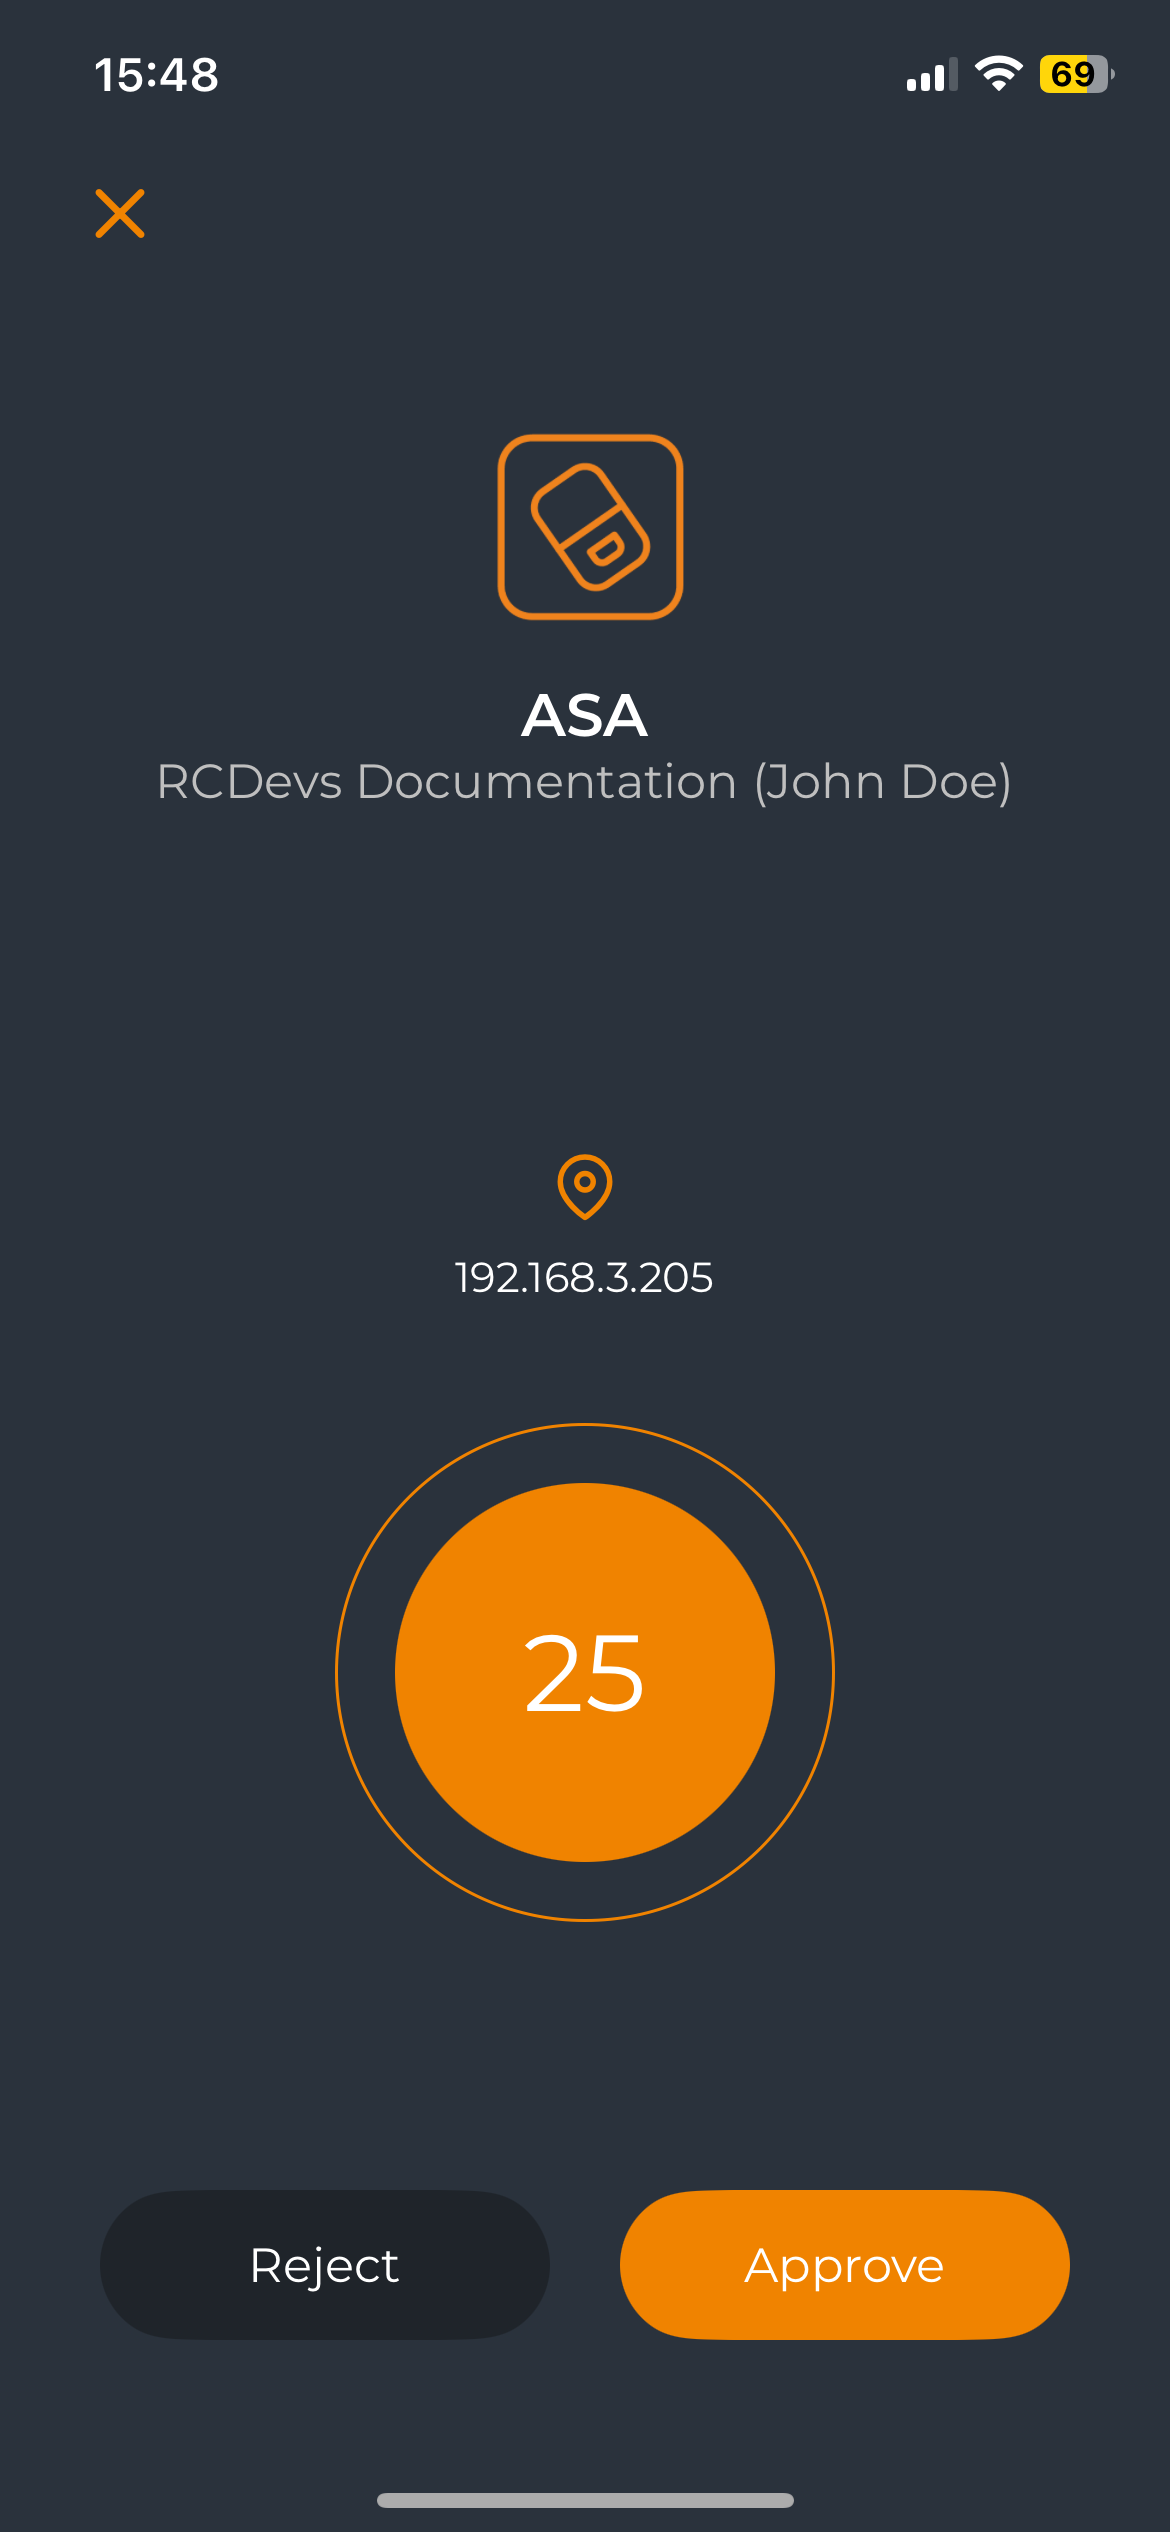
Simple Push (Approve/Deny)
The Simple Push method presents the authentication request to the user, who can complete the process by simply pressing the Approve button. This method is highly convenient and user-friendly, but caution is advised when using it with publicly exposed client integrations (e.g., VPNs or public applications), as a user may accidentally approve a login they did not initiate. This could allow an attacker to gain access to the system or application.
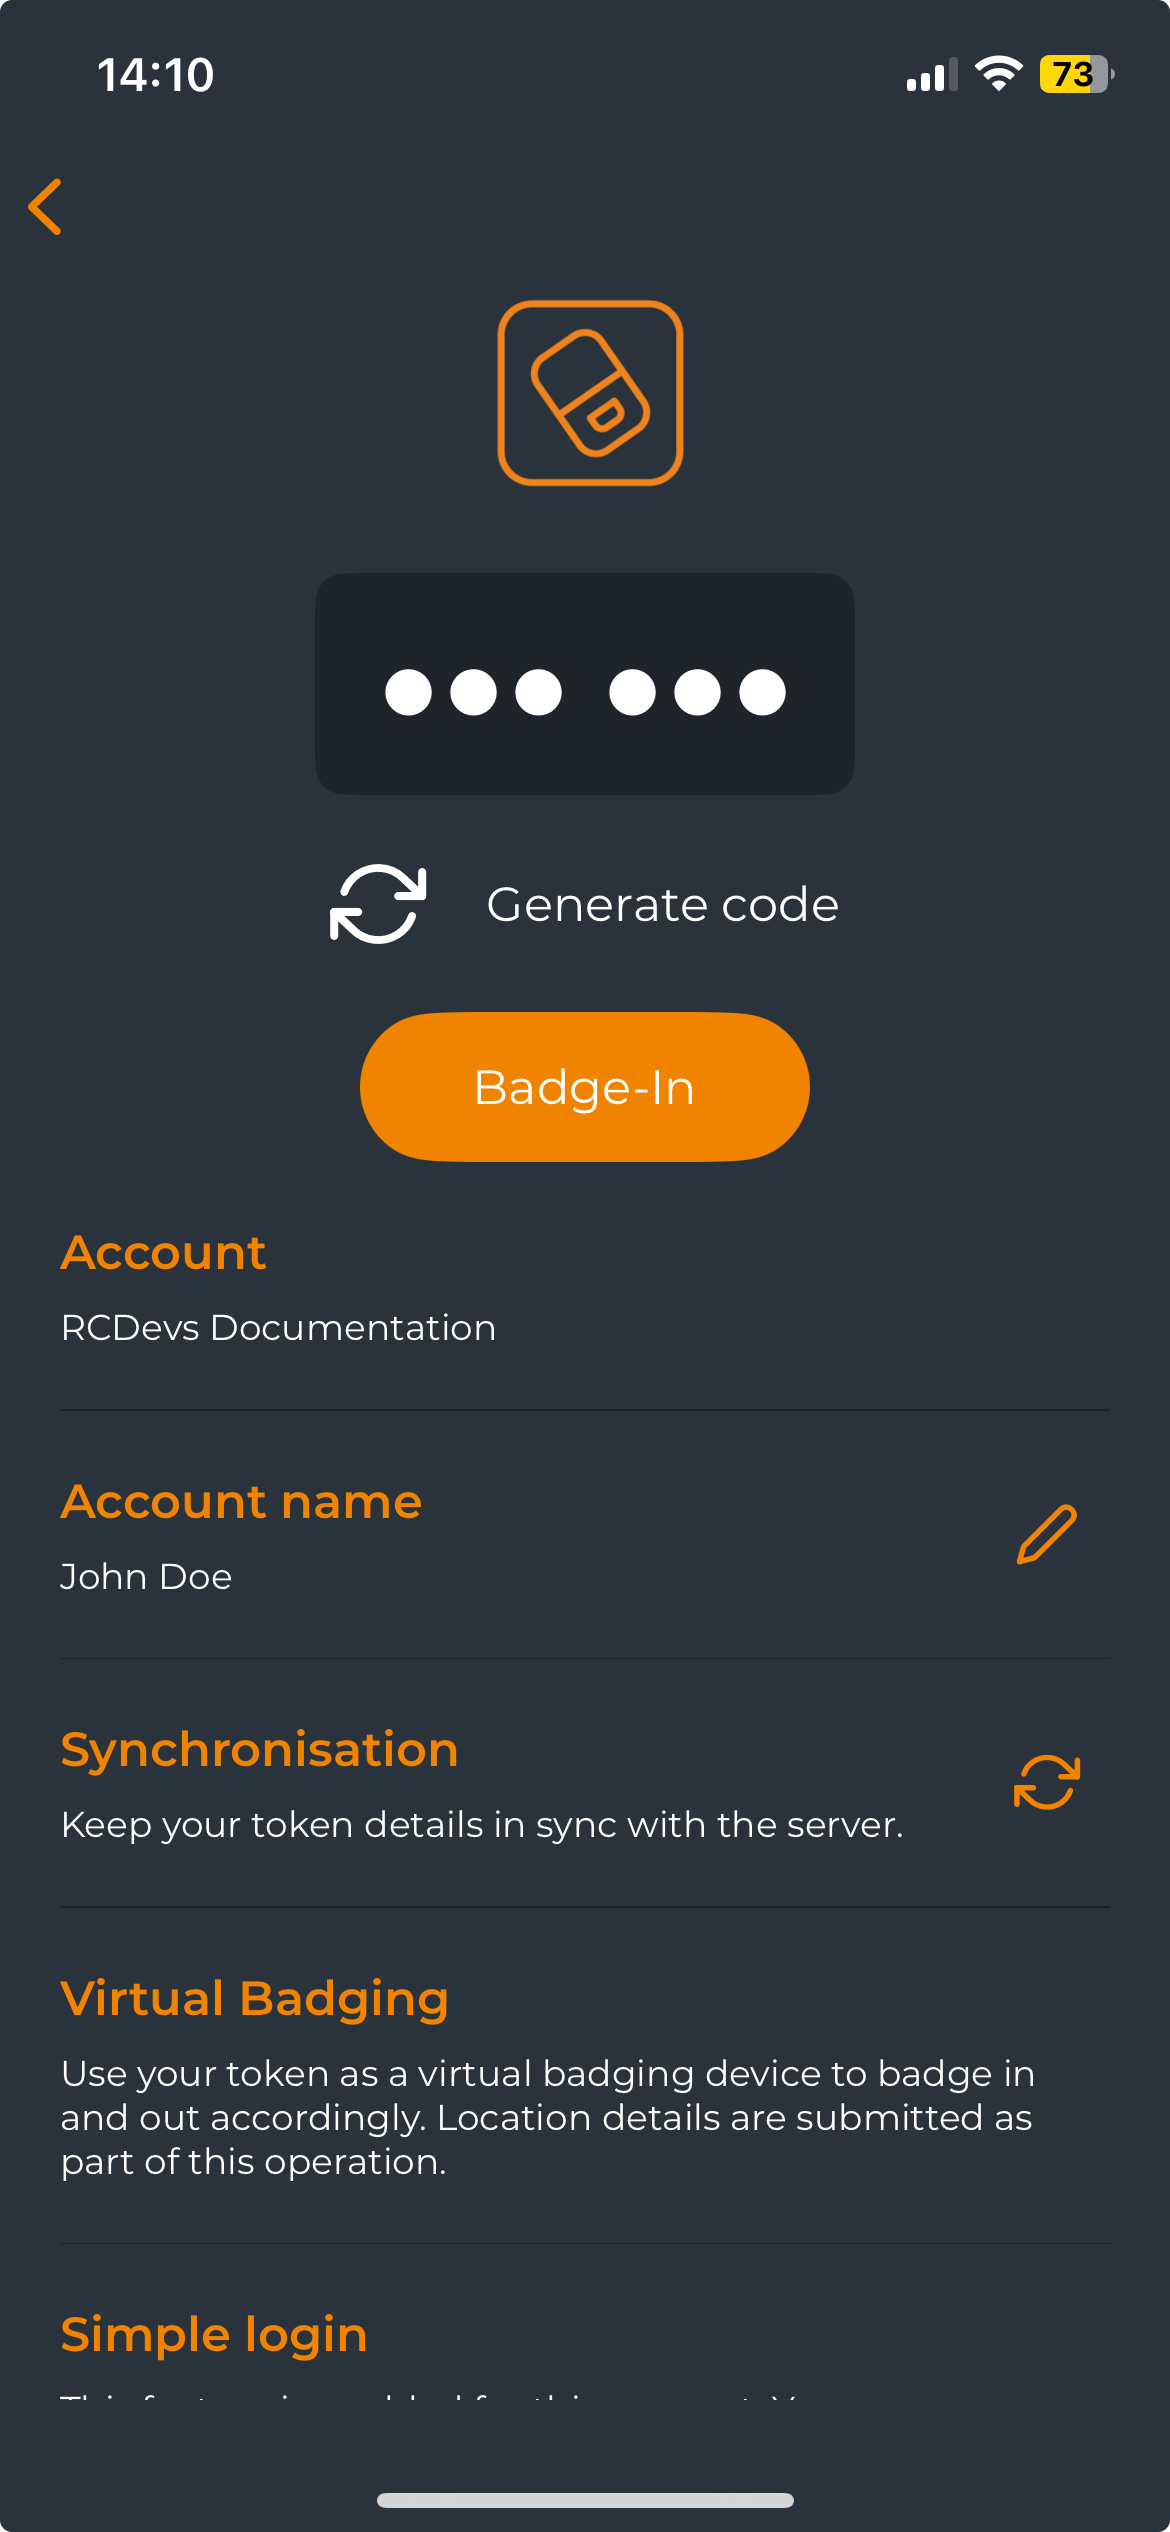
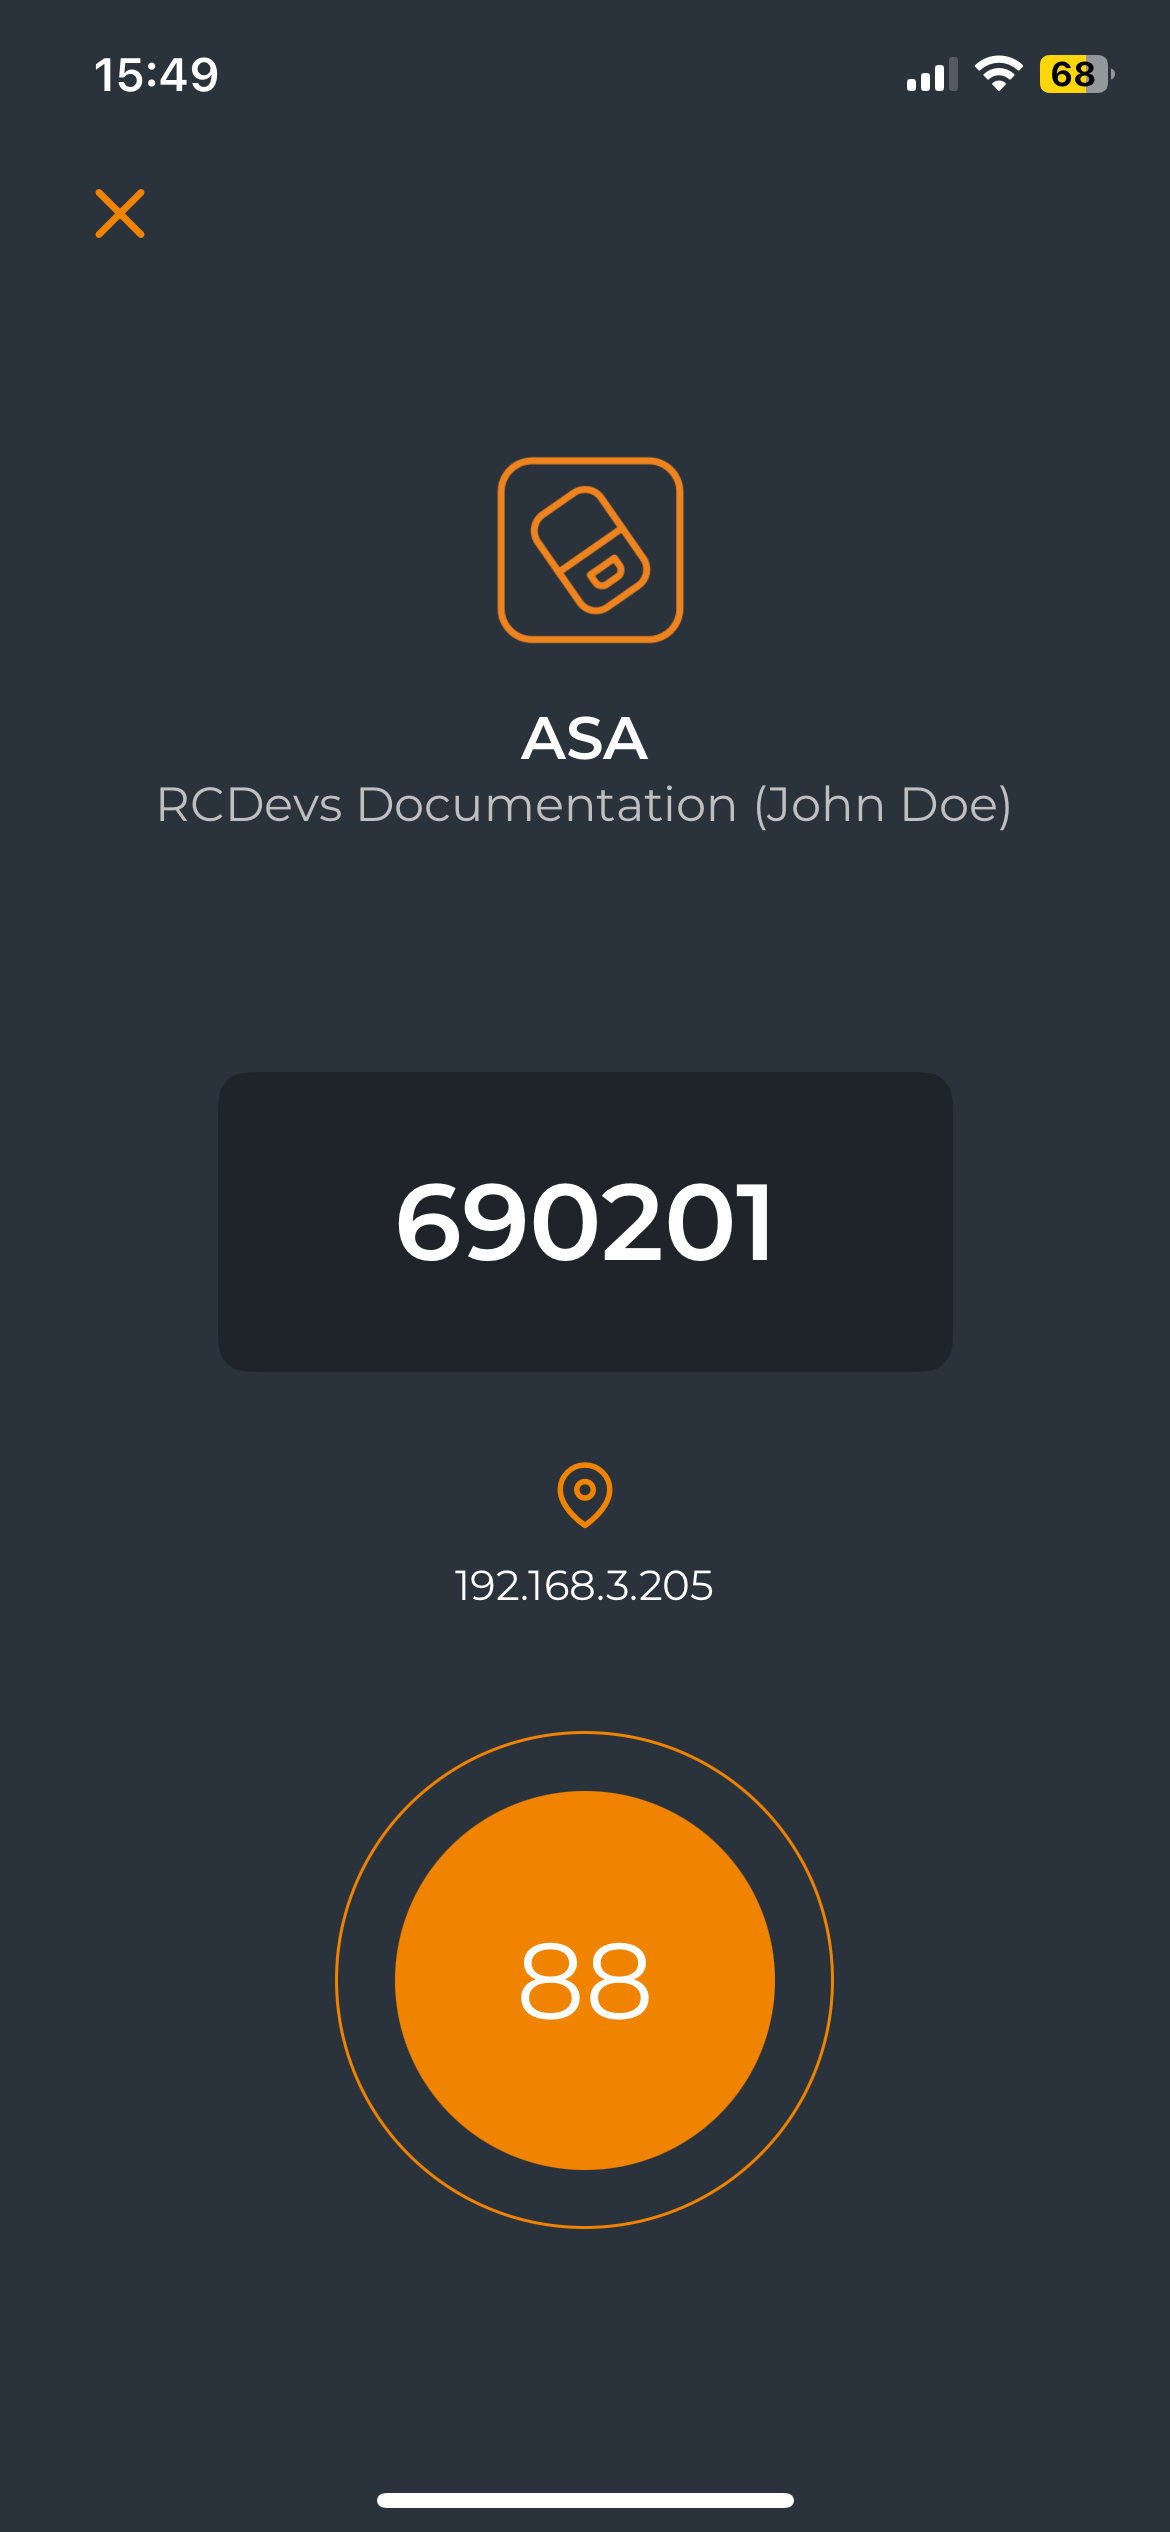
Displayed Push (Pushed OTP Code)
In the Displayed Push method, the OpenOTP server sends a push notification with a unique OTP code displayed on the user's mobile device. The user must enter this OTP code in the client application to complete the authentication process. This method adds an extra layer of security compared to Simple Push, requiring a code input to authenticate.
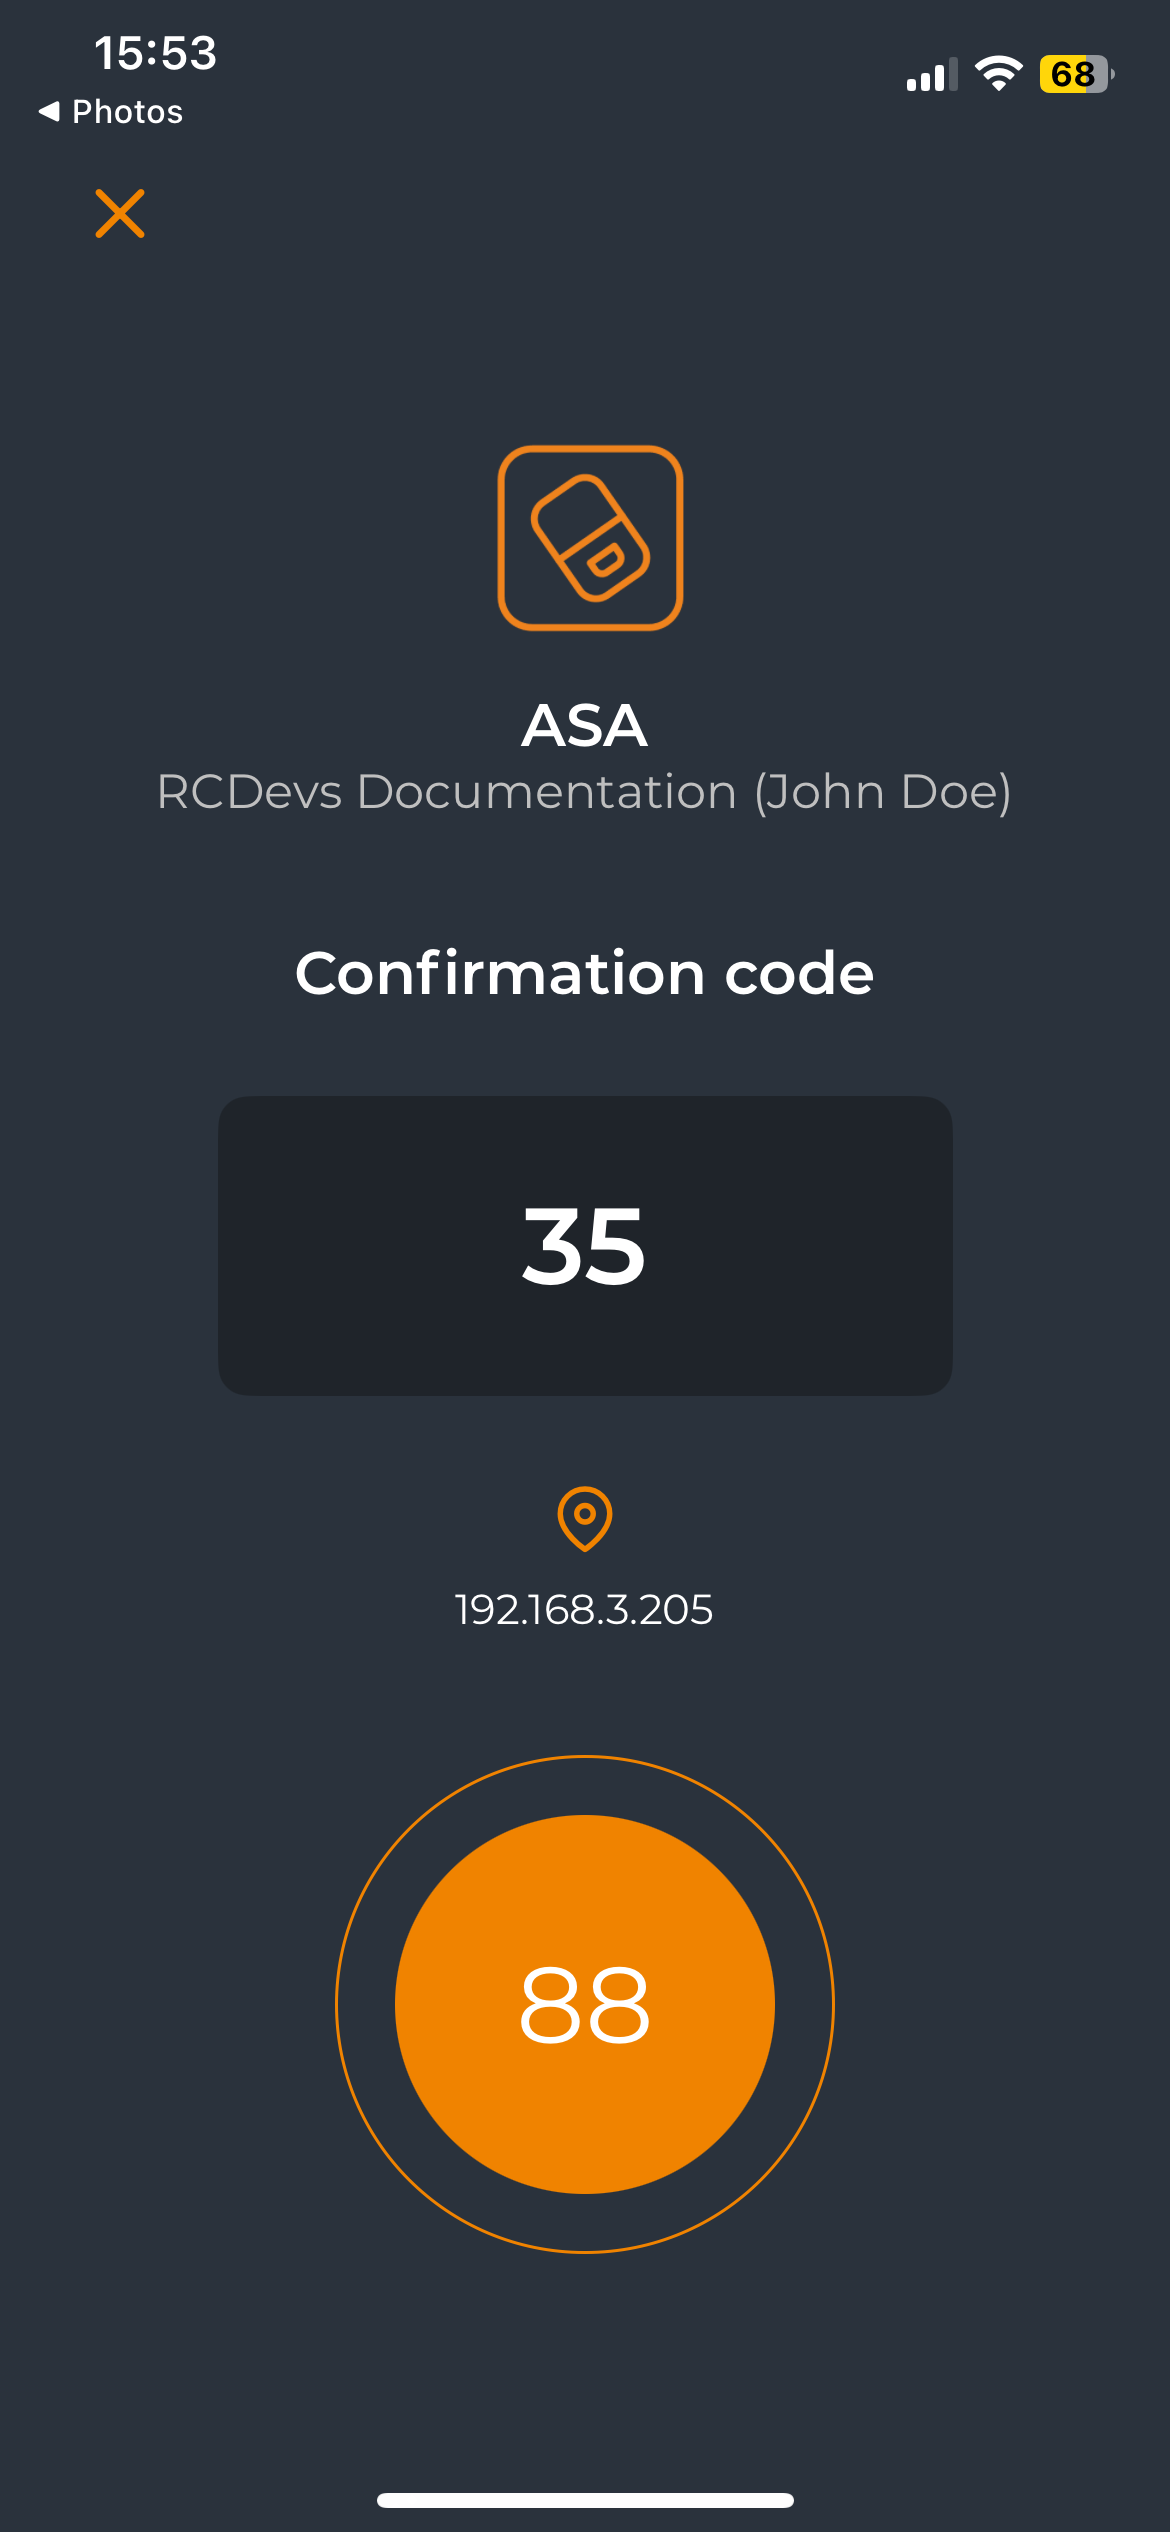
Confirmation Code
The Confirmation Code method enhances security by displaying a 2- to 4-digit code in the Token application after the user approves the login request. The user must then enter this confirmation code in the client application’s OTP challenge to complete the authentication. This method can be enabled globally or by client policy (through the setting Simple-Push Commit), providing an additional layer of security by requiring a code input.
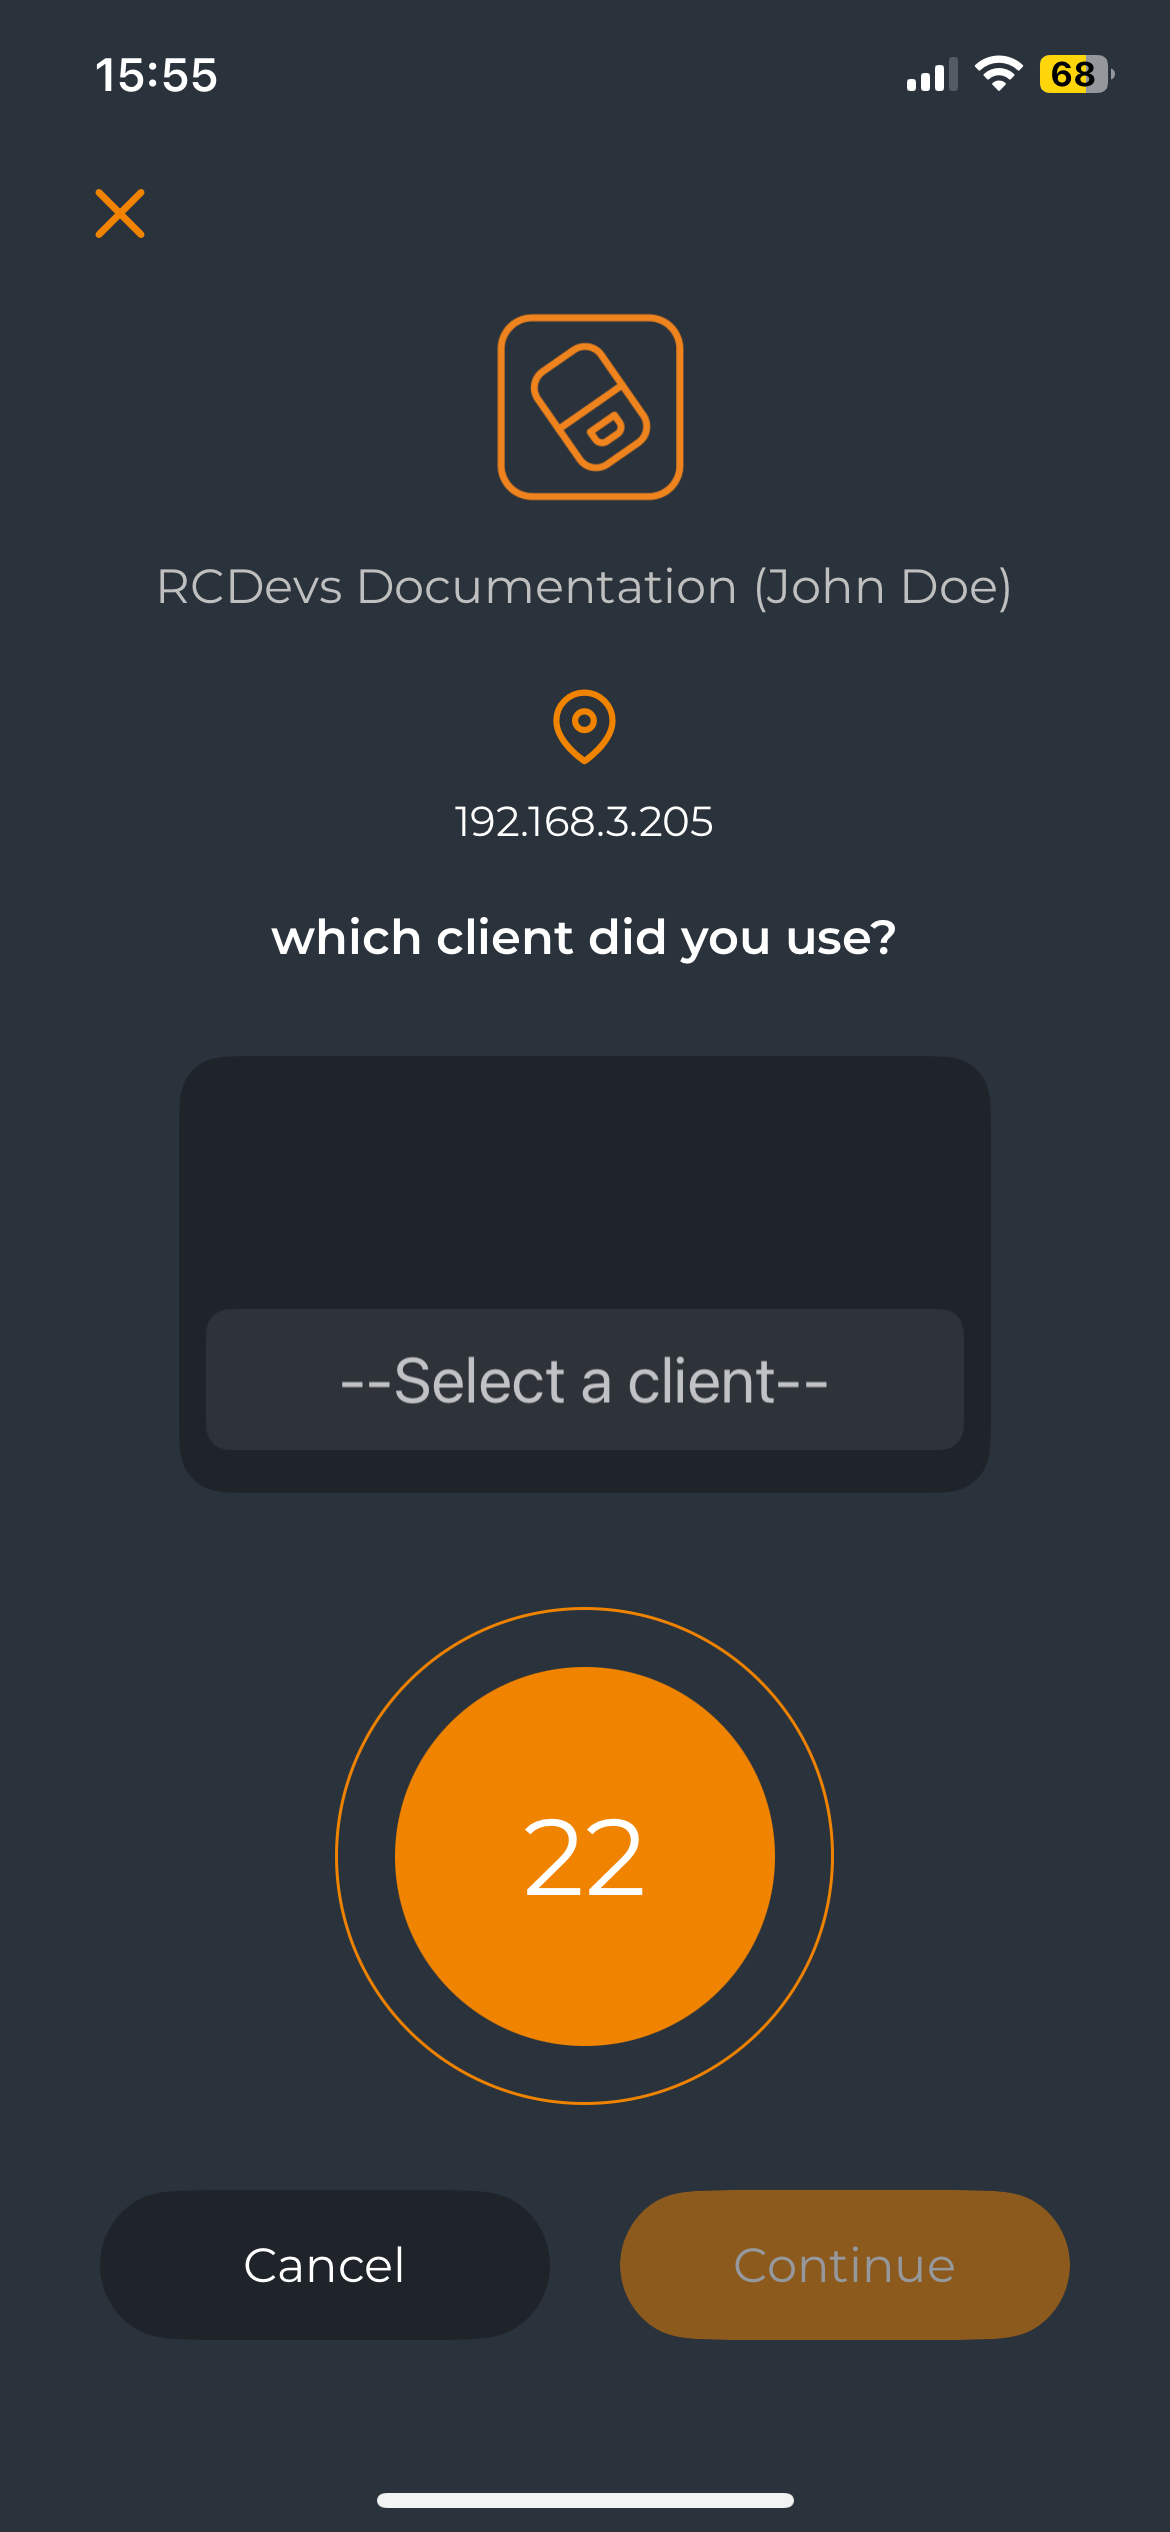
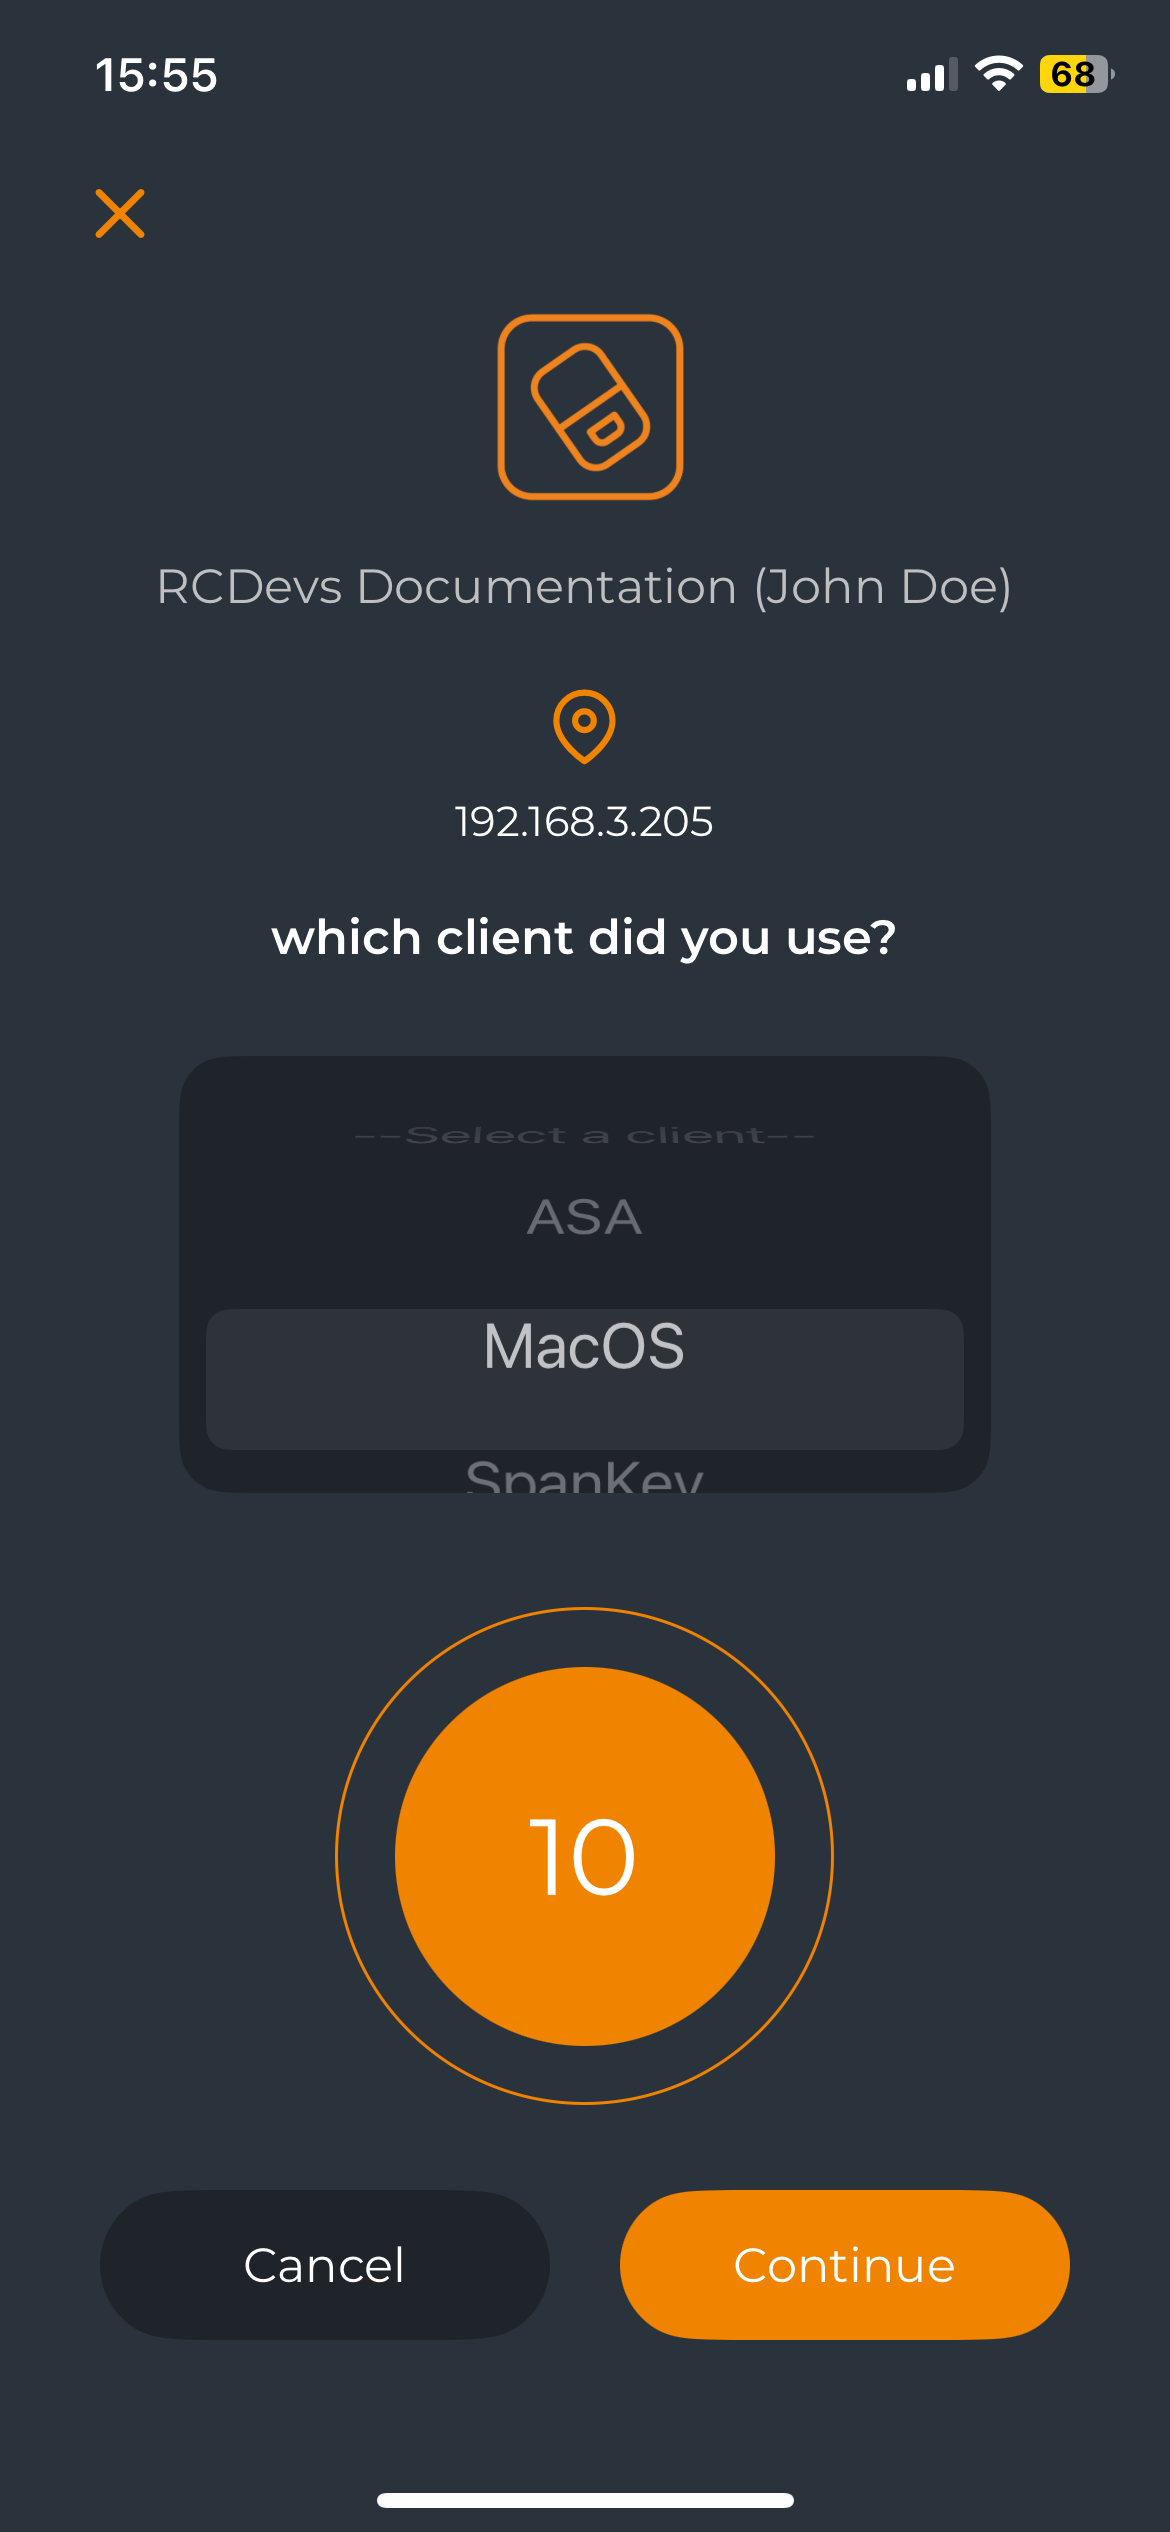
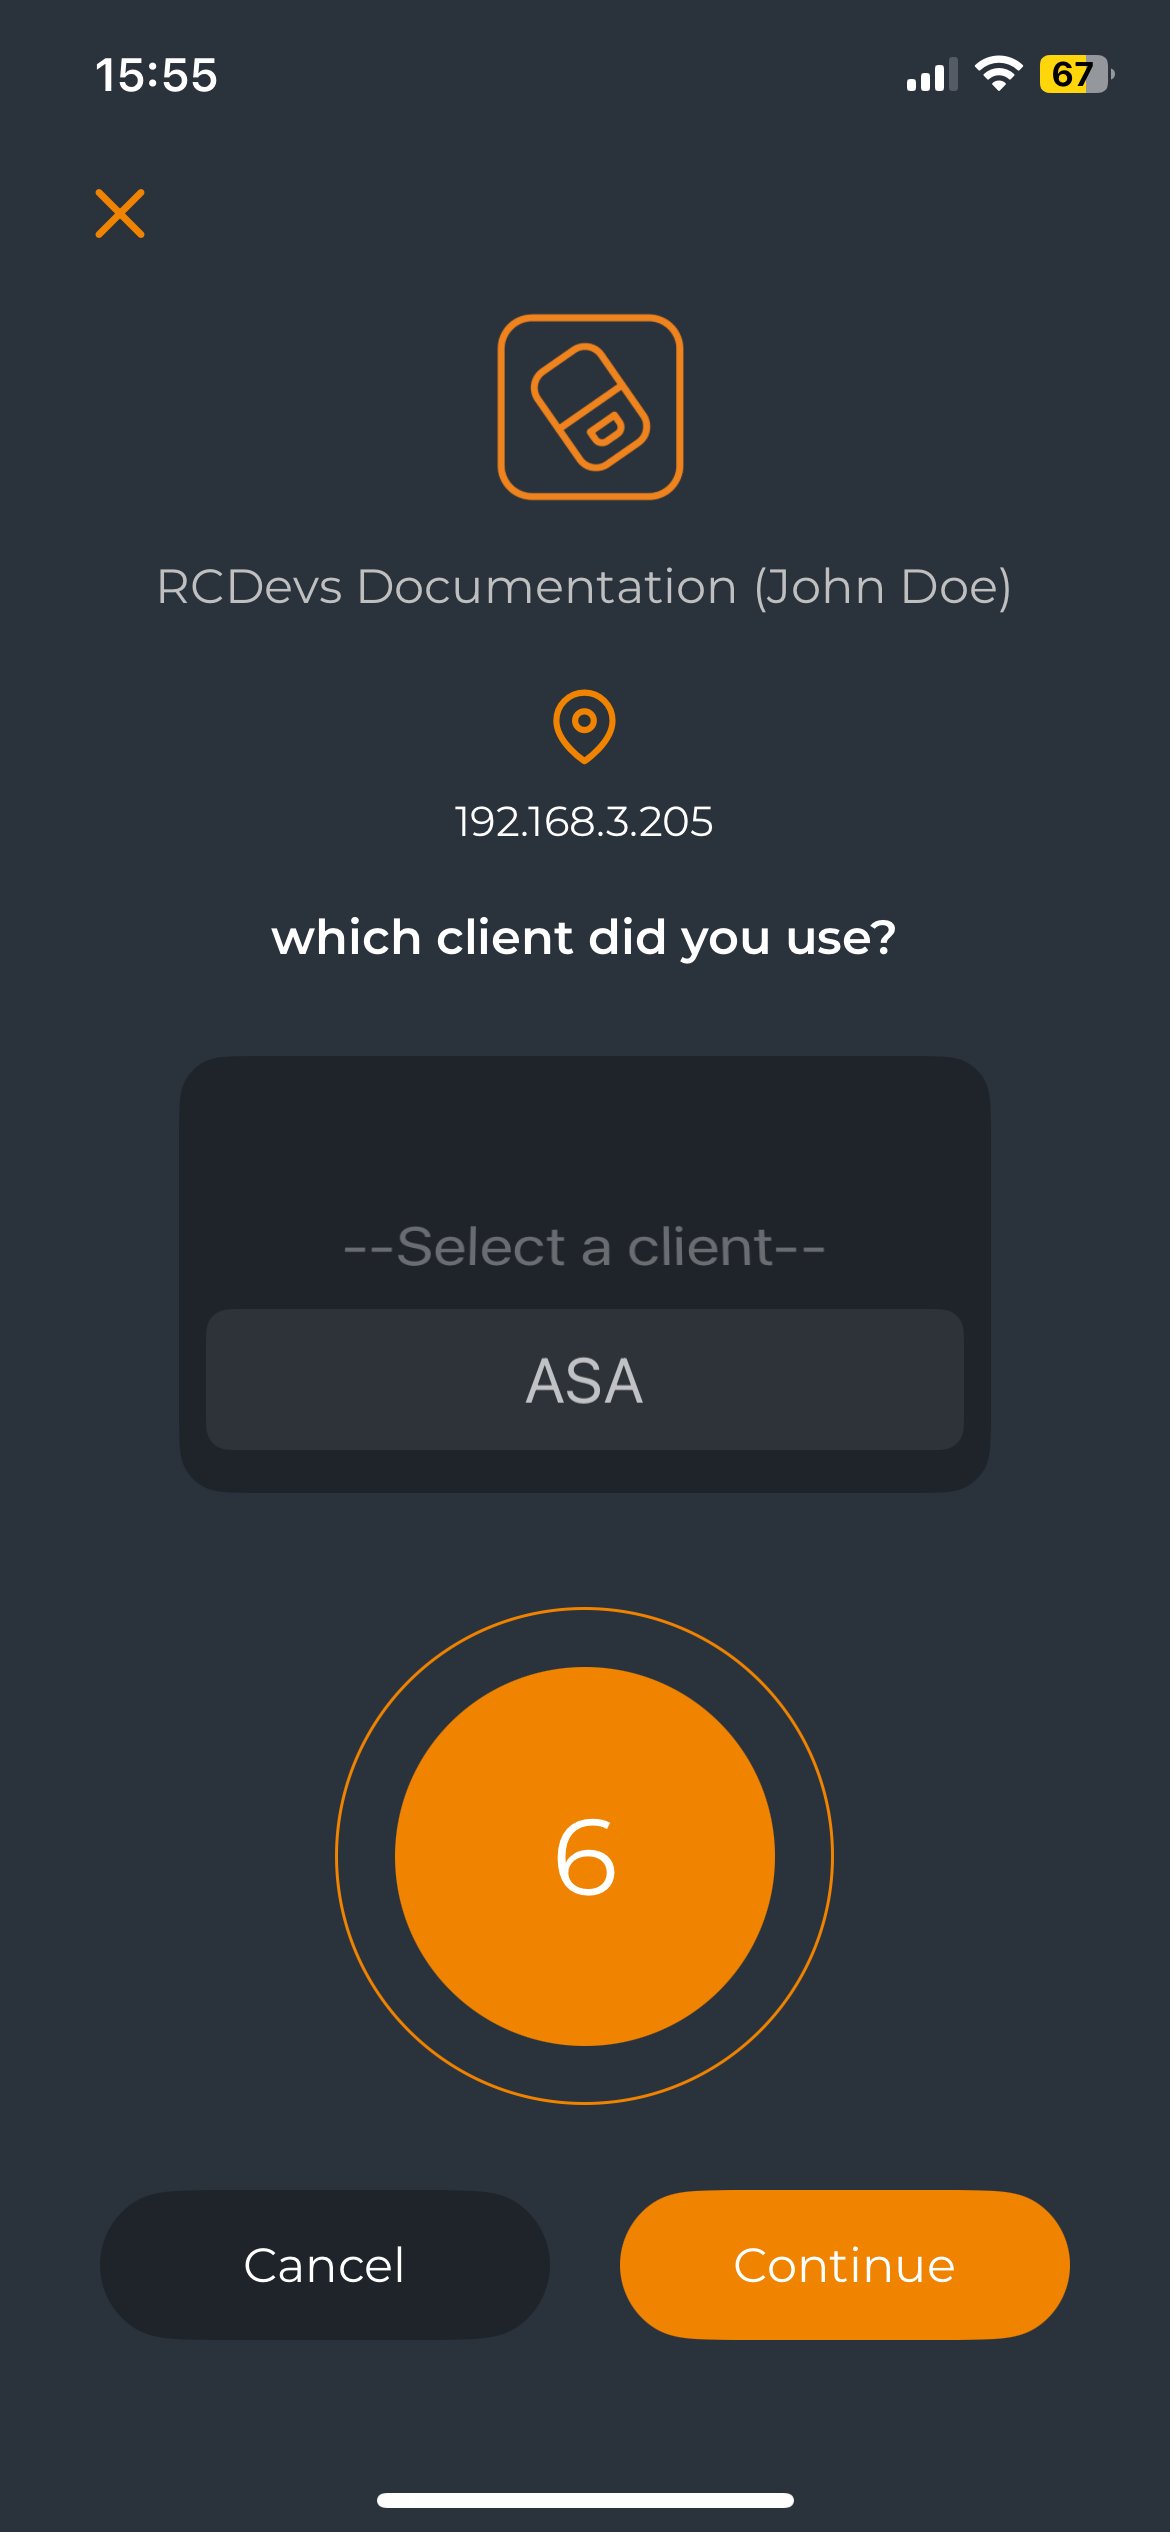
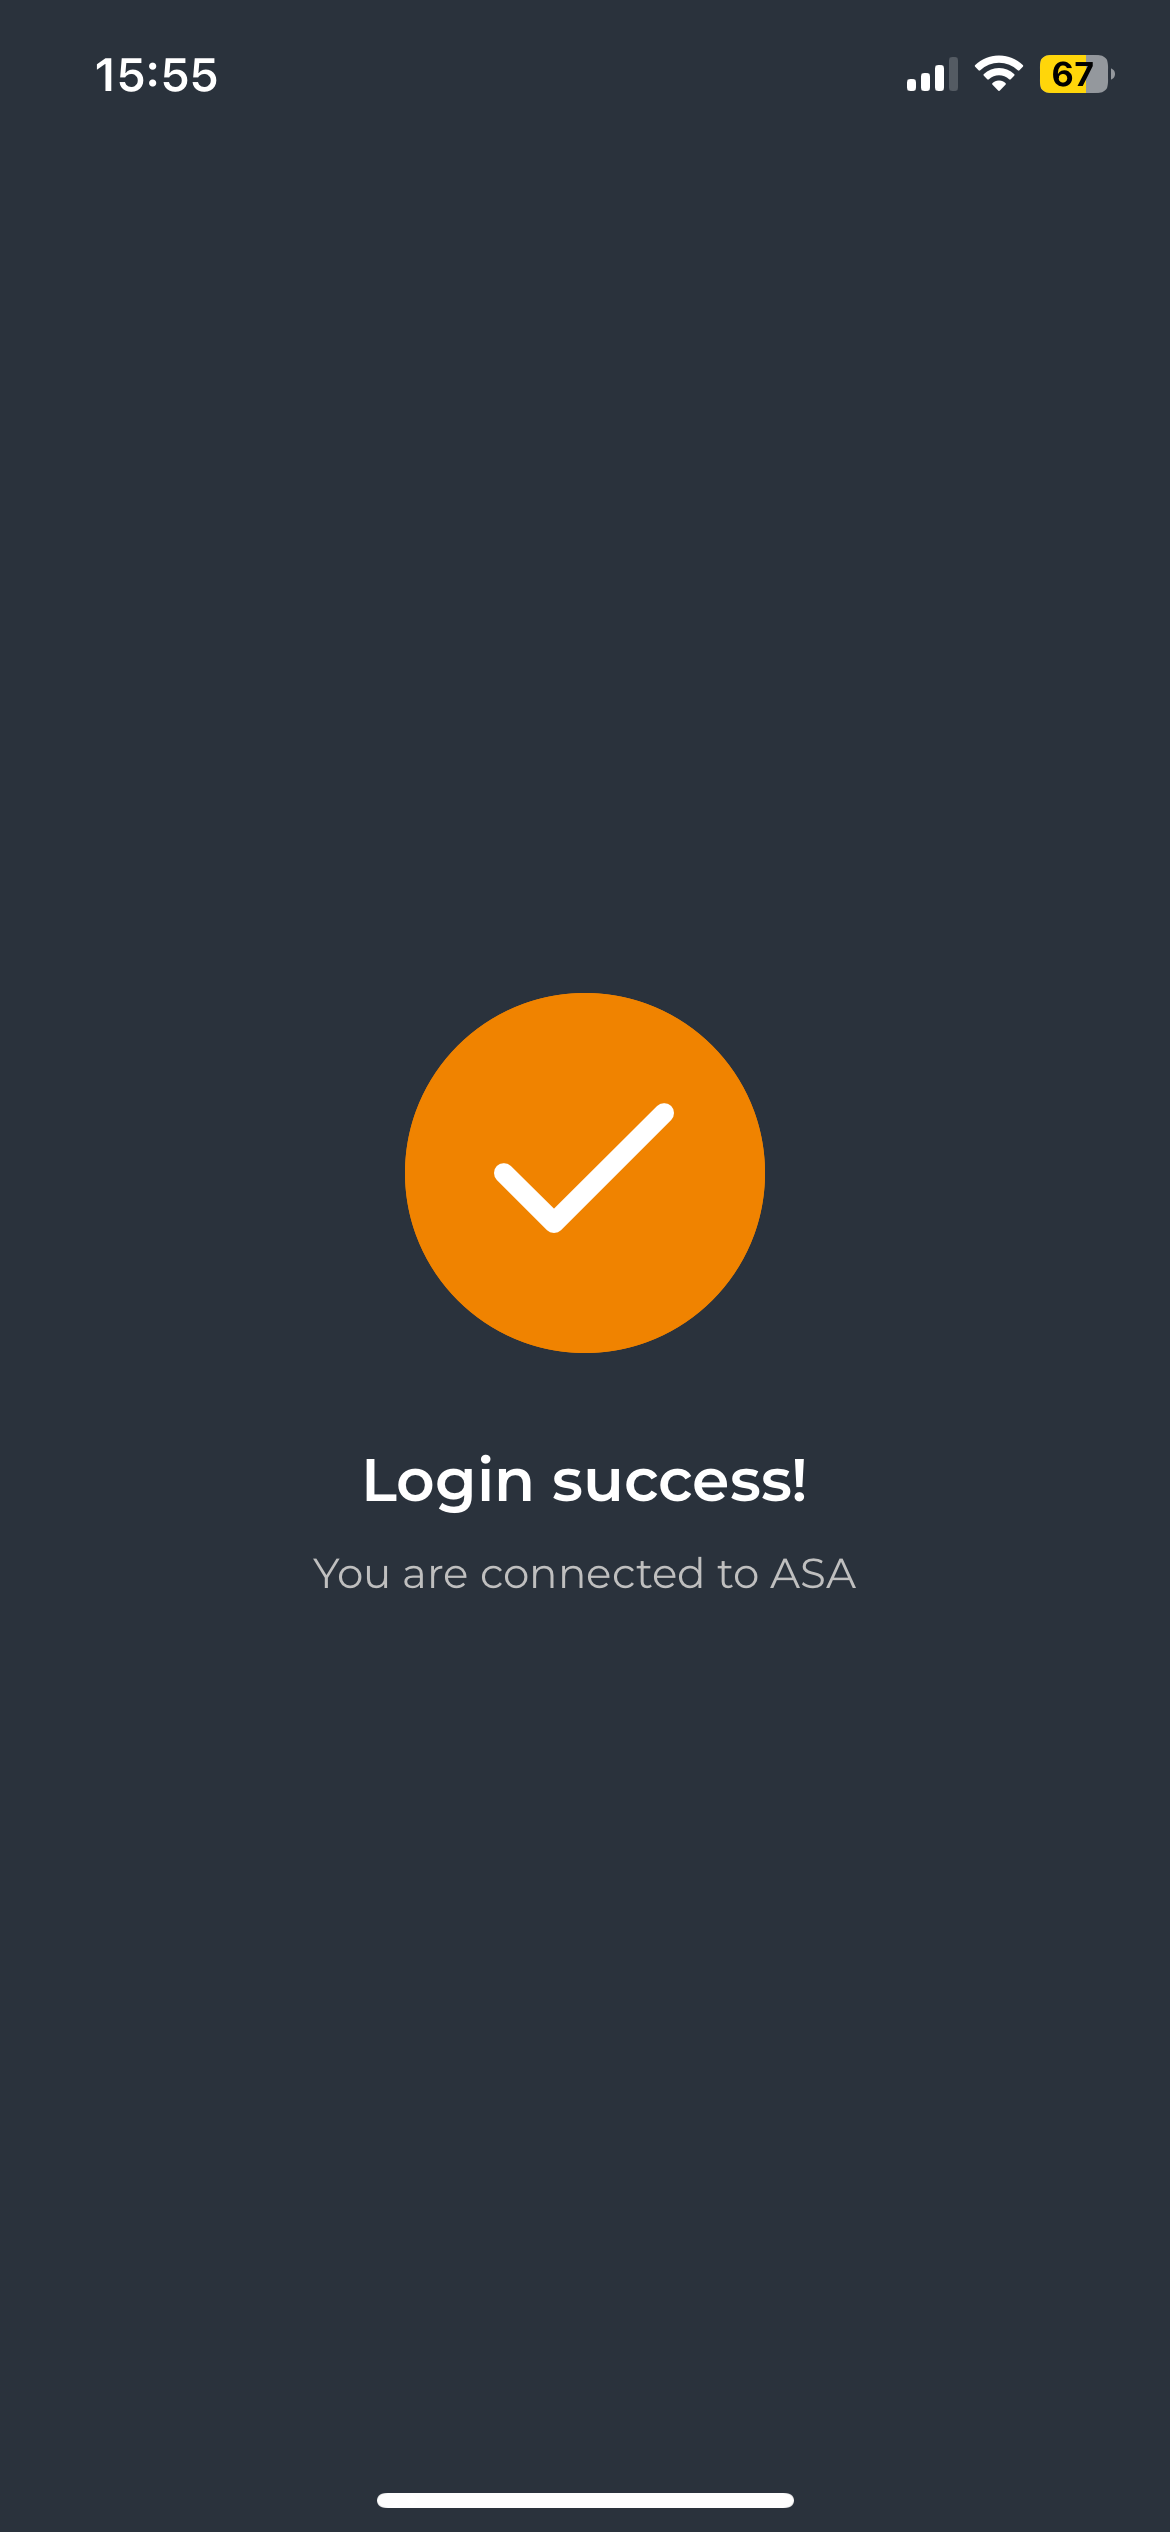
Client Policy Selection
The Policy Prompt can be enabled in the OpenOTP configuration or through client policy. When the user receives a push login request, three policies will be displayed, and the user must select the one corresponding to the system they are trying to log into. For this feature to function, the WebADM server must contain at least three Client Policies, with the displayed policy options pulled from the "Friendly Name" setting in the client policy.
Mitigation Strategies for Simple Push Risks
To mitigate the risk of accidental or unauthorized approval in publicly exposed client integrations, several strategies can be employed:
-
Disable Simple Push: You can disable the Simple Push feature through WebADM Client Policies and enforce a challenge-based authentication process. This ensures that even if an attacker gains access to the user's credentials, the user cannot approve the login. Instead, the user will receive a push notification with a displayed OTP that must be entered in the client application.
-
Enable the Confirmation Code Method: Enabling this method displays a code on the mobile app after the user approves the login. The user must then enter the code in the OTP challenge on the client application, adding an extra layer of security. This can be configured globally under OpenOTP or by client policy.
-
Enable the Policy Prompt: When enabled, three policies will be presented in the login request. The user must select the one matching the system they are logging into. This feature requires at least three Client Policies to be configured on the WebADM server. The policies are displayed based on the "Friendly Name" setting from the client policy.
Additional Security Enhancements
Require badging operation for publicly exposed systems
RCDevs offers an additional layer of security with the Badging Feature of OpenOTP. By enforcing badging at the client policy level, users must first complete the badging process before receiving any push notifications. This ensures that even if an attacker has obtained the user's credentials, they cannot initiate push notifications without the user first completing the badging process.
For more information on badging and auto-locking user accounts password at the LDAP level, refer to the OpenOTP Badging documentation.
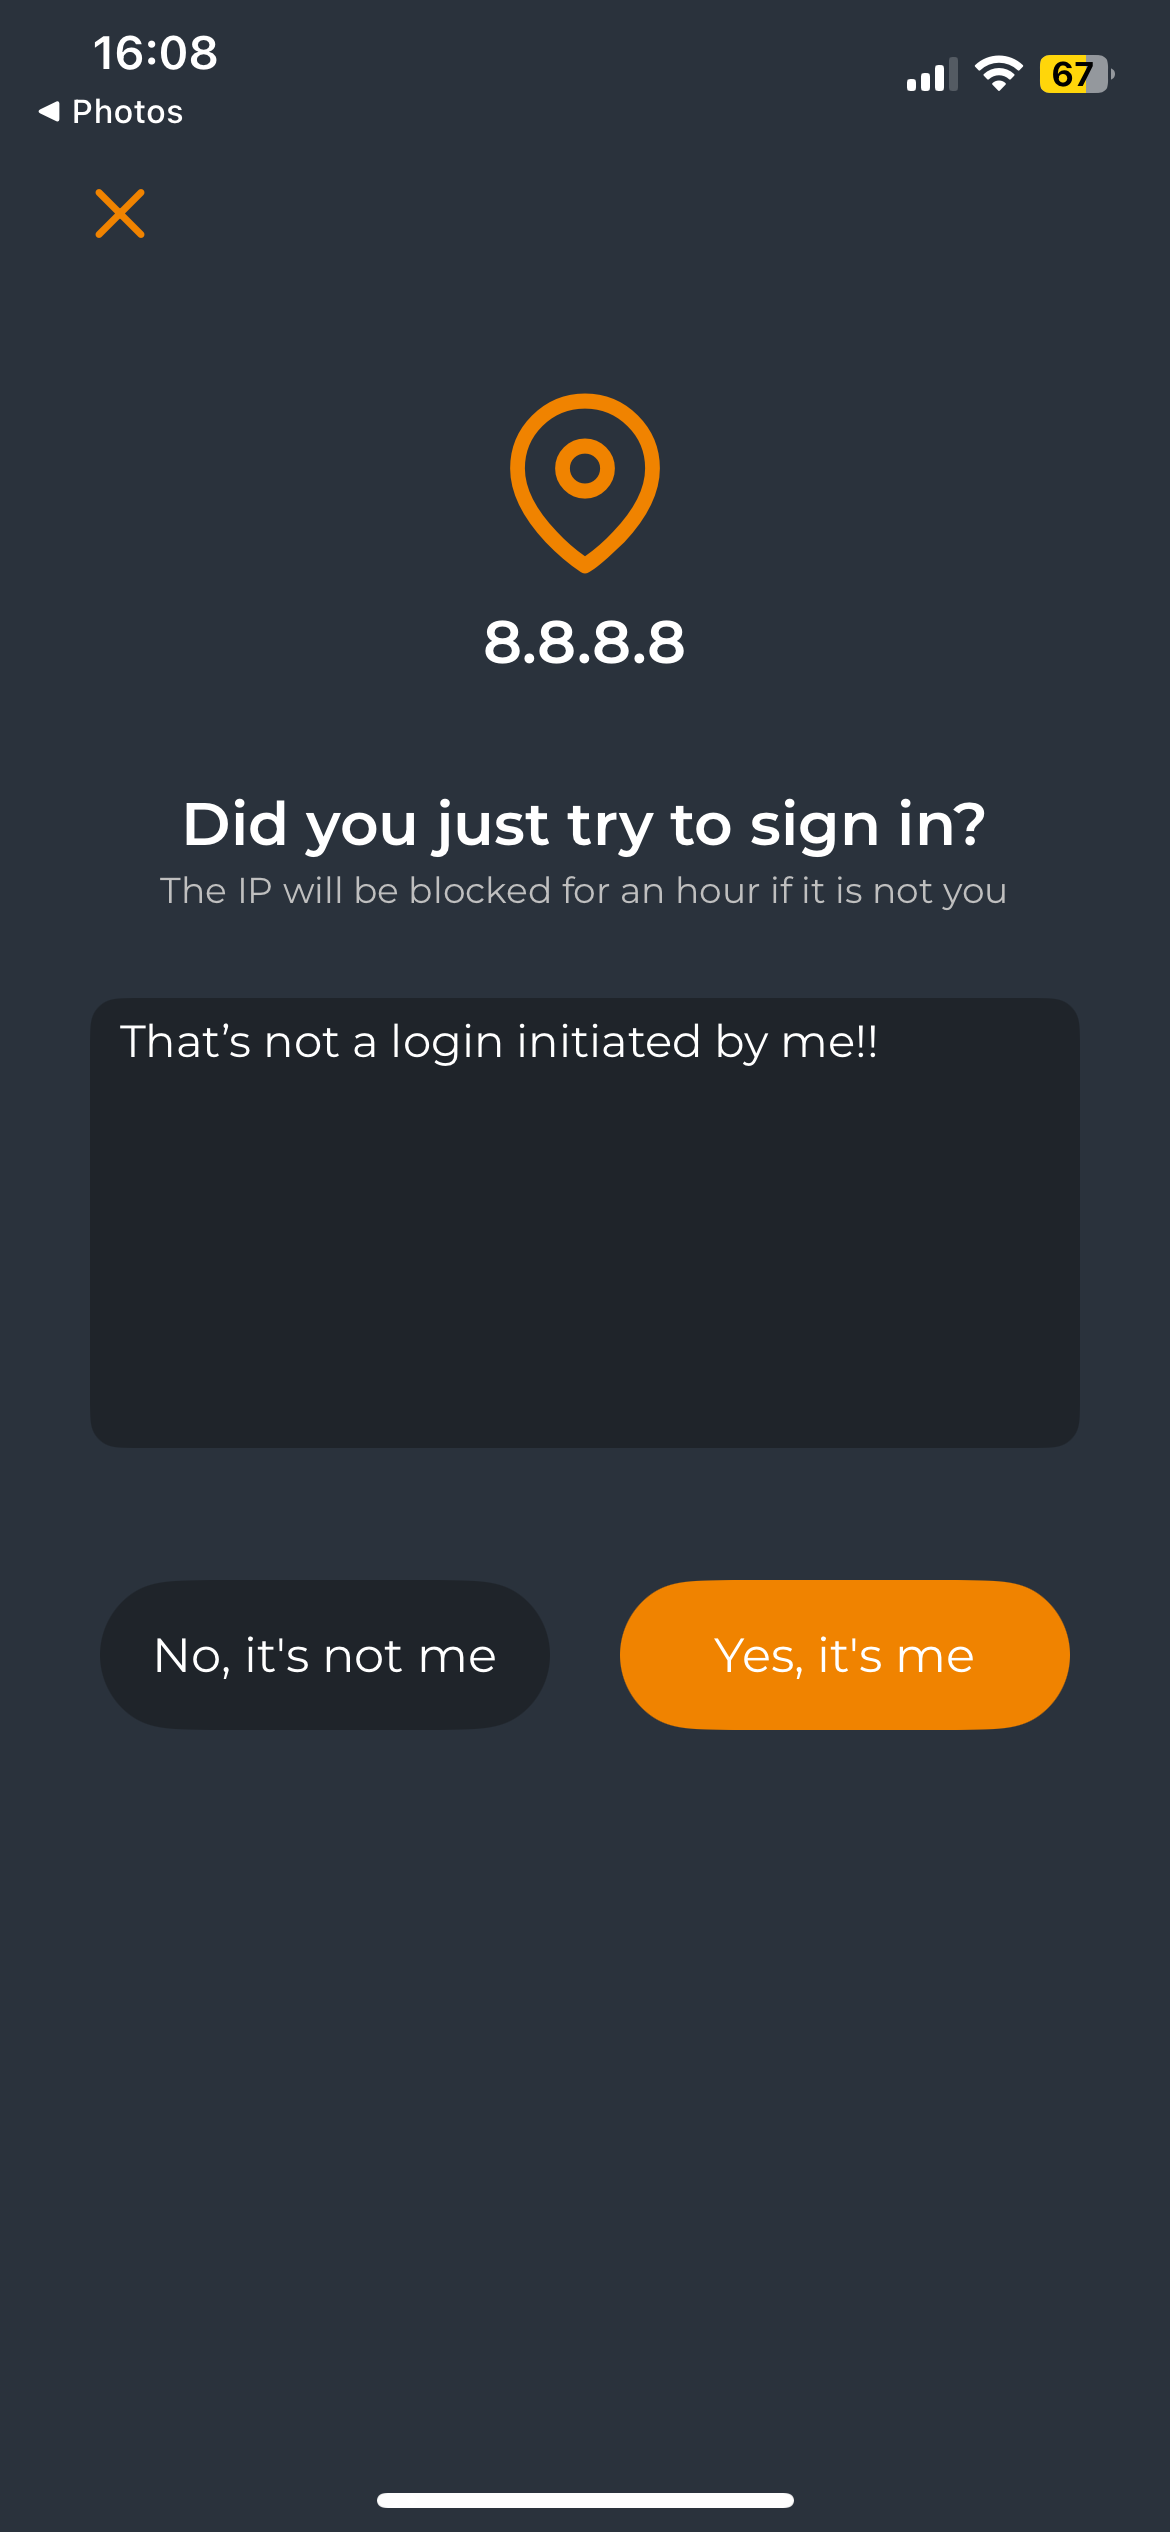
Allow users to report a login attempt not initiated by them
Under OpenOTP configuration in the Mobile Push Options, you can enable the RejectIP value in the Mobile options setting. This will allow the user to reject the login attempt and block the initiating public IP address for that specific user. In Radius integration scenarios, ensure that the public IP is correctly forwarded to both the Radius Bridge and OpenOTP to implement this feature properly. If the IP is not a public one, no blocking or blacklisting will occur.
If a block is initiated by the user, the system will generate an alert, and WebADM administrators will be notified. The IP will be blocked for 60 minutes, preventing new login attempts from that IP for that user during that period.
NoWaitState User Flag Impacting Simple Push Scenario
Receiving a push notification requires the mobile device to have an active network connection. If the mobile device cannot receive the push notification for any reason, OpenOTP includes a mechanism to bypass the wait by automatically handling the push timeout, providing a smoother fallback process.
When a simple Approve/Reject push request is made, the OpenOTP server waits for a configured period (default 28 seconds) for a response from the mobile device. If no response is received, the user is prompted to enter an OTP via an OTP challenge. If an offline OTP is provided after a simple push request, the NoWaitState flag is added to the user’s account in WebADM.
While the NoWaitState flag is active, the Simple Push option is temporarily disabled. This flag remains for up to 24 hours unless automatically removed during the next login attempt. If the user successfully authenticates with the displayed Push OTP, the NoWaitState flag will be removed, and Simple Push functionality will be re-enabled unless disabled at the policy level.
When the NoWaitState flag is active or Simple Push is disabled at any policy level (except of the setting Challenge Mode supported is explicitely configured to No in a client policy), the OpenOTP server sends a challenge request to the client application. This allows the user to enter the 6-digit OTP without waiting for the simple push timeout. If the user successfully authenticates using the displayed Push OTP, this confirms the mobile device is capable of receiving push notifications. As a result, the NoWaitState flag is removed, and the Simple Push feature is re-enabled for next logins.
Parameters Sent in Mobile Requests for Web Application Firewall (WAF) Filtering
Some customers may use their own equipment to forward mobile push responses to WebADM servers. If you intend to analyze and filter requests based on parameters included in the HTTP requests, you will need to allow the following parameters in your WAF configuration, depending on your requirements:
Register a Token
When a user attempts to register a push token, the following parameters are included in the request sent to the WebADM backend:
ostype
action
pushid
pincode
session
secret
model
serial
clock
Unregister a Token
When a user tries to unregister a push token from their phone, the following parameters are included in the request sent to the WebADM backend:
action
username
domain
password
clock
Push Login Responses
When a user attempts to log in using push notifications, the following parameters are included in the request sent to the WebADM backend:
session
action
password
pincode
VOICE Biometric Logins
When a user attempts to log in using VOICE biometric authentication, the following parameters are included in the request sent to the WebADM backend:
session
action
sample
comment
Signature Responses
When a user performs a signature request, the following parameters are included in the request sent to the WebADM backend:
session
action
password
username
domain
signature
initials
comment
localtime
address
certificate
Push Token Resynchronization Requests Initiated by the Mobile Device
This feature allows for the resynchronization of push tokens registered on mobile devices. The token resync feature covers the following:
- Token secret key rotation
- Token configuration updates when specific settings are enforced on the OpenOTP server
- Logo updates when the token logo has been changed on the backend
The method used for these actions is called update, which contains the following parameters:
username
domain
password
clock
ostype
pushid
secret
model
serial
Badging Requests
The method used by the mobile device for the badging feature of OpenOTP is called check, and it contains the following parameters:
action
username
domain
password
clock
localtime
current
location
User Agent
For customers who are filtering based on HTTP headers, the following User-Agent strings are used:
iOS version 1.5.26 (85):
OpenOTPToken/85
CFNetwork/1568.300.101
Darwin/24.2.0
Android version 1.5.26(62479881):
User-Agent: okhttp/4.9.2
The user-agent versions can change according to the OpenOTP Token application version. To avoid potential policy changes on your WAF due to changes in user-agent versions, you can create a regex to bypass user-agent version checks.