Overview & Concepts
Overview and Concepts
Building a Unified IAM Infrastructure
In large organizations, consolidating Identity and Access Management (IAM) systems from different vendors across various locations is a daunting and often impractical task. This is especially challenging for corporate groups and companies that frequently acquire new subsidiaries, resulting in fragmented information systems. Consolidation projects are typically long, costly, and rarely yield the expected results, leaving behind a mix of well-integrated systems and legacy systems that still need to function.
RCDevs addresses these challenges by offering a federated approach to IAM and Identity Provider (IdP) management. The RCDevs solution federates multiple IAM systems, integrating them into a cohesive meta-IAM platform. This top-level meta-IAM provides a unified view of all the underlying IAM systems, allowing seamless integration with cloud or on-premises services like email, VPNs, and OpenID Connect (OIDC). With this approach, there's no need for complex IdP cascading or password management, simplifying the IAM consolidation process.
For example, consider a corporate group, MyCorp, which has acquired two companies—one using Okta and the other using local Active Directory (AD) systems—while MyCorp itself uses PingOne. RCDevs creates a meta-IAM that aggregates these disparate systems into a unified platform. This enables cross-IAM application access policies, unified UPN naming conventions, and centralized IdP services across the entire organization.
WebADM and External IAM Integration
With the introduction of WebADM version 2.3.20, RCDevs enhanced its platform with native integration capabilities for external IAM providers. This feature allows organizations to synchronize accounts and groups from their cloud IAM providers into WebADM’s LDAP tree. The synchronization is one-way—from the external IAM provider to WebADM—preserving group memberships and allowing external identities to be added to locally defined groups within WebADM.
This functionality is especially beneficial in scenarios like mergers and acquisitions, where multiple IAM systems need to be unified. By synchronizing identities from various sources, WebADM creates a centralized user directory, enabling consistent security policies, seamless IT management, and group-based access control across the entire organization.
The benefits of this approach include simplified identity management, enhanced security and compliance, flexible group management, cost efficiency, scalability, and an improved user experience through a unified access platform.
In summary, RCDevs and WebADM provide powerful tools for overcoming the complexities of managing multiple IAM systems, enabling a cohesive, secure, and scalable identity management infrastructure.
Actions/permission required on Okta
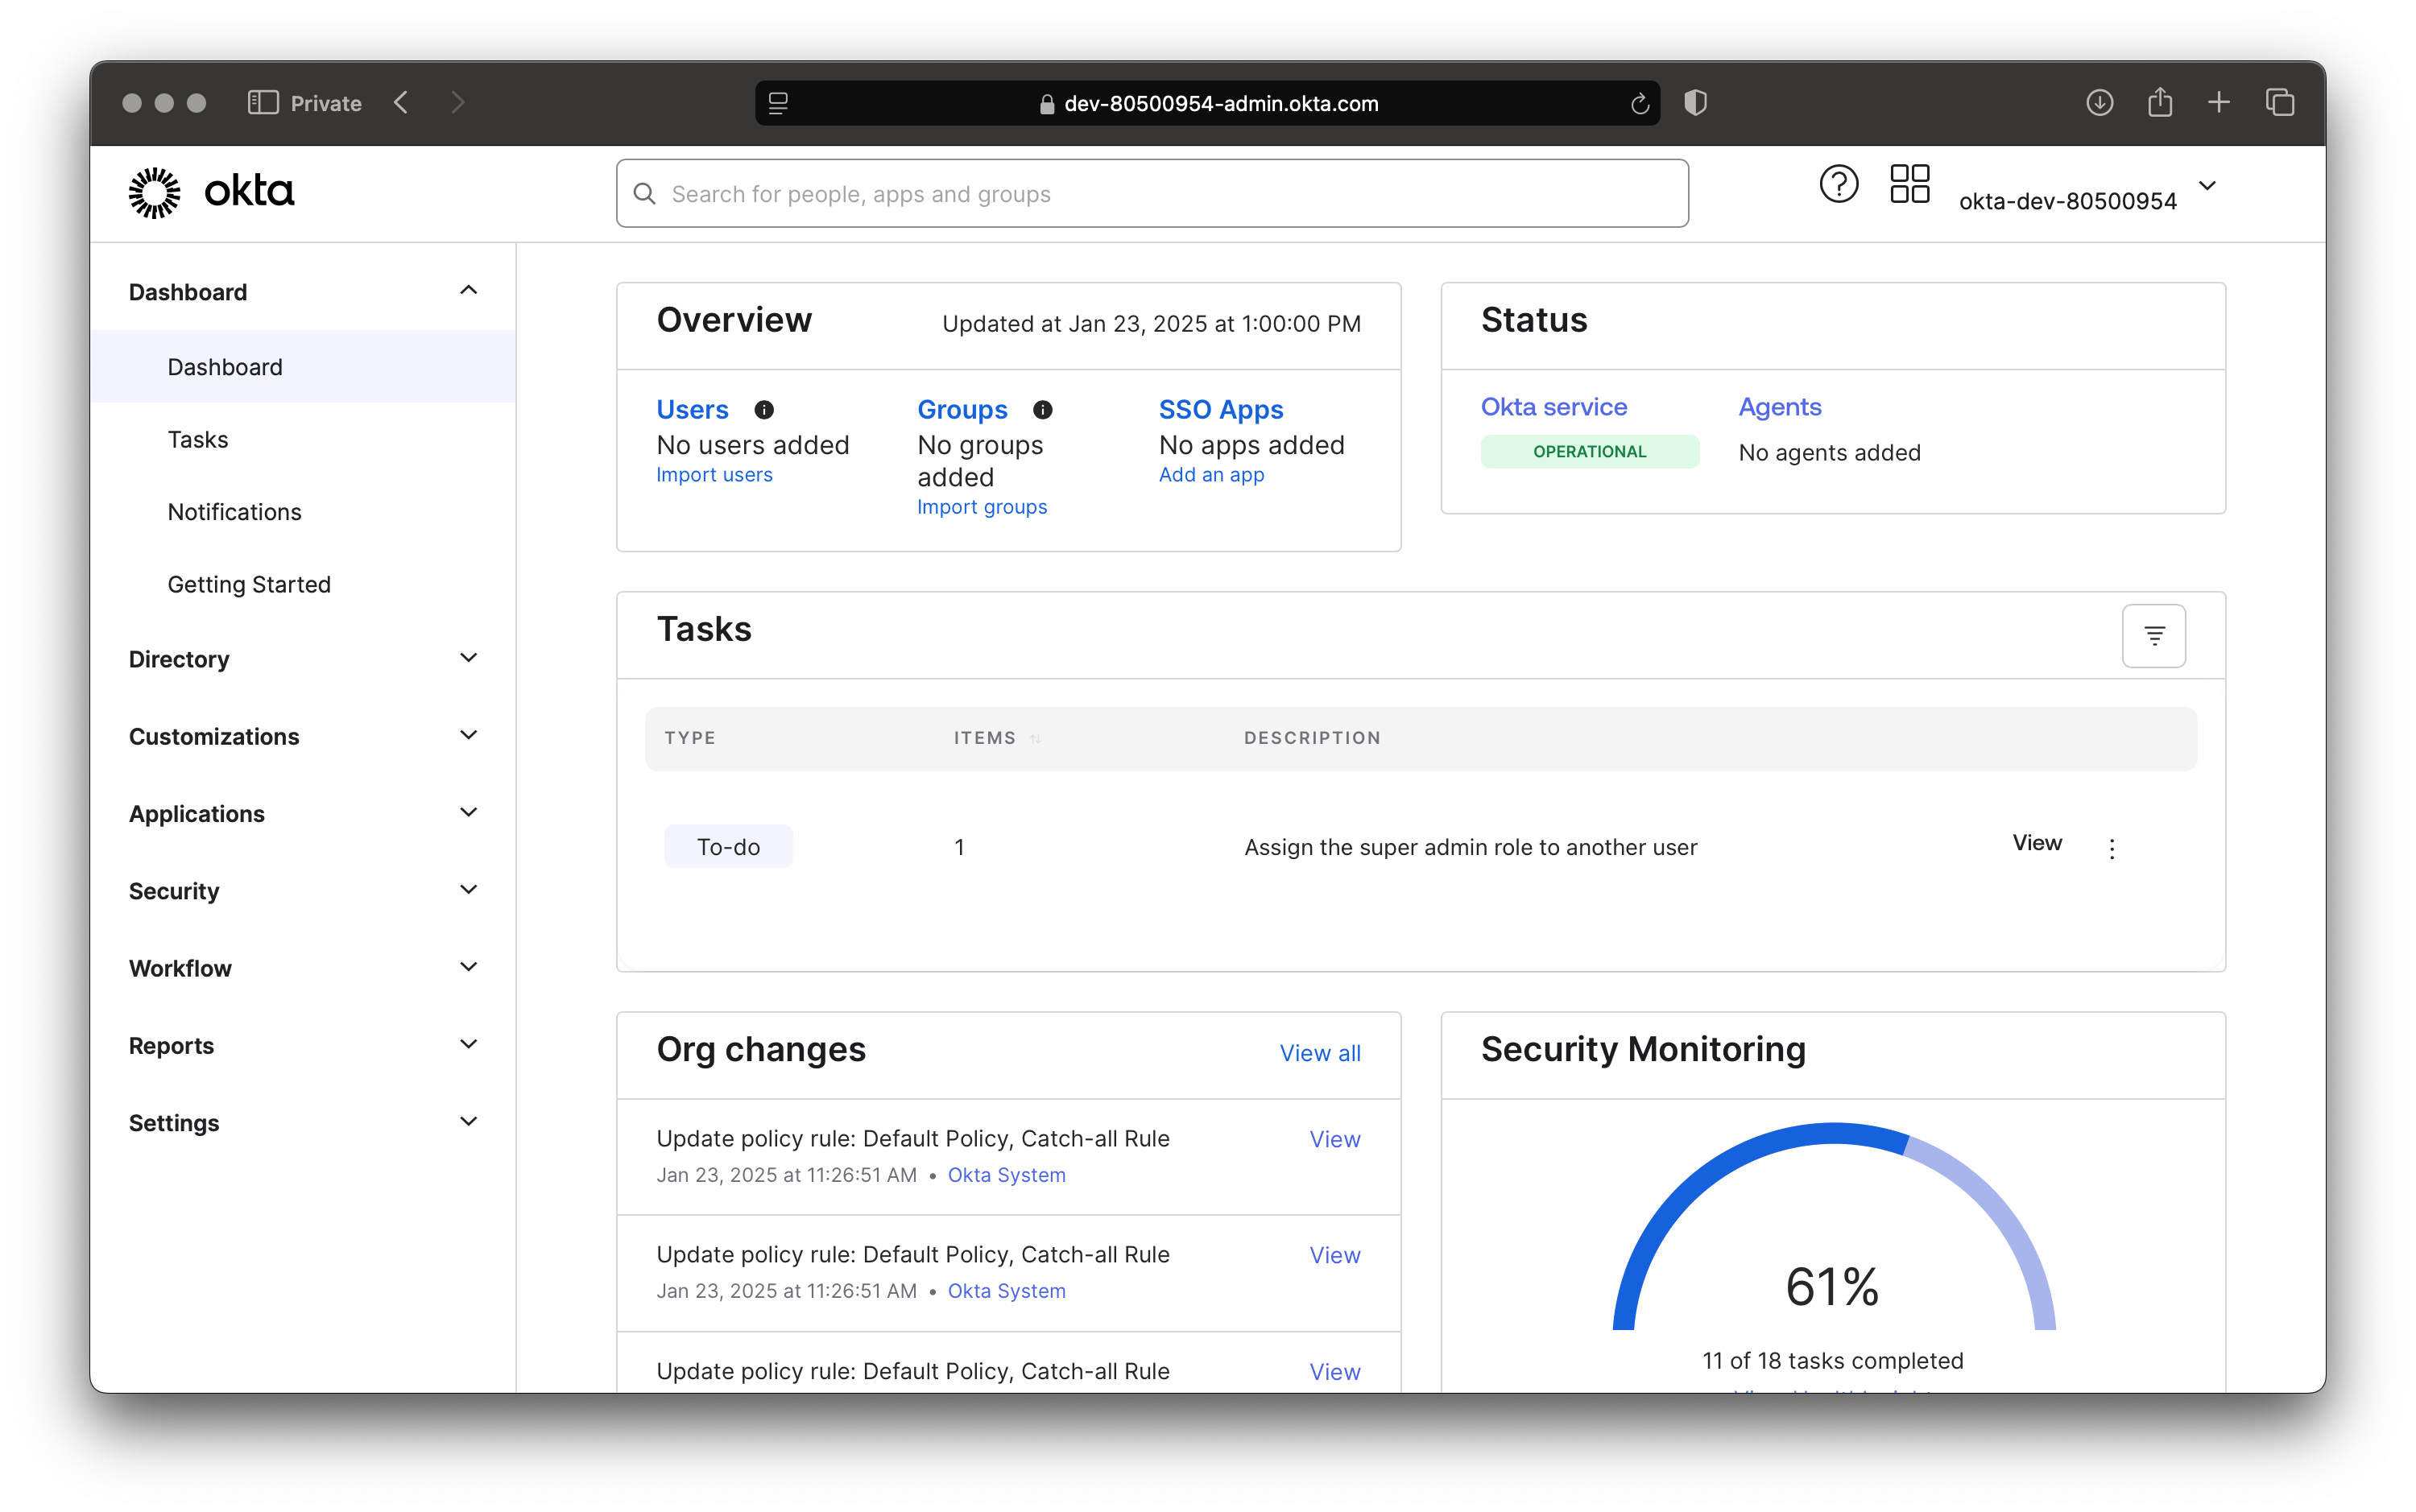
Login to your Okta tenant and to access the Admin portal.
To perform operations such as locking a user account, checking or changing a Okta user's password, and retrieving user and group information using Okta APIs from WebADM, you'll need specific API permissions. These permissions must be granted through an API key in Okta.
Okta API tokens inherit permissions from the admin role of the user who creates them. To control the directory permissions associated with the API token, you need to manage the role and permissions of the user account that generates the token.
Choose the Appropriate Admin Role
The API token's access will depend on the admin role assigned to the user who creates it. Okta provides various admin roles with different levels of access:
- Super Admin: Full access to all resources, including directory users, groups, apps, and configurations.
- Org Admin: Access to manage users and groups but cannot access certain security settings or app configurations.
- Group Admin: Limited to managing specific groups and their users.
- Help Desk Admin: Limited to resetting passwords and unlocking accounts.
Navigate to the Admin Console, go to Directory > People.
Find the user who will create the API token and click on their name. Assign the appropriate admin role under the Roles tab.
If you need finer-grained control over what the API token can do, you can create a Custom Admin Role (available in some Okta plans). Custom roles allow you to assign specific permissions for users, groups, and other resources.
Limit Group Management Scope
If the token creator has the Group Admin role, their permissions can be scoped to specific groups.
Steps:
- Go to Security > Administrators > Group Admin.
- Assign the admin to specific groups they can manage.
- The API token will only have access to users and resources within these groups.
By setting the correct admin role and scoping permissions, you can control the directory permissions related to the API token. Let me know if you’d like a detailed example or help configuring custom roles!
Issue an API Token with the account having the desired admin role
To create an API token in Okta that grants access to the directory and allows you to use their API for syncing users and groups, follow these steps:
Prerequisites:
You need administrative access to your Okta tenant and you must have API Access Management enabled in your Okta org.
Steps to Create an API Token:
- Log in to your Okta Admin Console:
- Navigate to your Okta tenant (e.g.,
https://yourcompany.okta.com). - Log in with an admin account.
- Navigate to your Okta tenant (e.g.,
- Go to Security Settings:
- In the Admin Console, click on the "Security" menu in the left-hand navigation panel.
- Select "API" from the dropdown options.
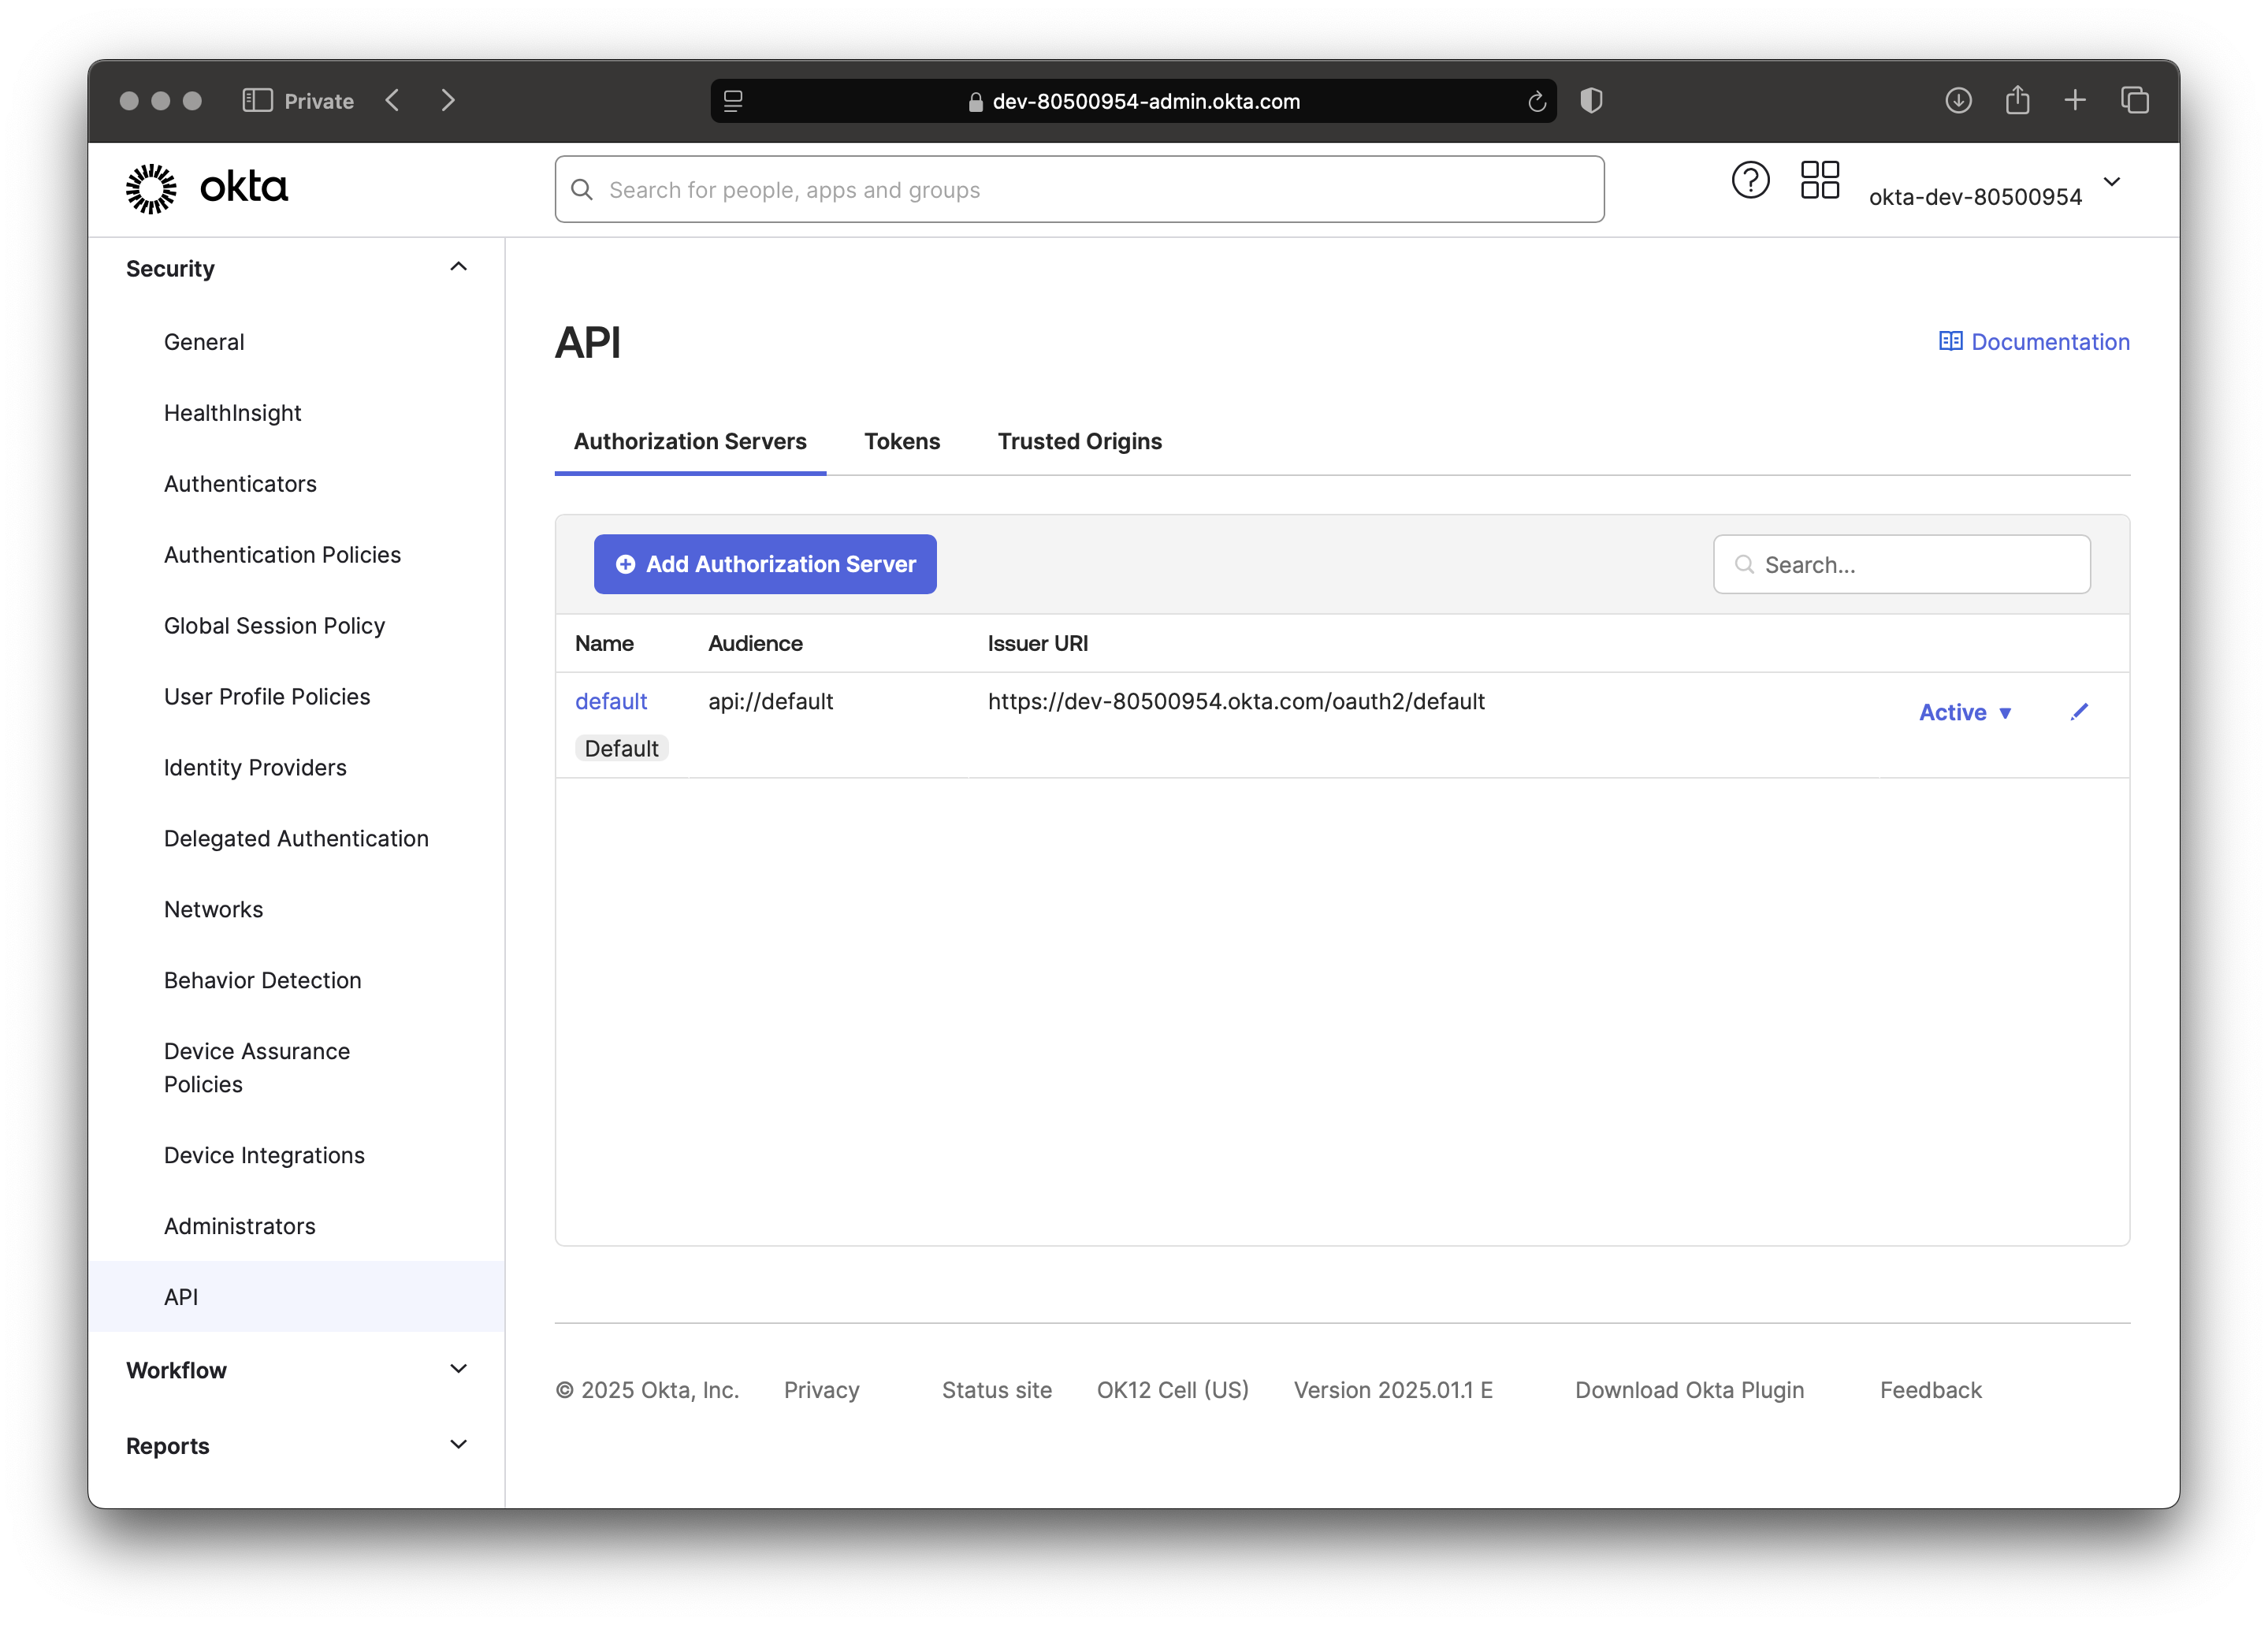
- Create a New Token:
- Under the "Tokens" tab, click the "Create Token" button.
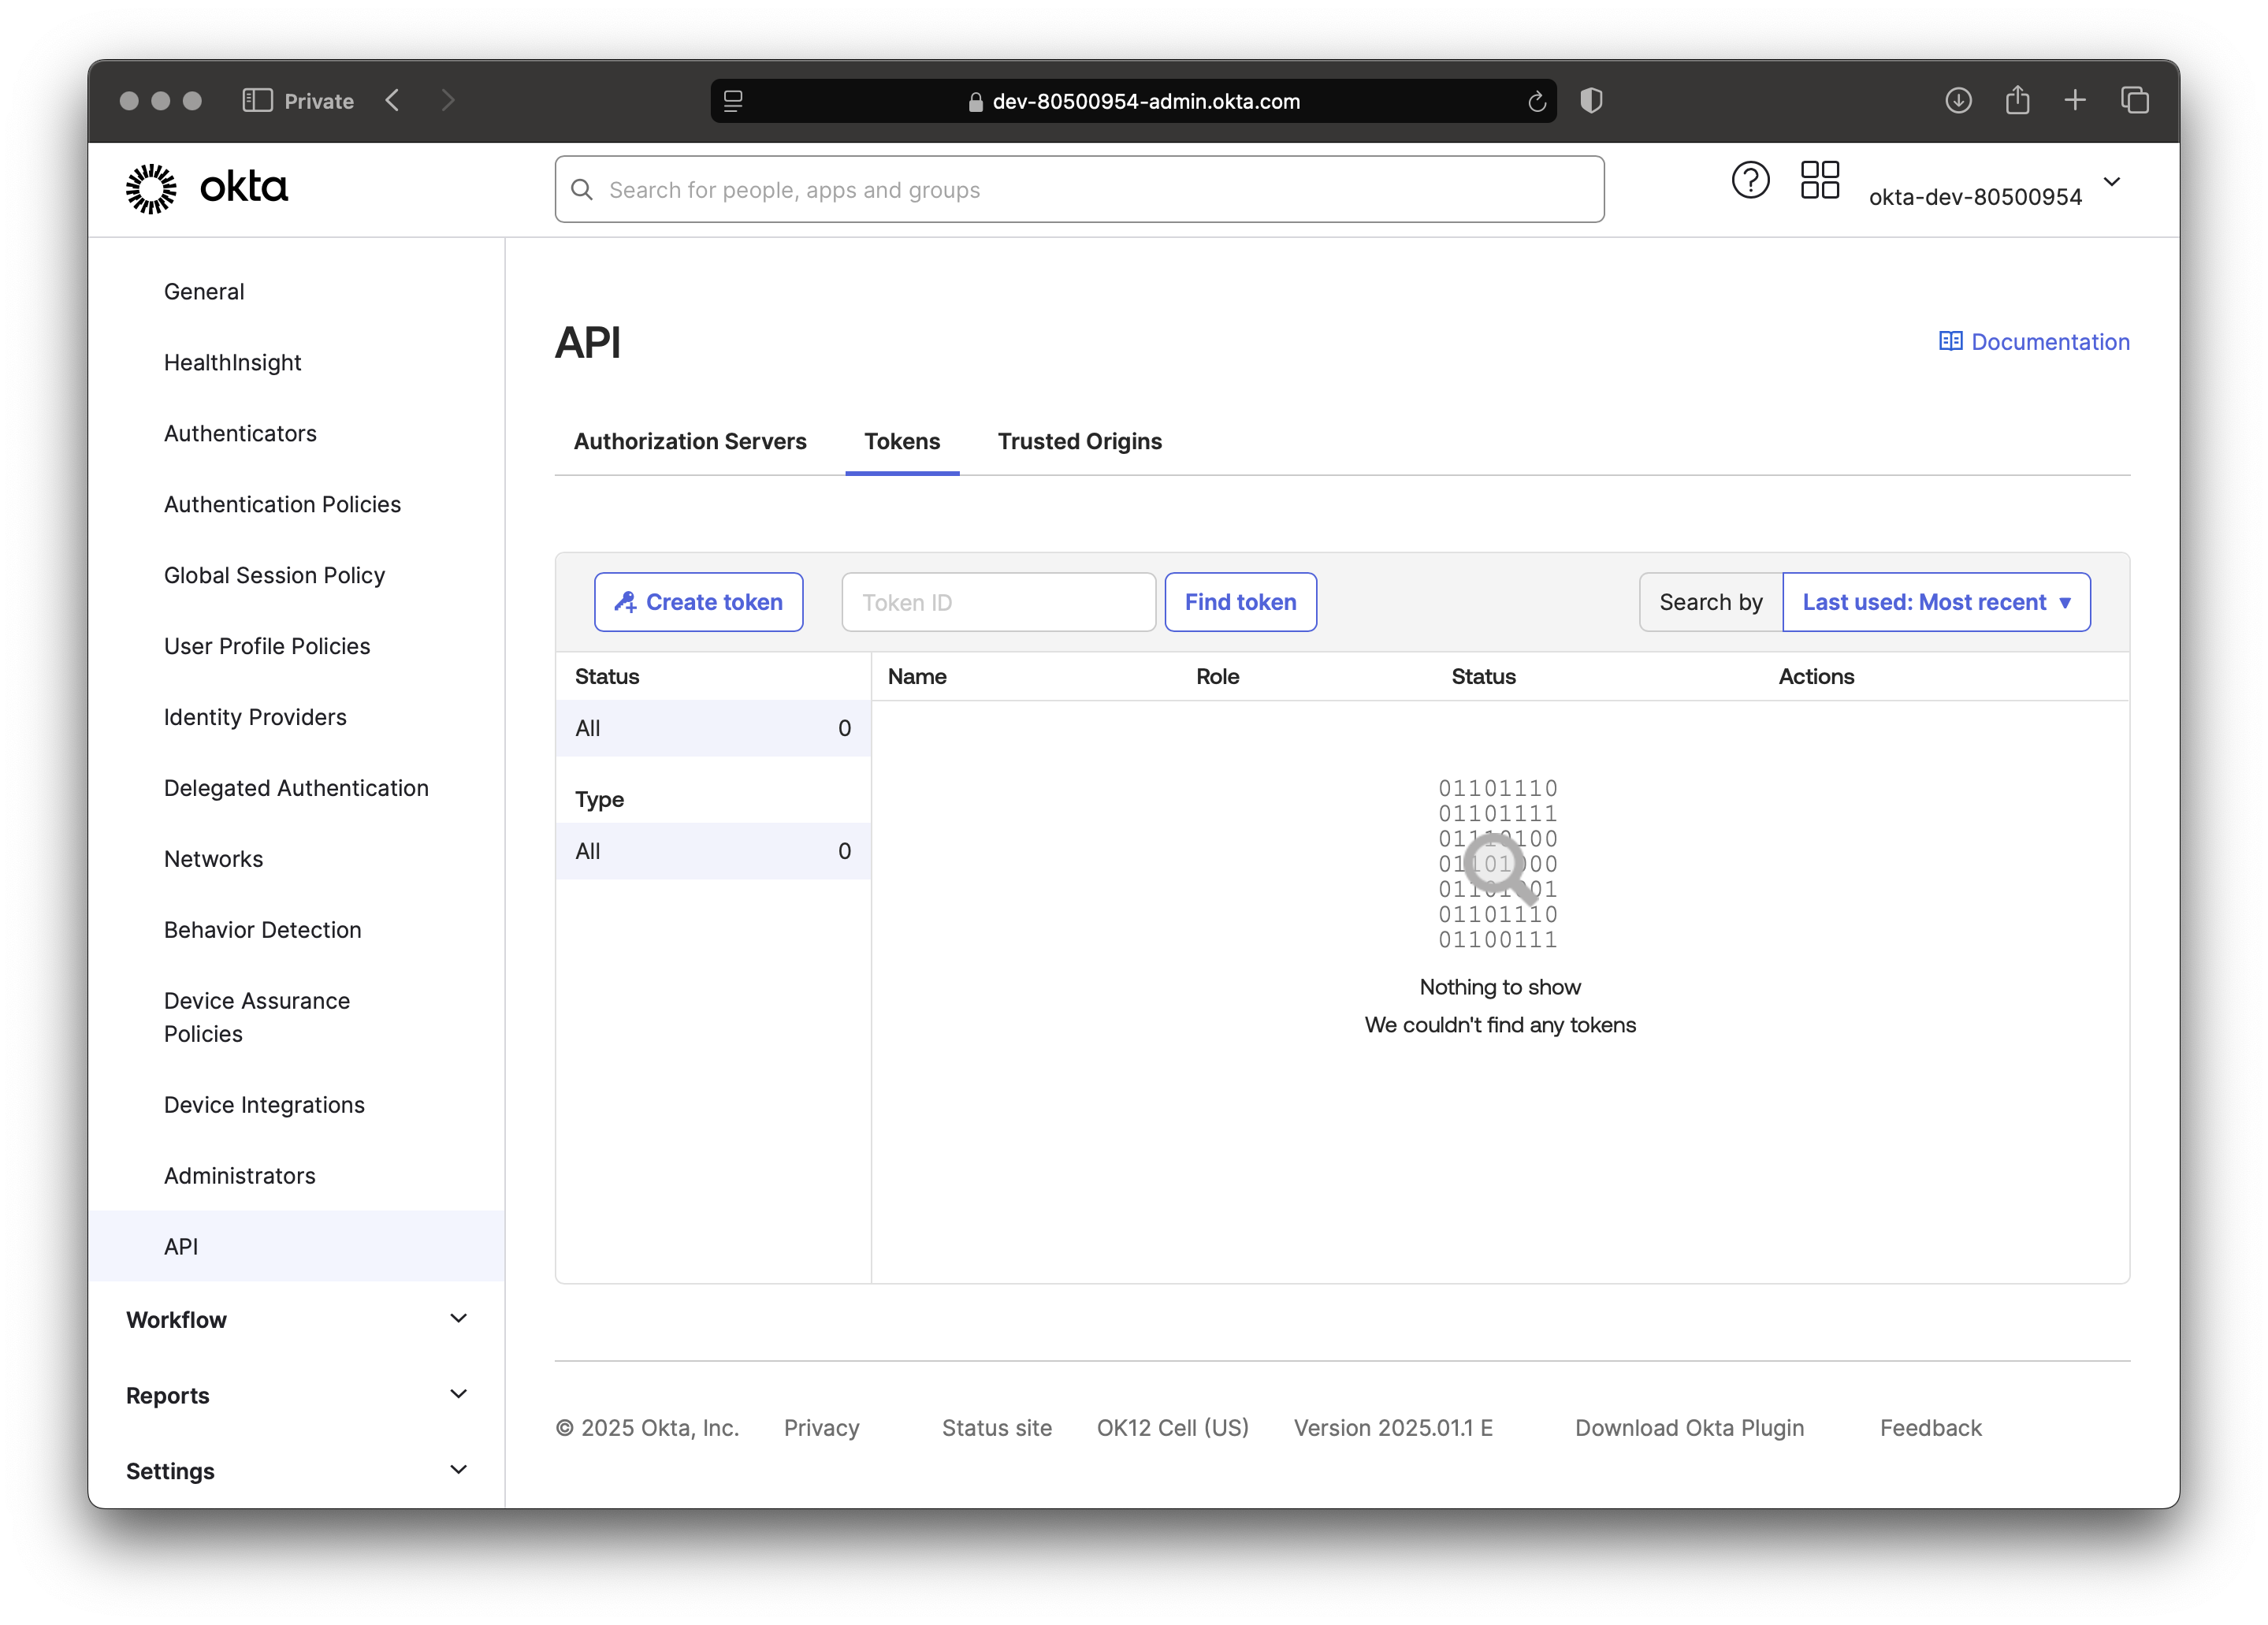
- Enter a Name:
- Provide a descriptive name for your token (e.g., "Directory Sync Token") so you can identify its purpose later.

- Generate the Token:
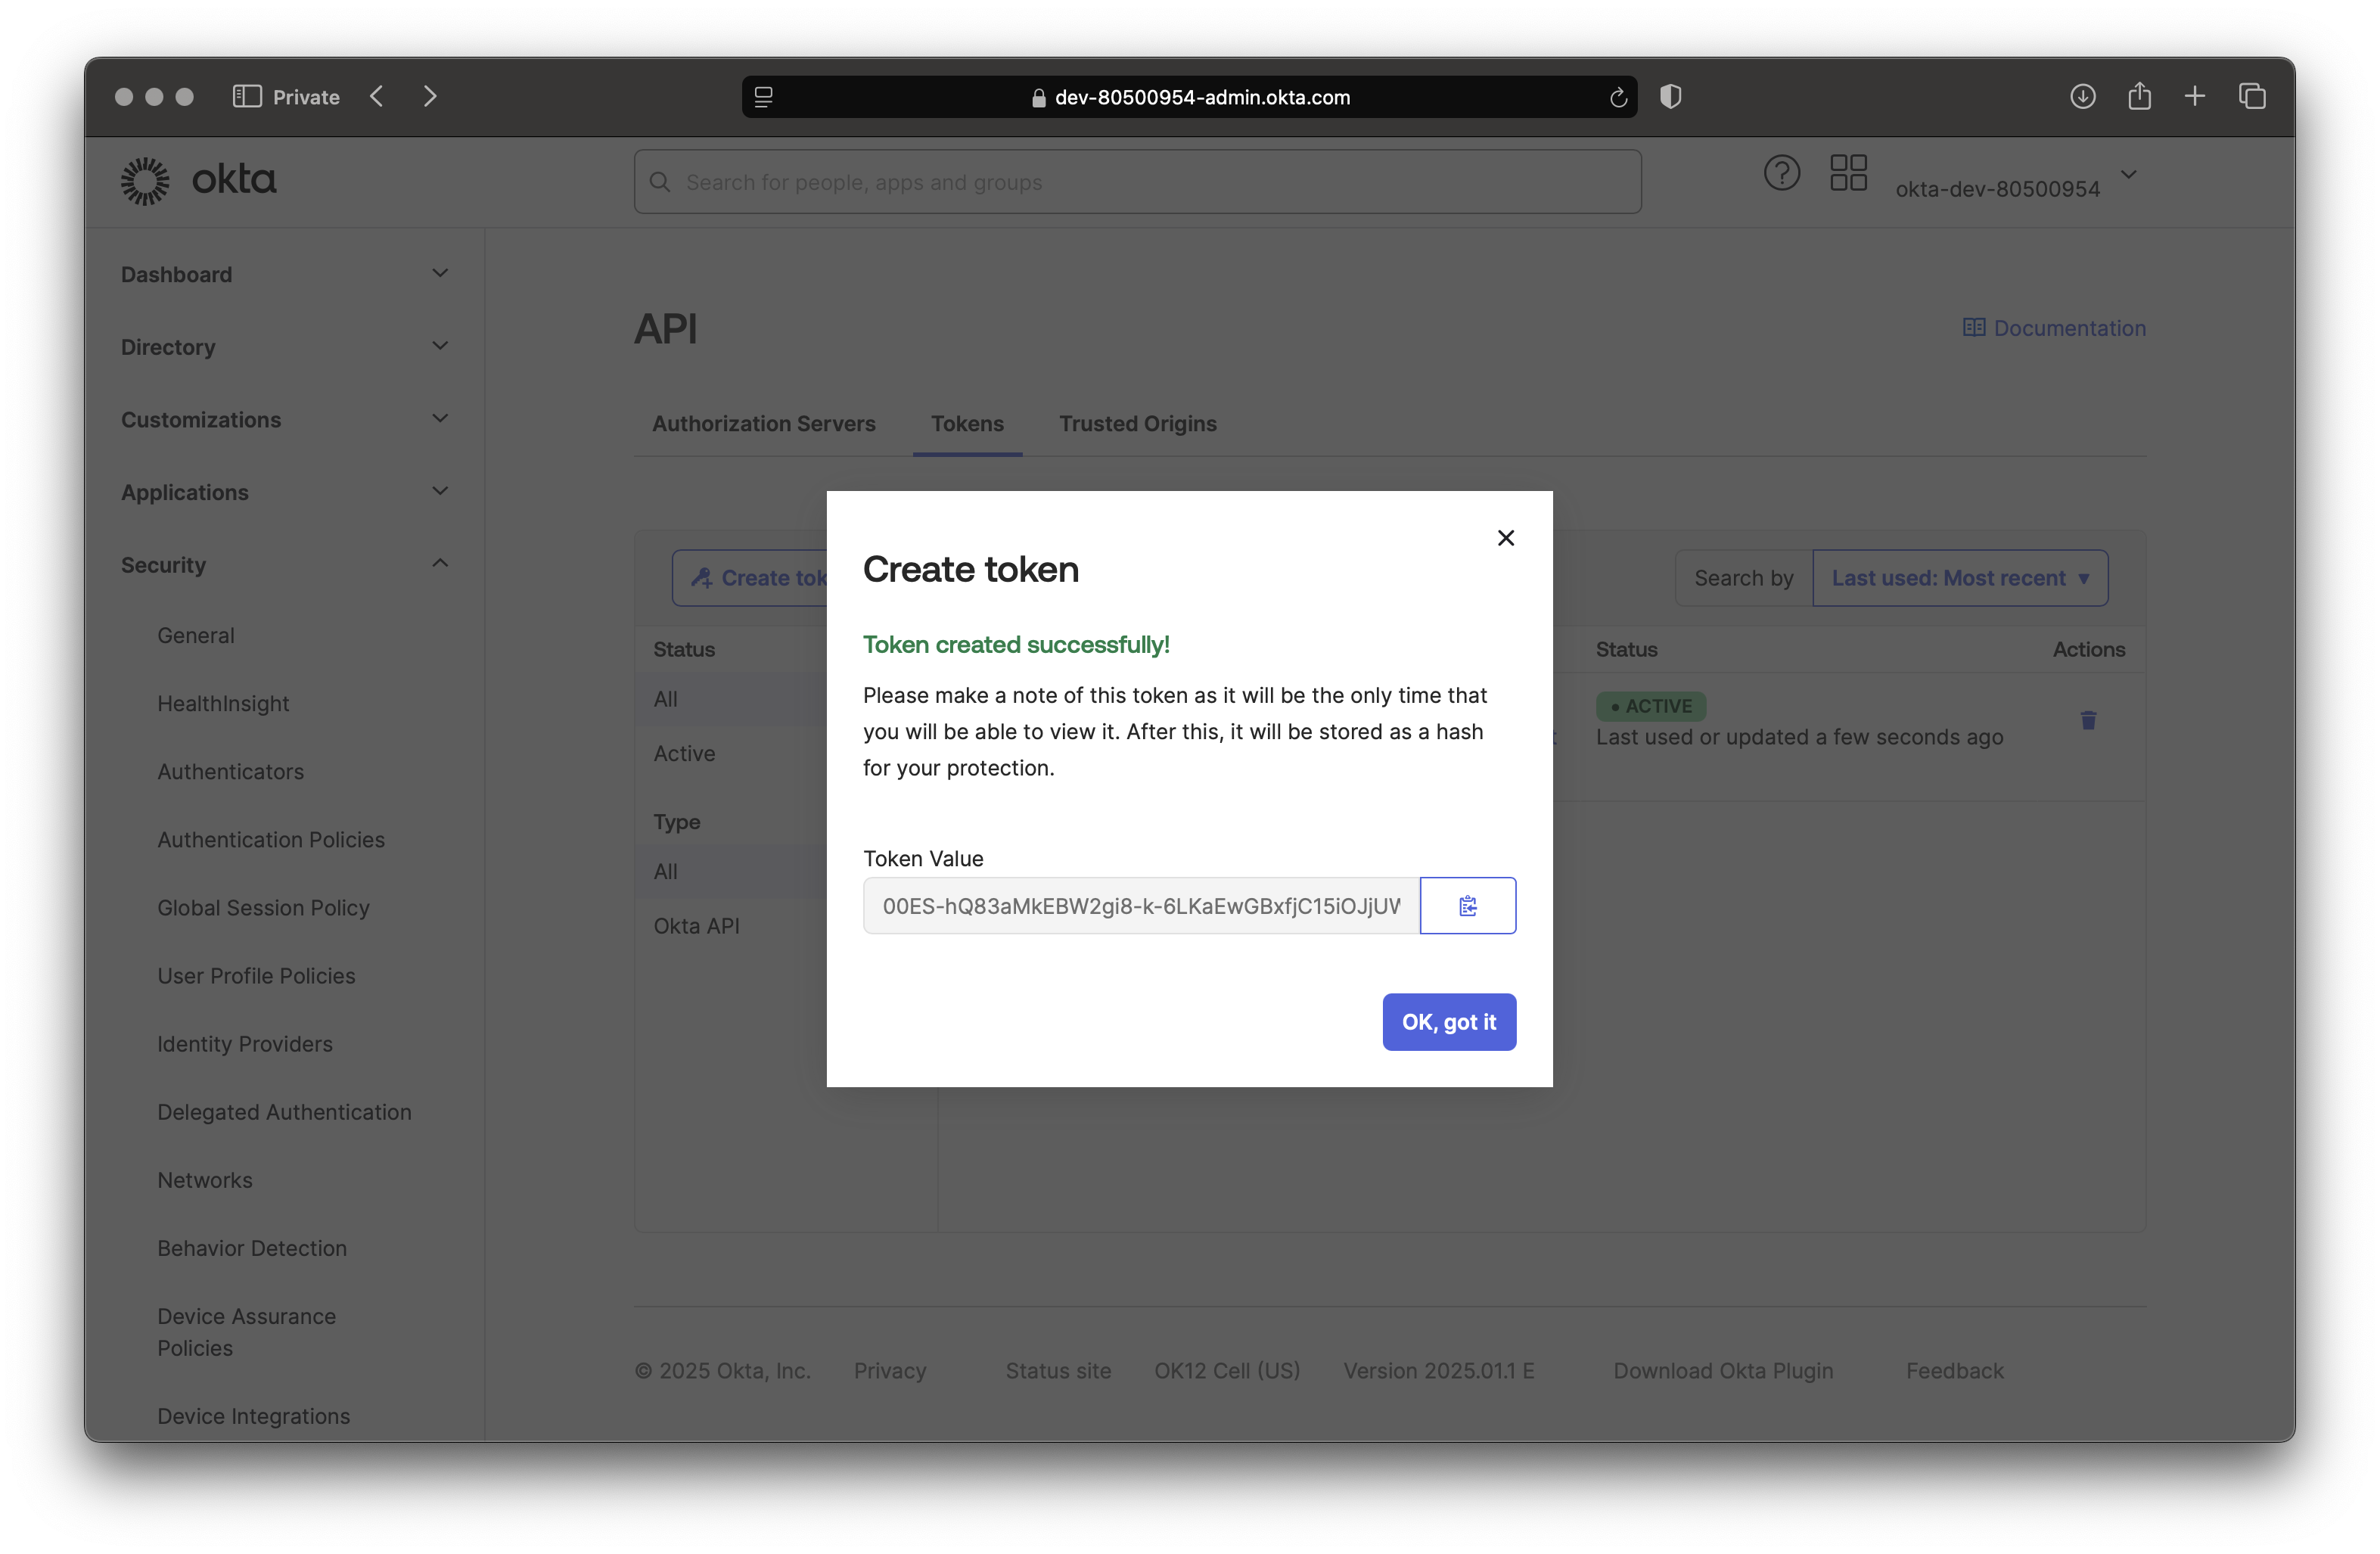
- Click the "Create Token" button.
- The token will be displayed only once. Be sure to copy and save the token securely. You will not be able to view it again.
Okta configuration on WebADM
The Okta configuration on WebADM consists of:
- Creating a Container, Organizational Unit, or Organization object in your LDAP tree where the Okta tenant will be synced.
- Creating a WebADM
User Domainsand configuring the tenant information of your Okta tenant.
Container Creation
Let's first create the container where objects will be synced in.
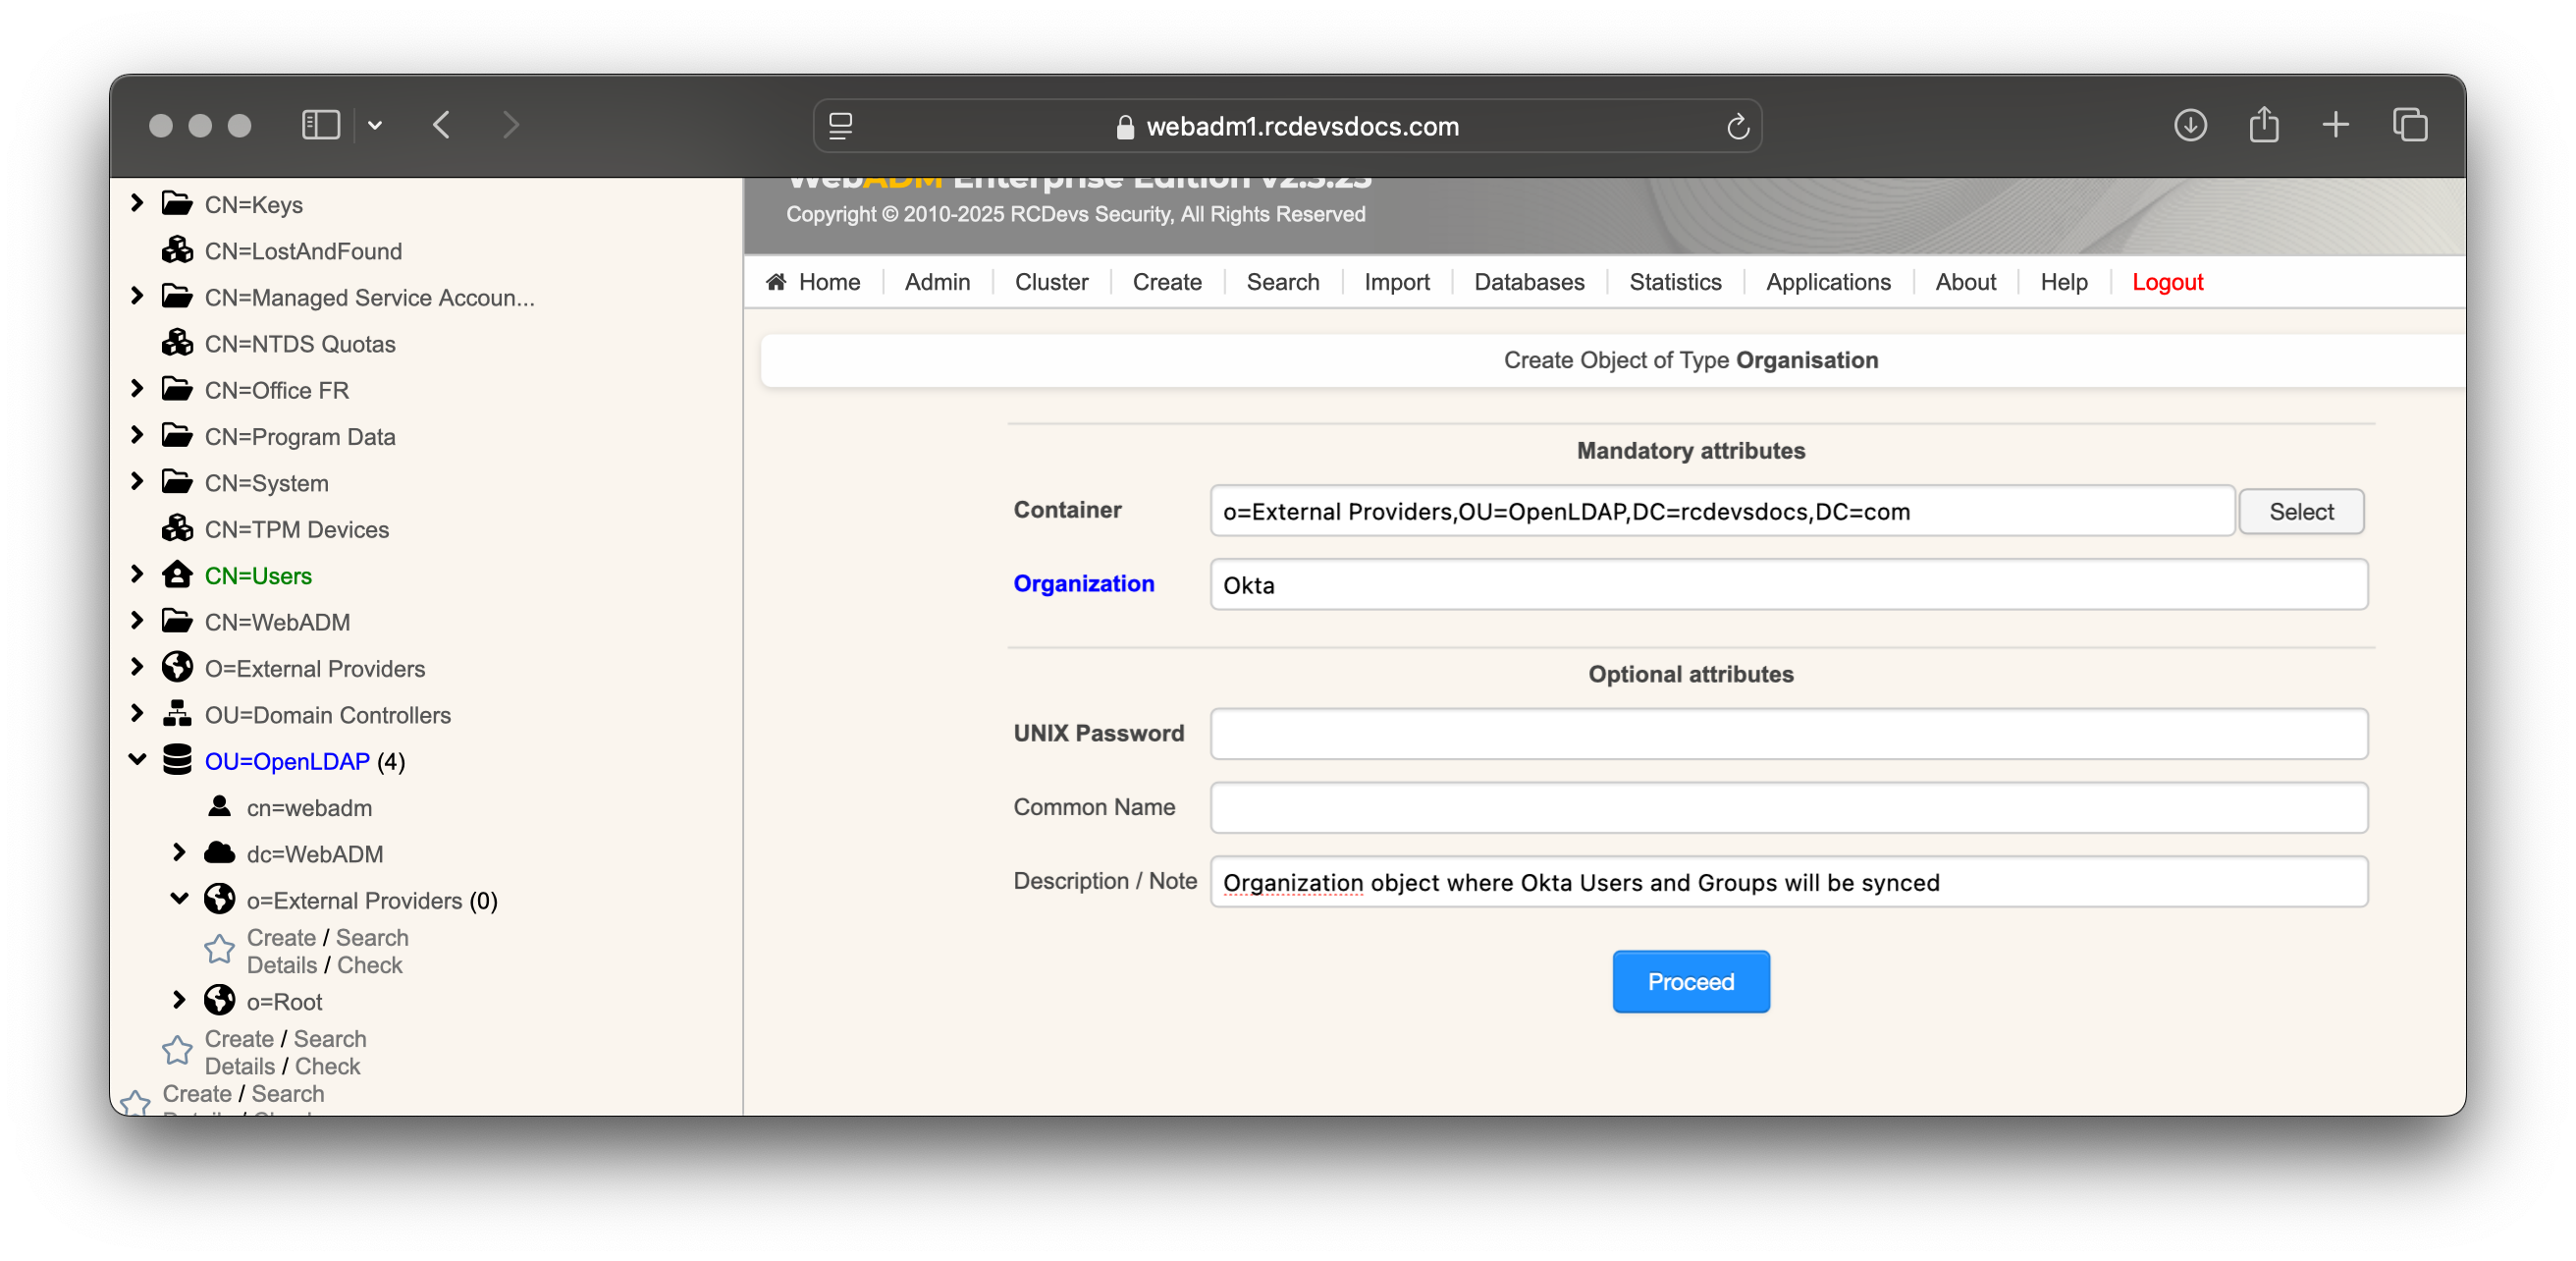
Login on the WebADM Administrator Portal with a super_admin account, and click on the Create tab.
In this example, we create an Organization object named Okta inside an existing Organization object named External Providers

Click Proceed and select the location of the Organization object. I created it within an organization object named External Providers, but you can place it wherever you prefer. Name your object, optionally provide a description, and click Proceed, followed by Create Object.
Your Organization object should then be created and visible at the location you specified.
You can optionally create Users and Groups containers to separate users and groups during the synchronization process.
Domain Creation and Configurations
This section provides a clearer understanding of the UPN mode available in WebADM Domains. The example mentions Entra ID, but the principle is exactly the same for all cloud directories.
Username/UPN Concepts
The WebADM User Domain creation involves configuring the following key settings:
- The
User Search Base - The
UPN Modeand optionally theUPN Suffixwhen the UPN Mode is set toExplicit. - The
Directory Synchronizationsettings
When configuring the UPN Mode, you are determining how the login name value will be synced in the login attribute.
Example for Clarification
Consider the UPN (User Principal Name) of an Entra ID account: testaccount@okta.com.
testaccountis the UPN prefix.okta.comis the UPN suffix.
UPN Mode: Implicit vs Explicit
The UPN Mode can be set to either Implicit or Explicit. Here's how each mode works:
-
Implicit Mode:
In this mode, thetestaccountvalue (the UPN prefix) will be stored in the login attribute. With this mode, users can authenticate using two different methods:- By providing
username=testaccountanddomain=WebADM_Domain_Nameto the OpenOTP APIs. - By constructing a UPN with the
UPN Suffixconfigured in the WebADM domain object they belong to and logging in asusername@upn_suffix.
- By providing
This mode is the most flexible.
The UPN suffix can also be configured to work with the full UPN, even if it's not synced into the uid attribute.
With Active Directory backend configured with WebADM, you must set UPN Mode to Implicit. Explicit mode can not work, as the UPN prefix is synced into the sAMAccountName and the full Entra ID UPN is synced into the UserPrincipalName.
- Explicit Mode:
In this mode, the full UPN (testaccount@okta.com) will be stored as the login attribute. In this case, users must use the full UPN as their username to log in. Thetestaccountvalue (UPN prefix) alone cannot be used for authentication.
If the directory backend configured with WebADM is Active Directory, and you attempt to sync Entra ID accounts into Active Directory, the prefix of the UPN will be synced into the sAMAccountName attribute, while the entire Entra ID UPN will be synced into the UserPrincipalName attribute.
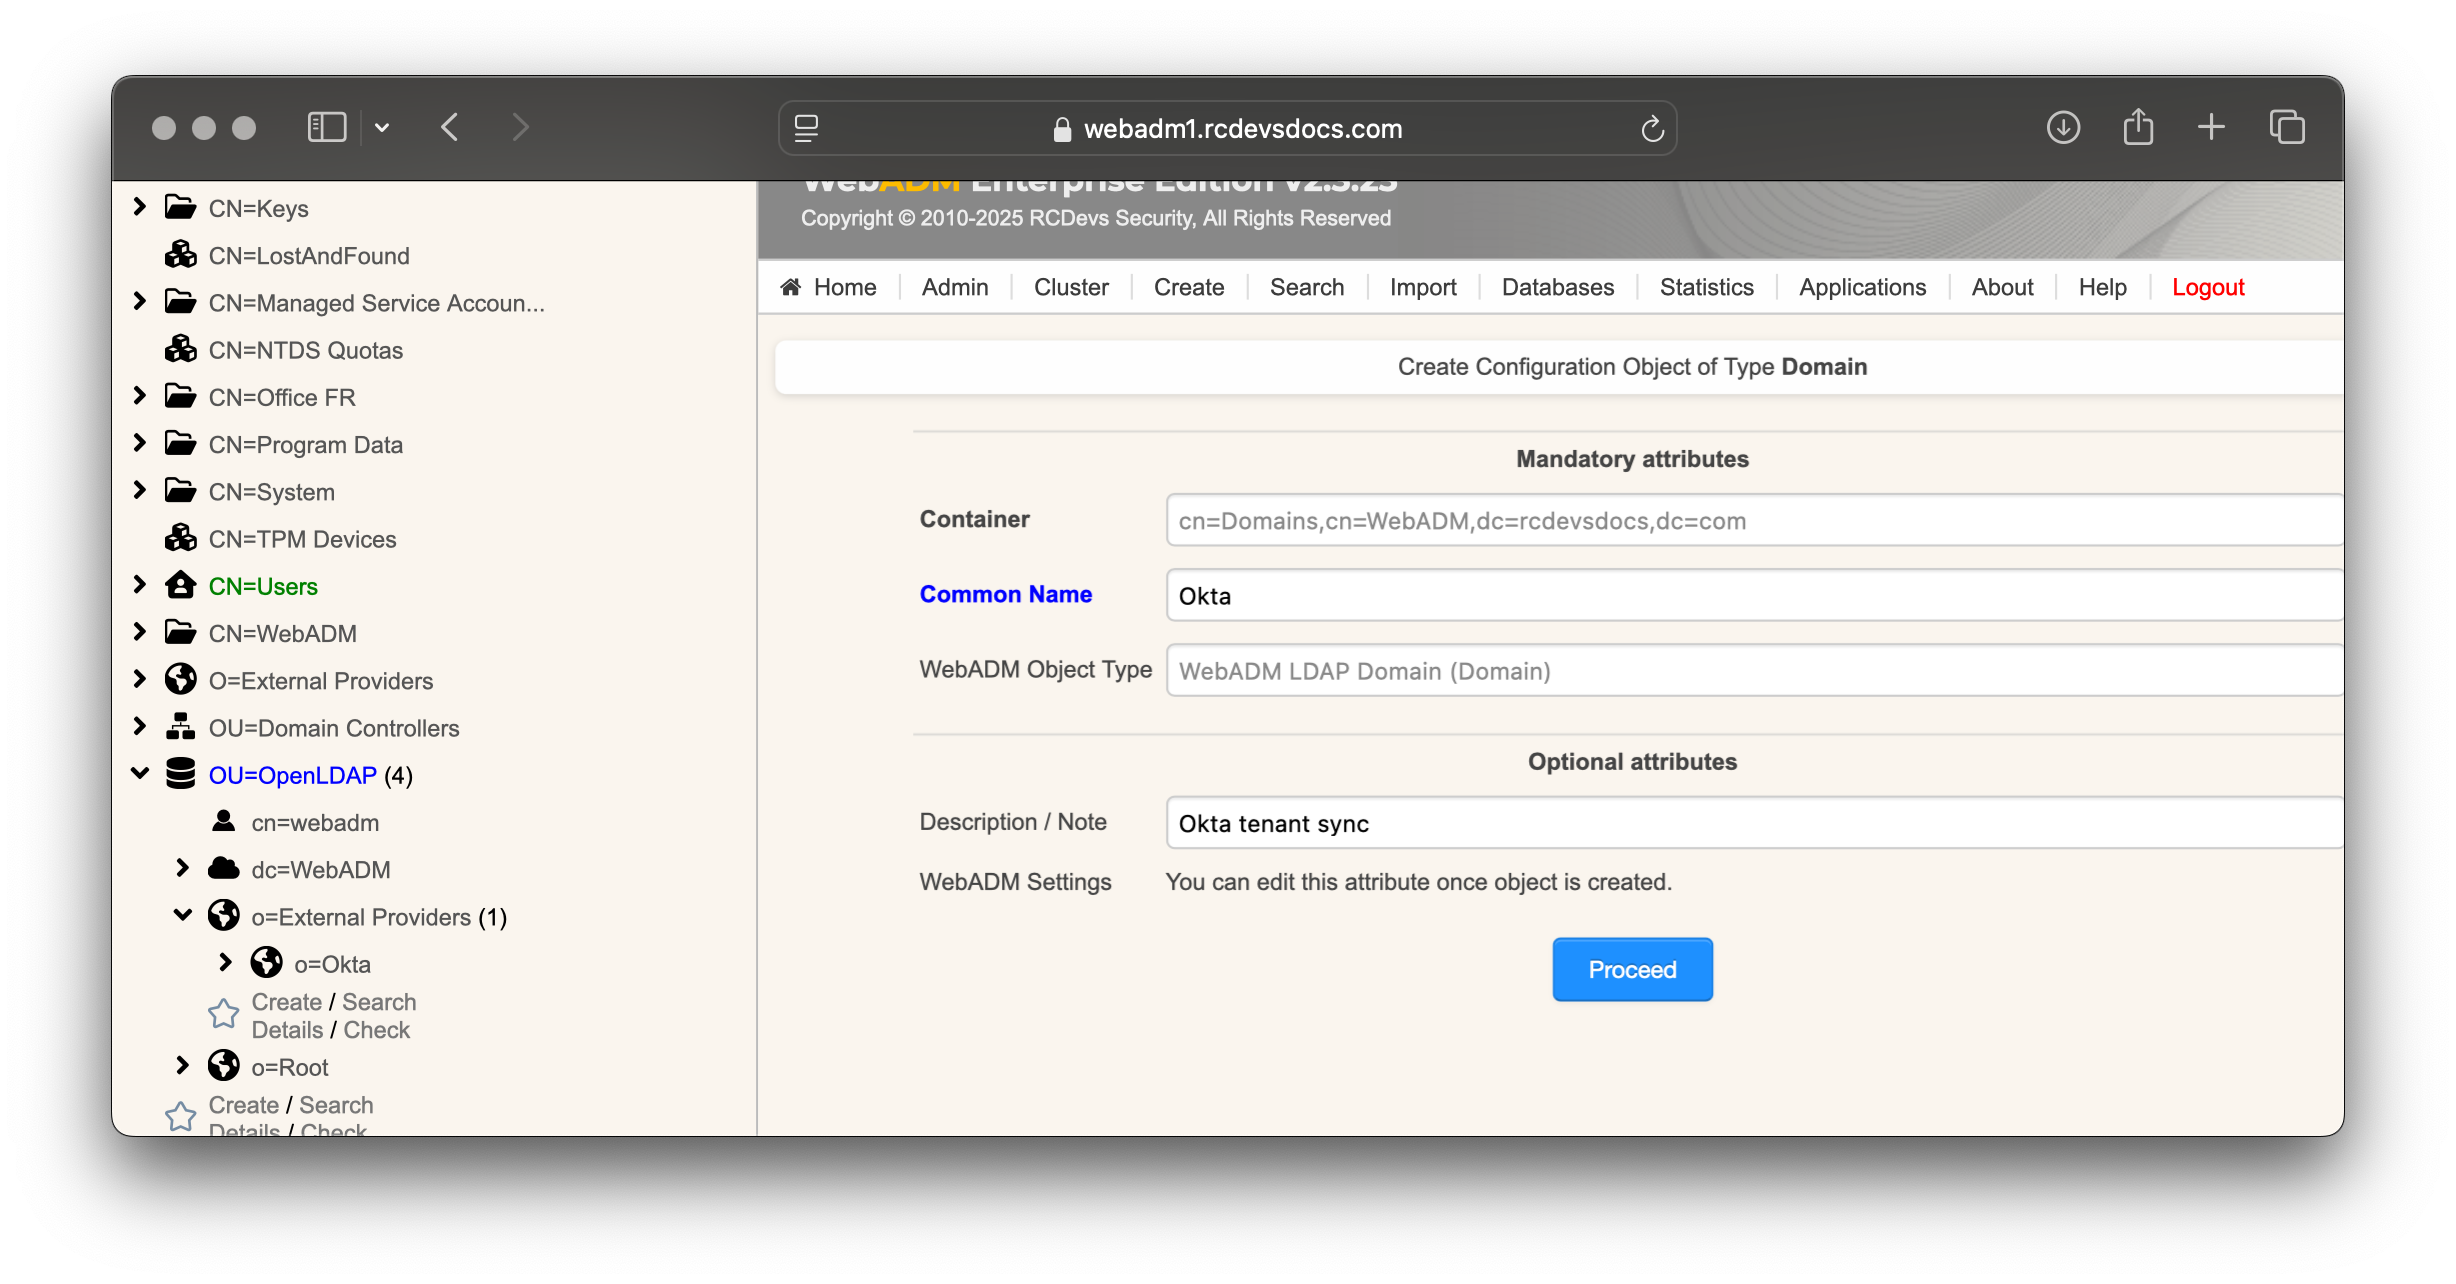
Now that you fully have the concepts, we can continue by creating the WebADM User Domain object and configuring the information for Entra ID.
Go to the Admin tab, select User Domains, and click Add Domain. Provide a common name to identify the cloud provider, such as Entra ID, and optionally add a description. Then, click Proceed followed by Create Object.
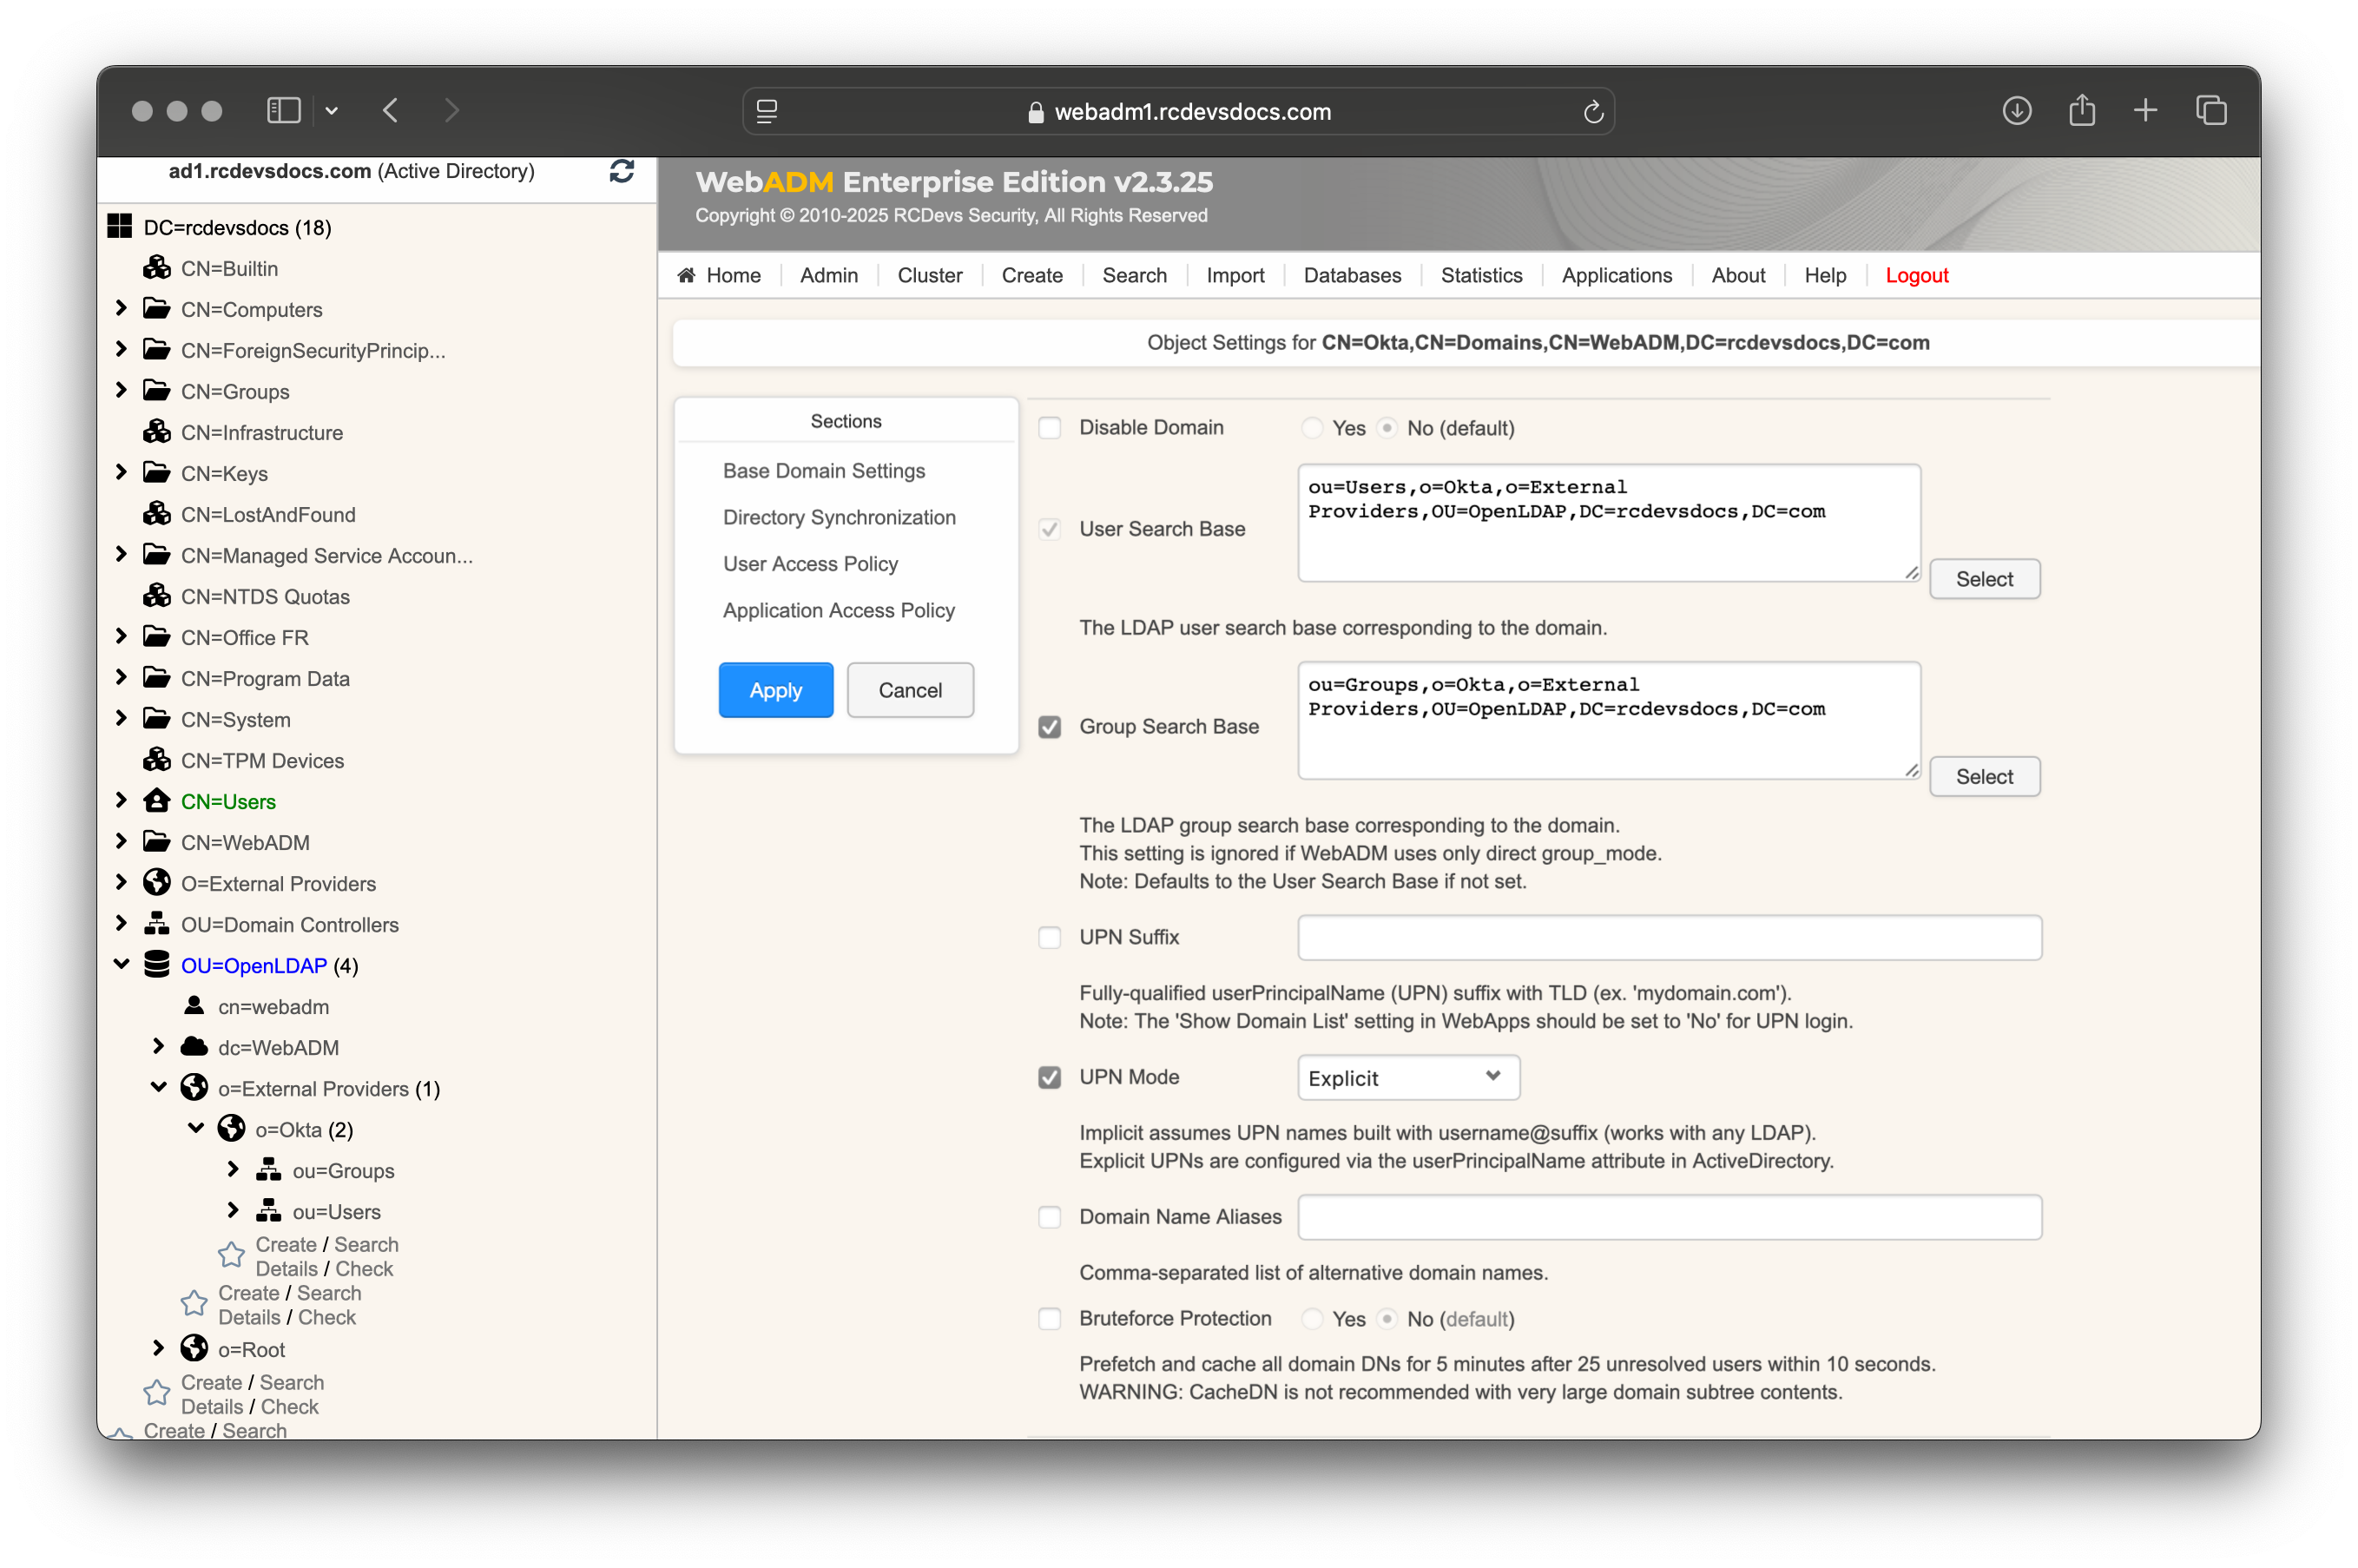
The domain object will be created, and you will enter the User Domain configurator. In the first section, configure the User and Group Search Bases to point to the Organizational Unit (OU) you previously created. Keep the UPN Suffix blank and configure the UPN Mode to Explicit.
Scroll down to the Directory Synchronization section.
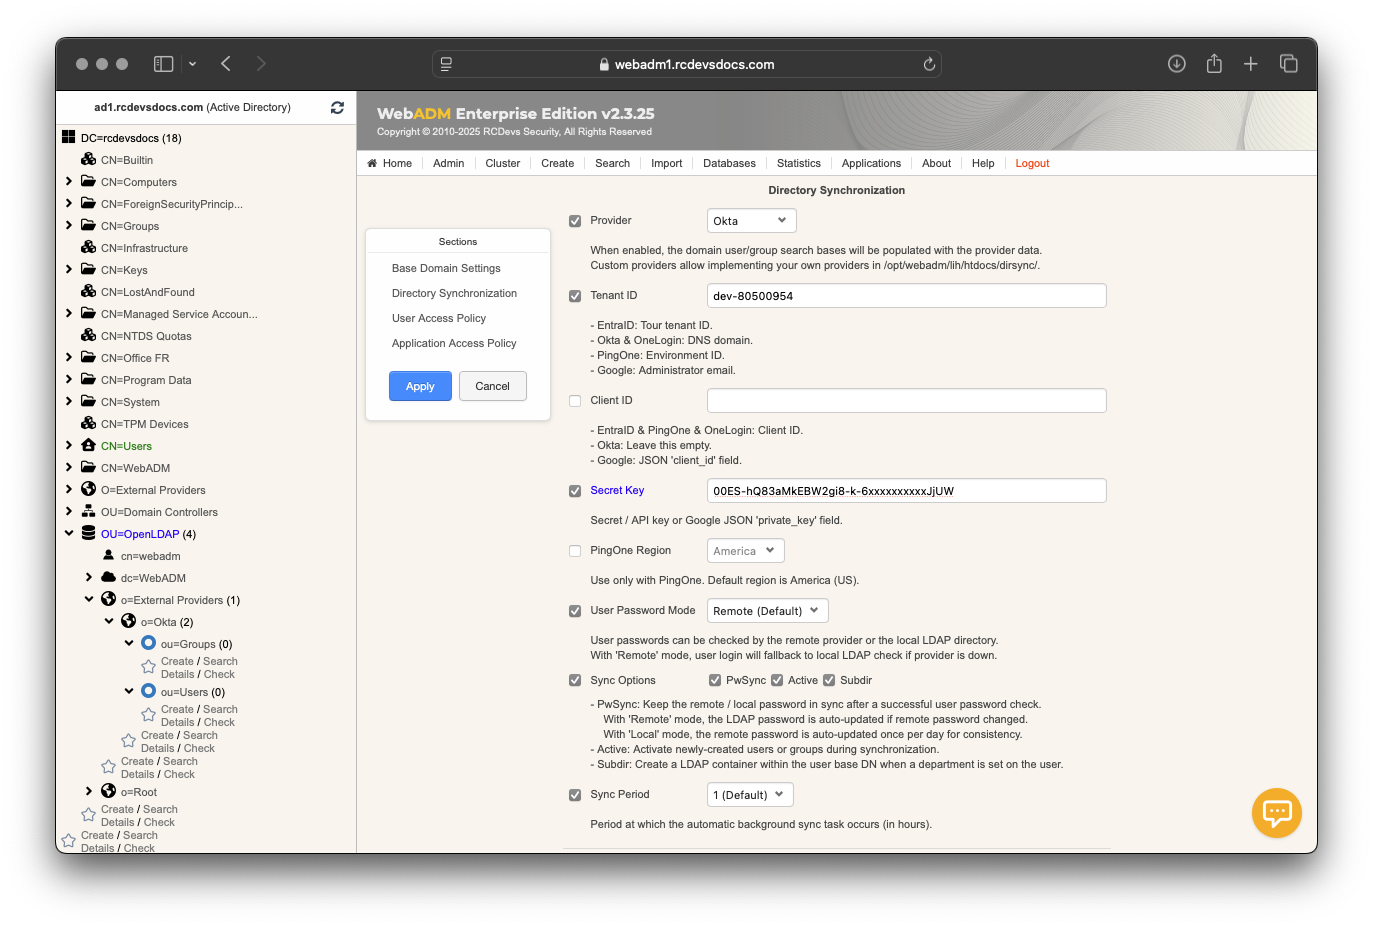
- In the
Providersetting, selectOkta. - In the
Tenant IDsetting, enter your tenant identifier, which can be retrieved from your Okta tenant or from your tenant URL. - Leave the
Client IDsetting empty. - In the
Secret Keysetting, enter the token key previously generated. - Configure the
User Password Modeyou prefer. - Choose the
Sync Optionsthat best suit your preferences for password synchronization, ensuring they align with the permissions granted to the application. - Finish by setting the
Sync Period. By default, synchronization occurs every hour.
When the configuration is complete, click Apply to save your settings. You will be redirected to the Registered LDAP Domains menu, where your Okta domain should appear with a Sync Now button.
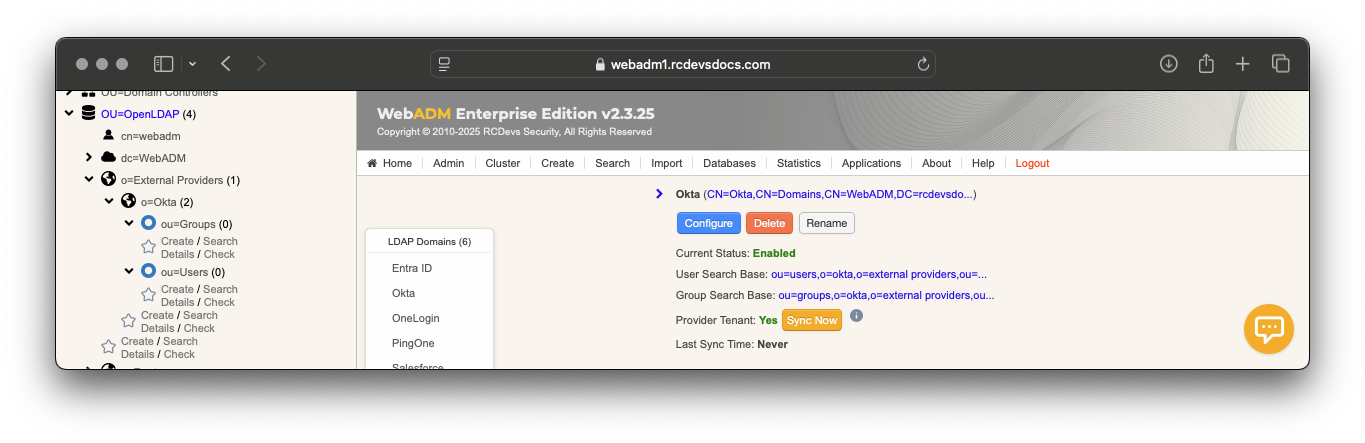
If any objects cannot be synced for any reason, an error message will appear in the synchronization output. For more details, consult the WebADM Server logs. Objects that have been successfully synced will appear in the left LDAP tree
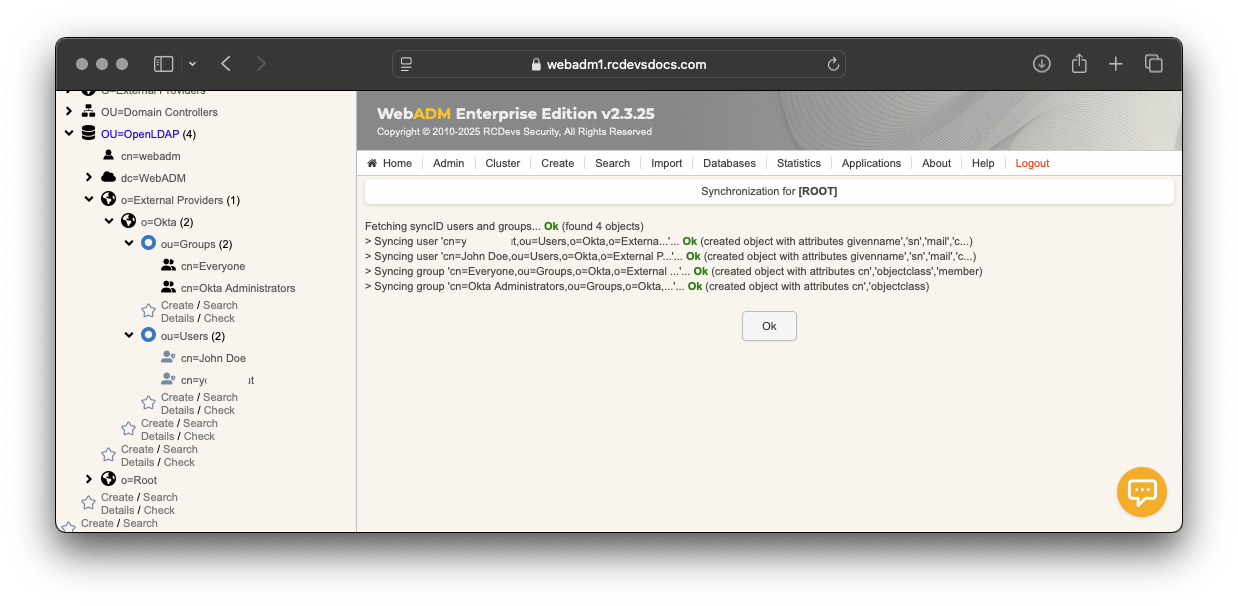
That's it. The synced identities and groups can now be used with WebADM, along with its dependencies and integrations.