Plivo SMS Gateway & WebADM
1. Set up an Account on Plivo
-
Sign up for an account.
-
Add the credit to the account (however, you should get some initial free credit when signing up).
-
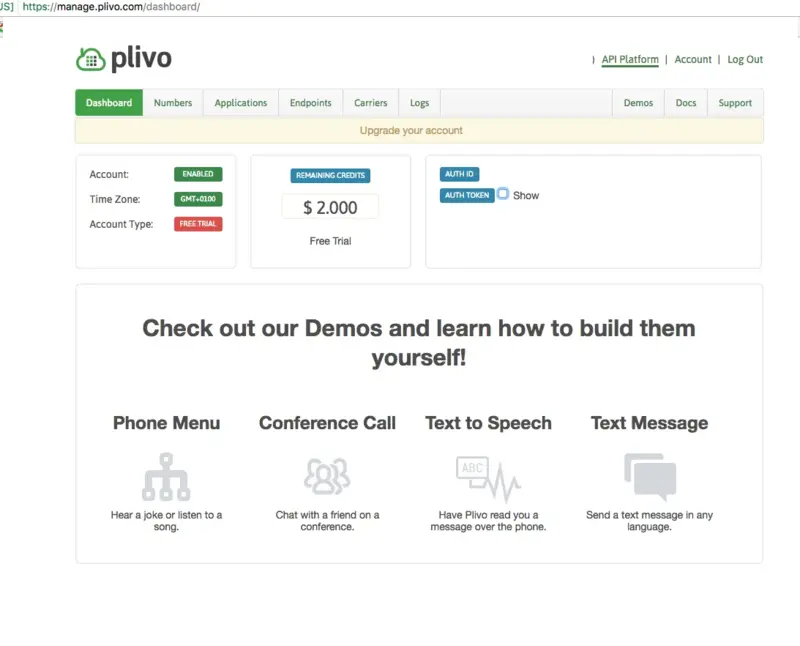
From the Dashboard go to API Platform and copy the AuthID and the AuthToken.
2. Configure WebADM:
-
Login to WebADM.
-
Go to Applications —> MFA Authentication Server.
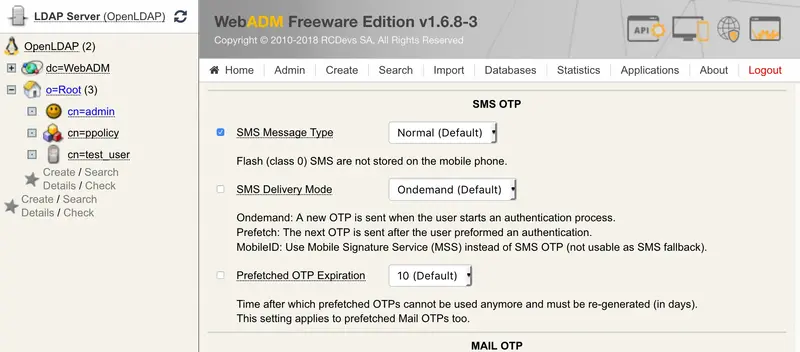
- Configure the section
SMS OTP.
-
SMS Message Type ==> Normal (We advise testing using Normal first).
-
Apply changes.
-
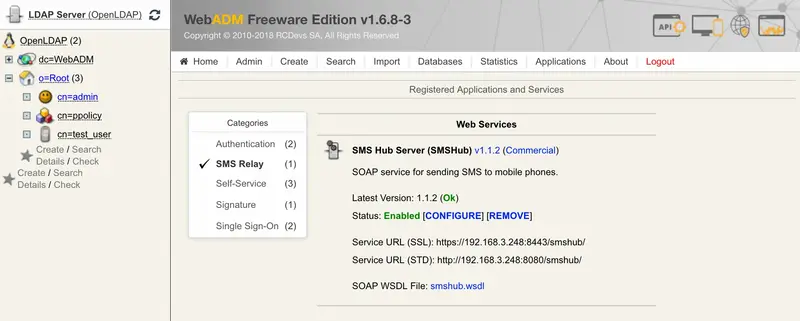
Go to Applications —> SMS Relay.
-
Register the SMS Hub Server application (if you haven’t already).
-
Click on CONFIGURE.
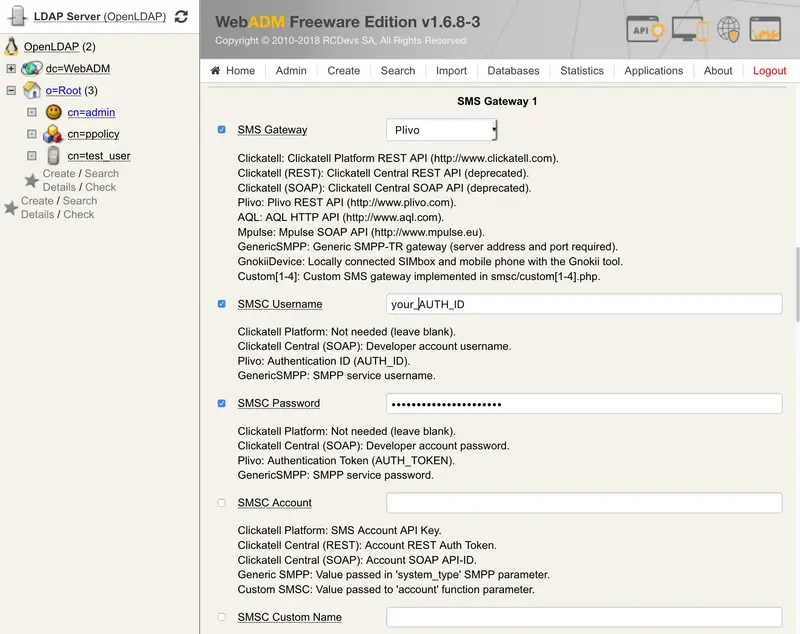
- Set up the
SMS Gateway 1 section with the details from Plivo - instructions are embedded in the page.
- Apply changes.
3. Activate SMS Login on Group of Users:
-
Select the AD/LDAP group.
-
If the group is not activated (to openotp), choose Activate now.
-
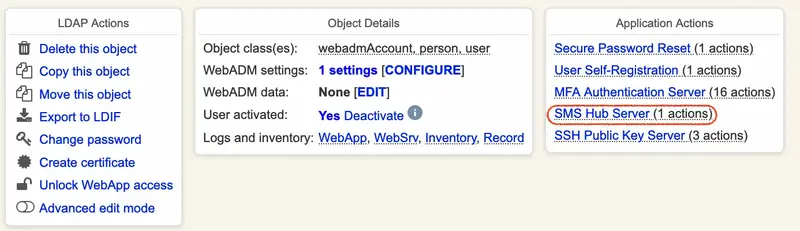
In the Object Details box, choose to CONFIGURE on WebADM Settings.
-
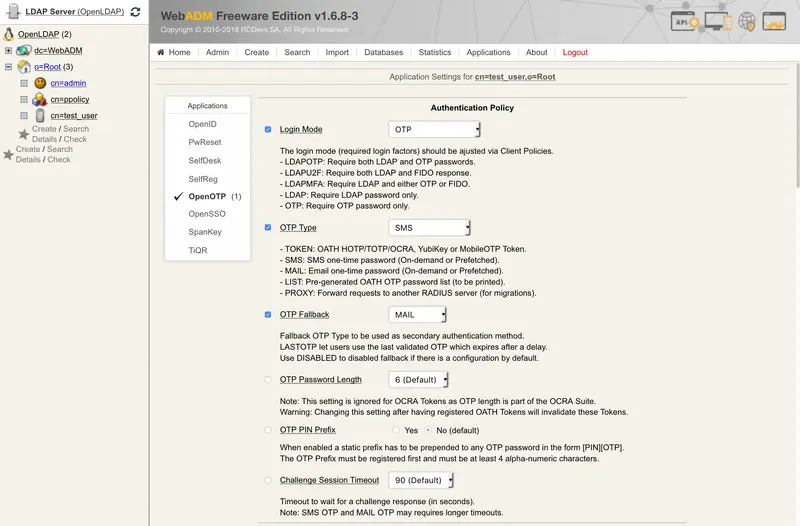
Choose OpenOTP Settings and set.
OTP Type ==> SMS
4. Configure User (if needed)
-
The user needs a mobile number, which can be added (if not already existing) as an attribute.
-
The user needs an OpenOTP authentication setup which uses SMS - (in WebADM settings for the user, under OpenOTP configuration).
5. Test
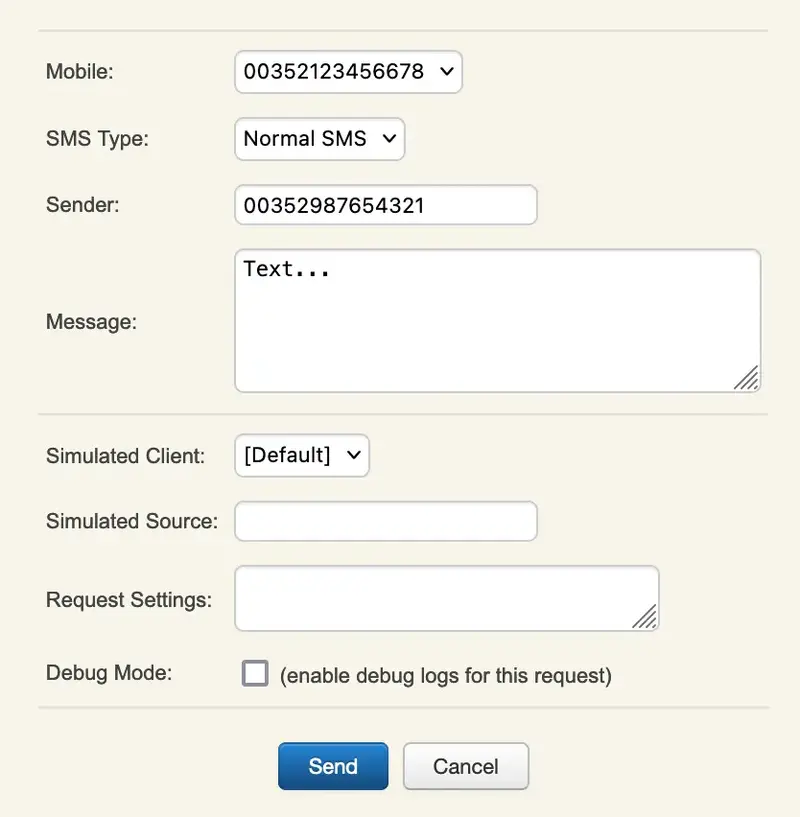
- Test the configuration using a valid user with a mobile number and using the MFA Authentication service link in the user’s page :
6. Troubleshooting
-
BEWARE of the “Sandbox” numbers, check Plivo documentation website.
-
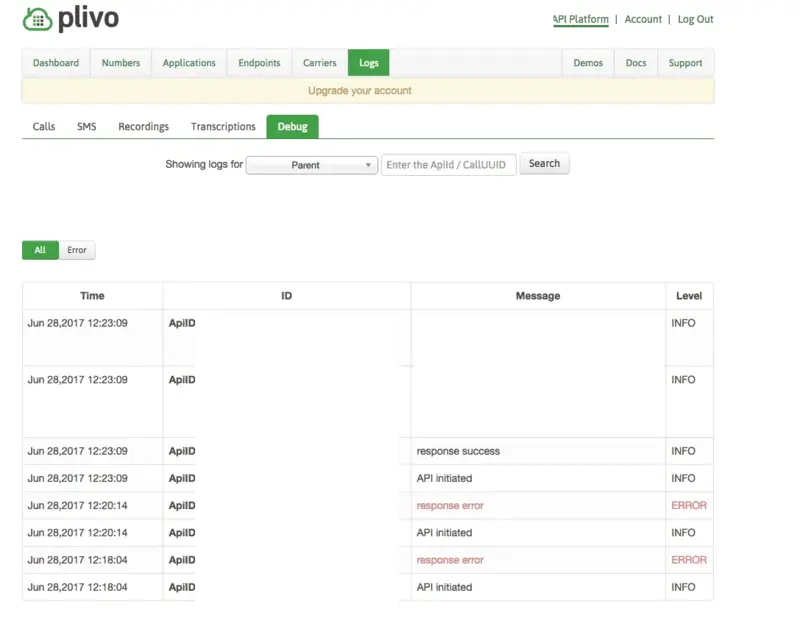
In case of problems with Plivo, head to the Logs -> Debug section in your dashboard to check what’s happening (and/or check the WebADM Logs).
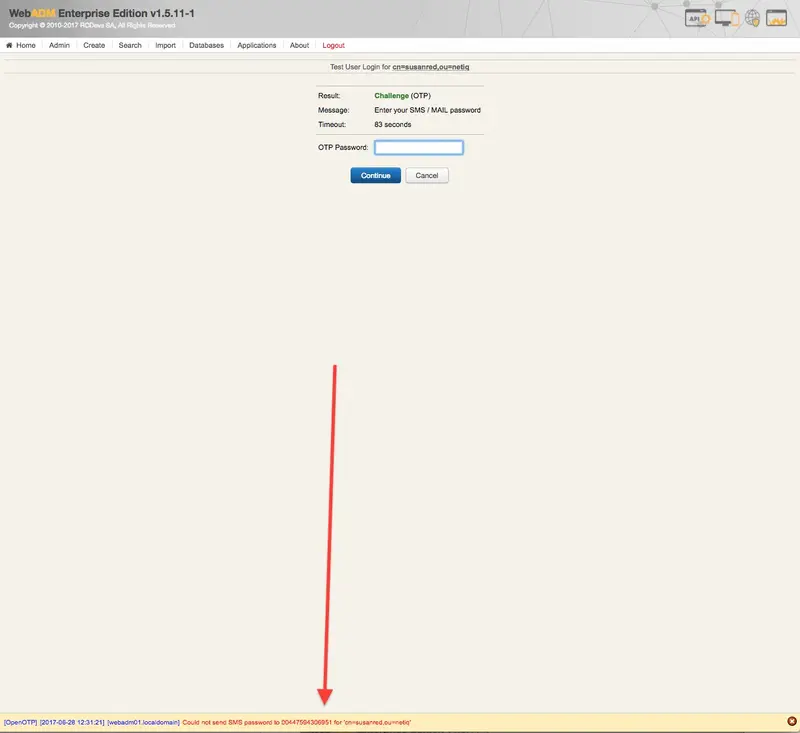
- If WebADM fails to send the SMS, you will be notified at the bottom of the page (typical WebADM notification pattern).
Sign up for an account.
Add the credit to the account (however, you should get some initial free credit when signing up).
From the Dashboard go to API Platform and copy the AuthID and the AuthToken.
Login to WebADM.
Go to Applications —> MFA Authentication Server.
- Configure the section
SMS OTP.
SMS Message Type ==> Normal (We advise testing using Normal first).
Apply changes.
Go to Applications —> SMS Relay.
-
Register the SMS Hub Server application (if you haven’t already).
-
Click on
CONFIGURE.
SMS Gateway 1 section with the details from Plivo - instructions are embedded in the page.
Select the AD/LDAP group.
If the group is not activated (to openotp), choose Activate now.
In the Object Details box, choose to CONFIGURE on WebADM Settings.
Choose OpenOTP Settings and set.
OTP Type ==> SMS
The user needs a mobile number, which can be added (if not already existing) as an attribute.
The user needs an OpenOTP authentication setup which uses SMS - (in WebADM settings for the user, under OpenOTP configuration).
BEWARE of the “Sandbox” numbers, check Plivo documentation website.
In case of problems with Plivo, head to the Logs -> Debug section in your dashboard to check what’s happening (and/or check the WebADM Logs).