1. WebADM/OpenOTP/Radius Bridge
For this recipe, you will need to have WebADM/OpenOTP installed and configured. Please, refer to WebADM Installation Guide and WebADM Manual to do it. You have also to install our Radius Bridge product on your WebADM server(s).
2. Register your F5 VPN in RadiusBridge
On your OpenOTP RadiusBridge server, edit the /opt/radiusd/conf/clients.conf and add a RADIUS client (with IP address and RADIUS secret) for your F5 VPN server.
Example:
client <VPN Server IP> {
	secret = testing123
	shortname = F5
   }
3. Configuring new RADIUS AAA Server to APM
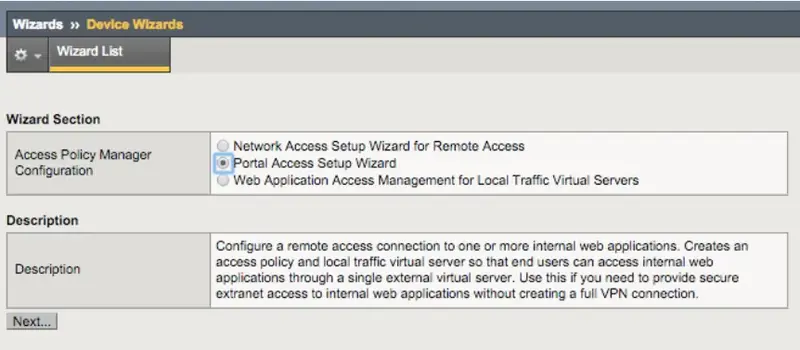
Configuring OTP authentication to APM means simply adding OpenOTP RADIUS AAA configuration to one of your Access Policies. To use an existing Access Profile then on APM management UI you only need to add a RADIUS through: Access Policy —> AAA Servers —> RADIUS and create a new RADIUS server which you can then attach to your existing access profile(s). To create an all-new Access Profile and RADIUS connector: 1. Login to your F5 web-based administration UI. 2. From the left-hand menu, select Wizards —> Device Wizards. 3. Select Portal Access Setup Wizard.
4. To Basic Properties that opens up, set: * Policy Name - A descriptive name for your new access policy, i.e. OpenOTP_Policy (white spaces are not allowed). * Caption - Use default value set for Policy Name.
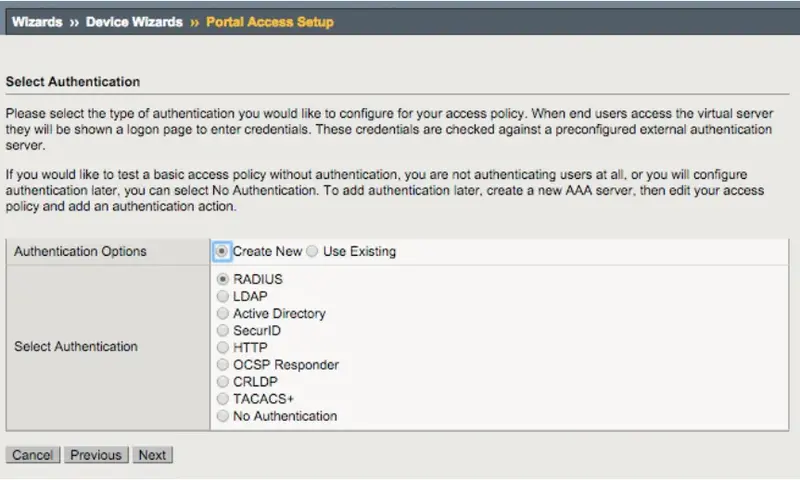
- Click Next to continue. 5. For Authentication Options select New and as Authentication select RADIUS.
6. On Configure AAA Server page, set: * Server Addresses - IP address or hostname of your OpenOTP VM • Authentication Service Port - leave as default (1812). * Secret - enter testing123 (pre-configured to OpenOTP). * Click Next to continue.
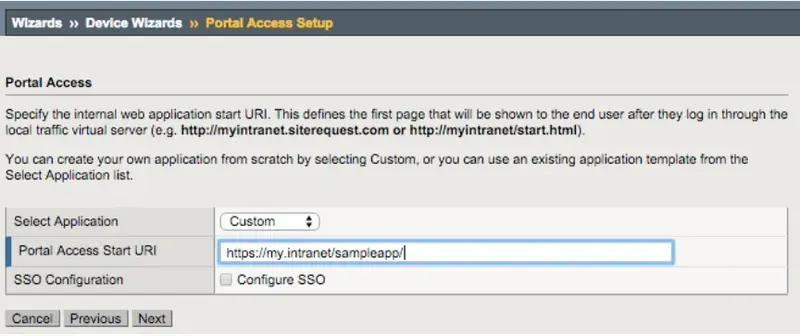
7. On Portal Access and Virtual Server page set: * Virtual Server IP Address - Enter IP address of your external interface VLAN that your users would connect for access. * Click Next to continue.
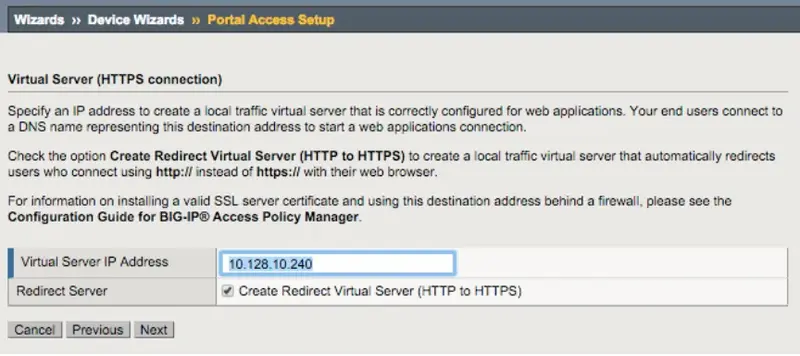
8. Review your configuration and click Next to let the wizard create your new access profile and AAA Server configuration. 9. Once the wizard completes, you will be able to test your access at the IP you set for your Virtual Server.
Note
Don’t forget to authorize the communication on 1812 UDP port (default RADIUS port for the authentication) from your F5 APM system to your WebADM instance at the firewall level.
4. Test your APM login
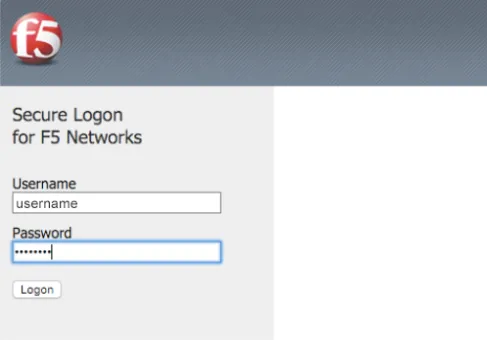
- Go to your Virtual Server IP with a web browser (one set in Wizard, i.e. https://10.128.10.240/).
- Secure Login Page opens. 3. Enter your domain login name and password:
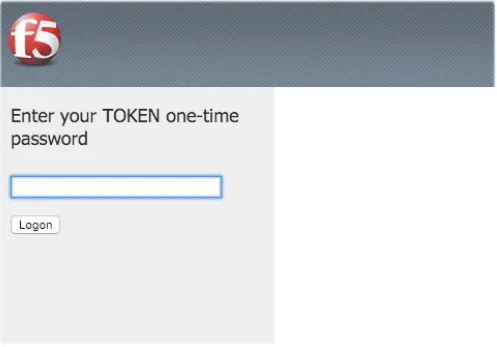
4. Page will refresh to prompt you to enter your OTP. 5. Press enter the OTP you have at hand (Yubikey, Google Authenticator, Hard Token, …).
6. Your intranet web resource should now open!
5. Video Tutorial
Play Video on Youtube