Helpdesk Administration and Usage
1. Overview
The purpose of this web application is to provide an easy-to-use interface for the most common “tier 1” support task, typically performed by a Help-Desk function in a company IT organization.
This Web application is designed for internal (corporate) use and includes several self-management features like:
- Activate users for OpenOTP use
- View and manage account information such as email, mobile phone numbers, etc…
- Reset LDAP password
- Send password reset or token registration links
- Enroll, re-synchronize and test a Software / Hardware Token or Yubikey
- Manage user certificates
- Manage SSH keys (SpanKey)
Administration Help Desk web application must be installed on your WebADM server(s) and can be accessed through WAProxy or another reverse proxy configured with WebADM.
Please see the Administration Helpdesk Installation and Configuration for further details.
The HelpDesk application is accessible via the following address:
https://YOUR_WEBADM/webapps/helpdesk/login_uid.php
and through the WAProxy it is:
https://YOUR_WAPROXY/helpdesk/login_uid.php
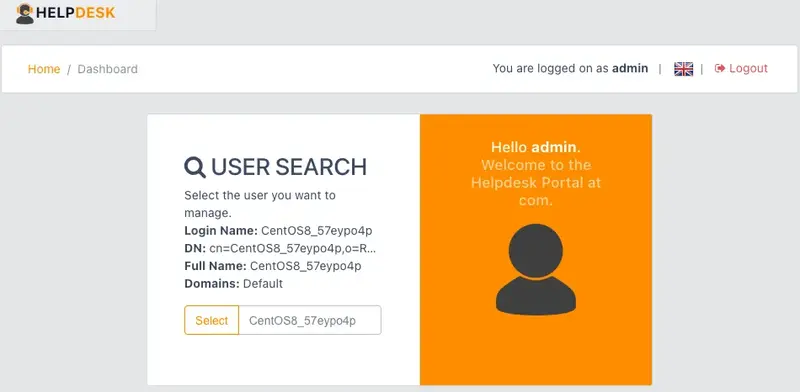
2. Dashboard
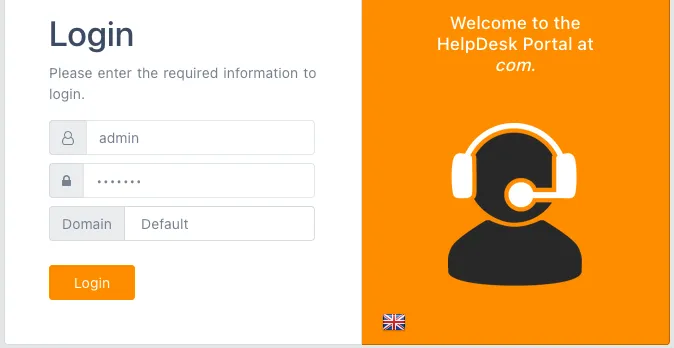
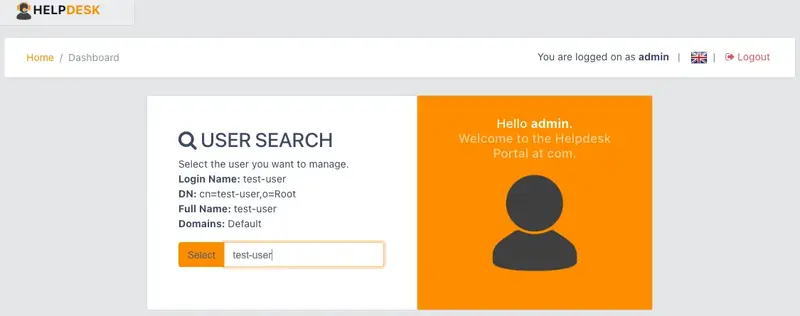
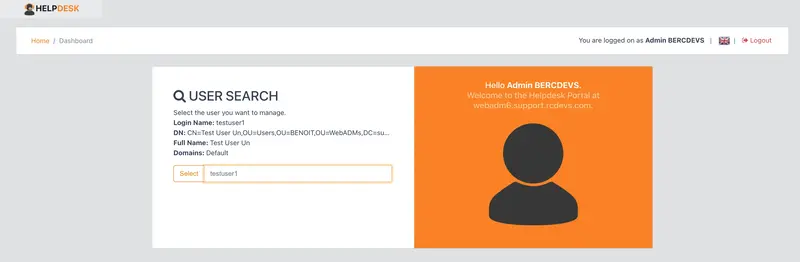
Log in to the HelpDesk application.
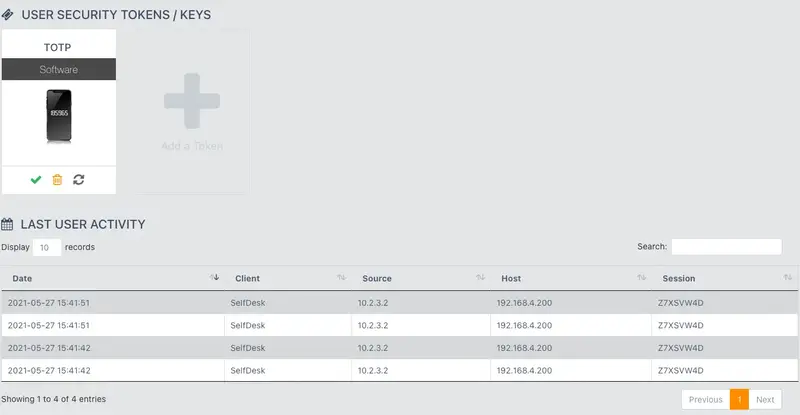
Select the user you want to manage the User Profile, Security Tokens / Keys, SelfReg Link and get an overview over the Last User Activity.
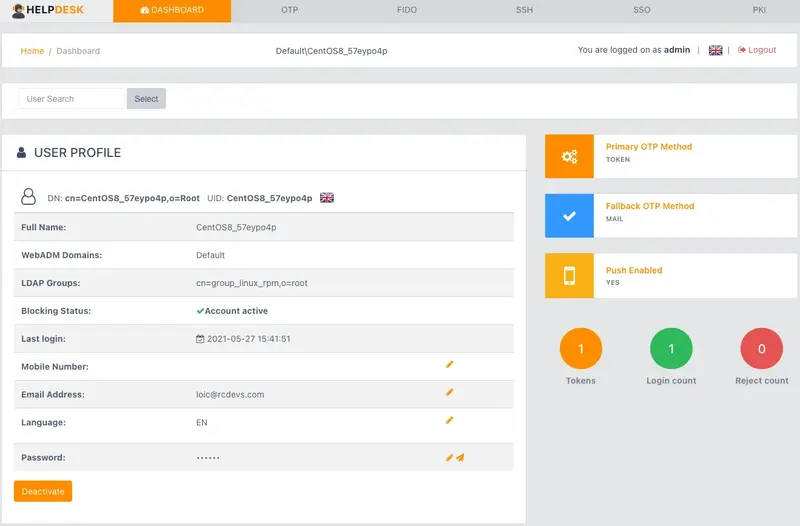
3. User Activation
Log in to the HelpDesk application.
Select the user you want to Activate.
Please Activate the selected user if not already done previously.
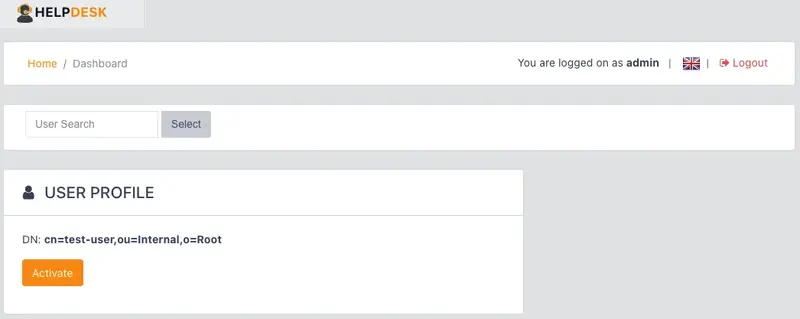
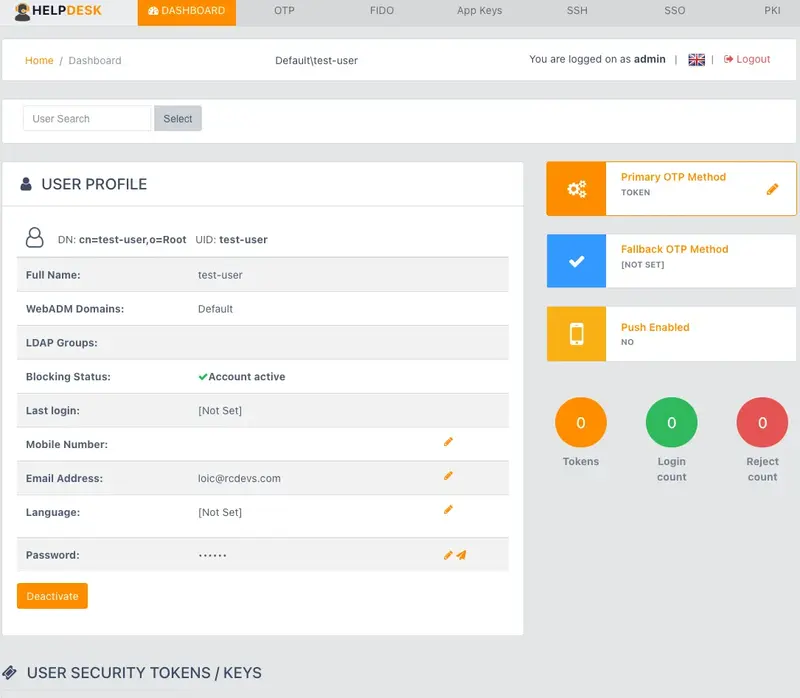
Under Blocking Status, the users account is now active.
4. Token Enrollment
4.1 Software Token Registration
4.1.1 Registration from Helpdesk page
Log in to the HelpDesk application.
Select the user you want to register a Software Token.
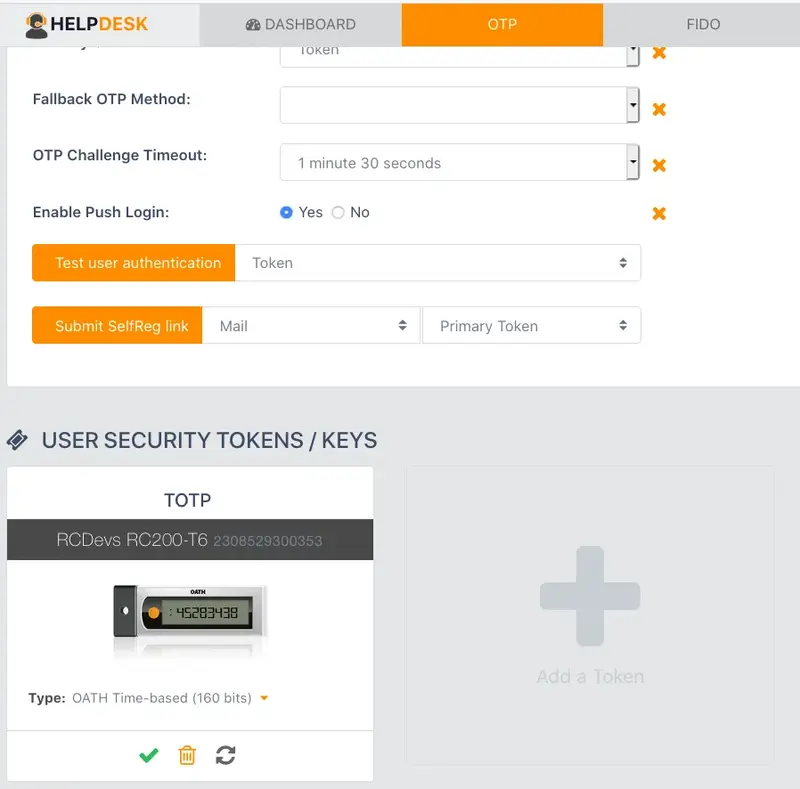
Go to the OTP tab. Choose your Fallback OTP Methode, Enable Push Login and Emergency OTP. At the bottom of the page, click Add a Token.
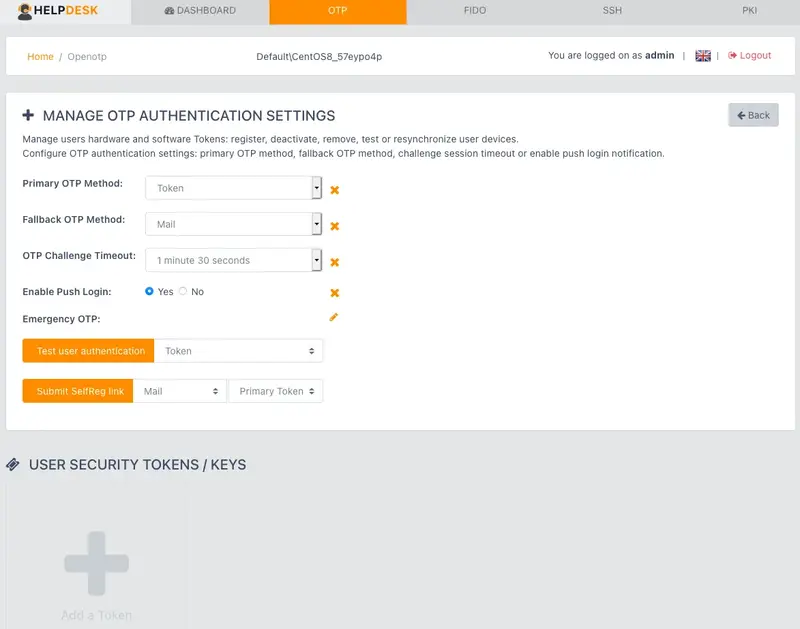
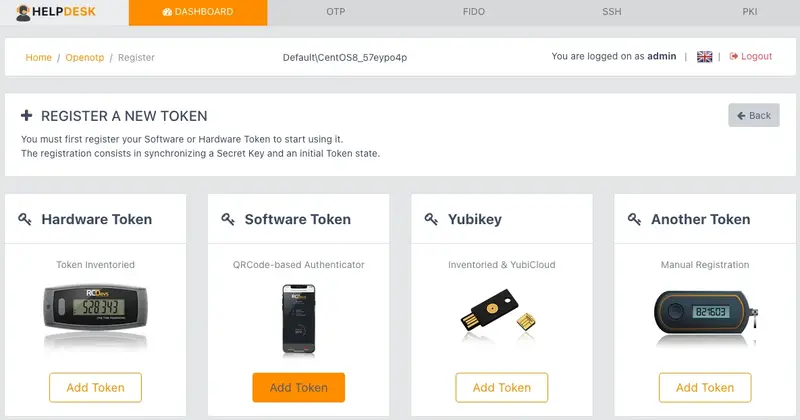
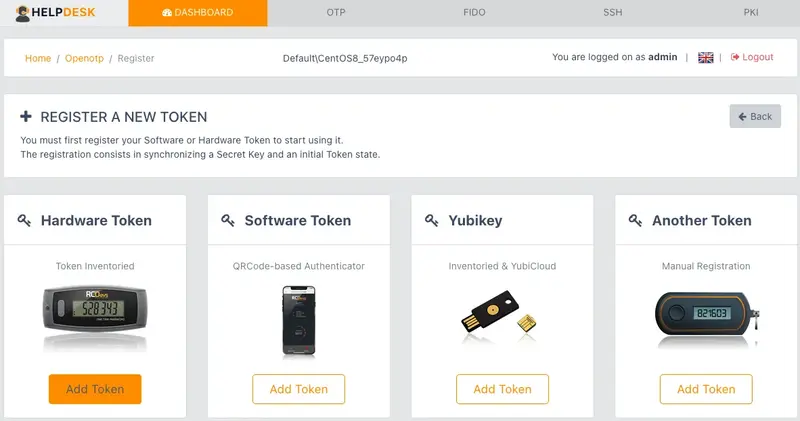
On the next page, click under Software Token Add Token.
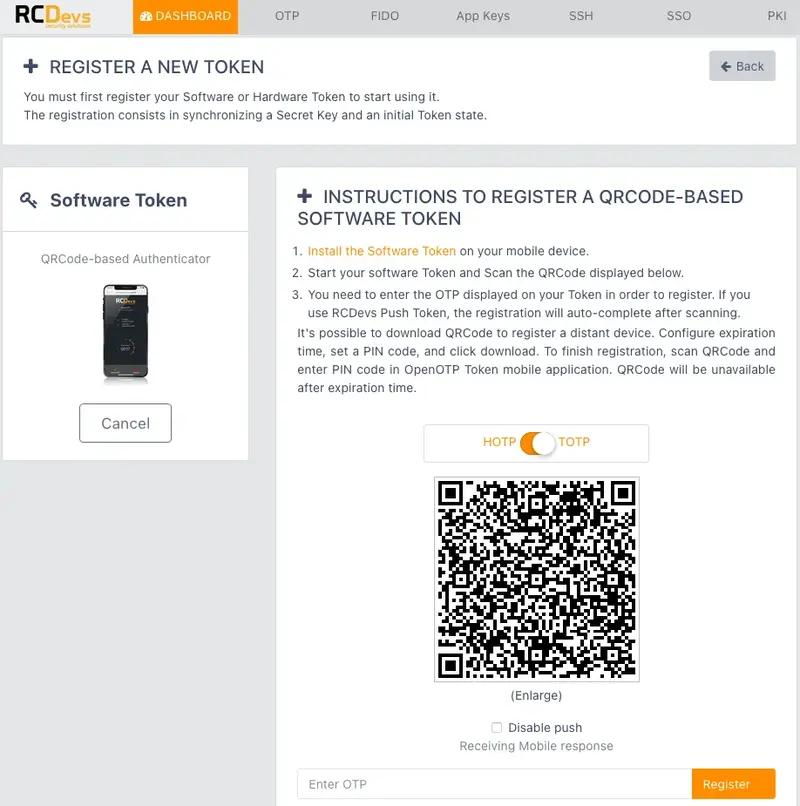
Then scan the QRCODE to register your Software Token.
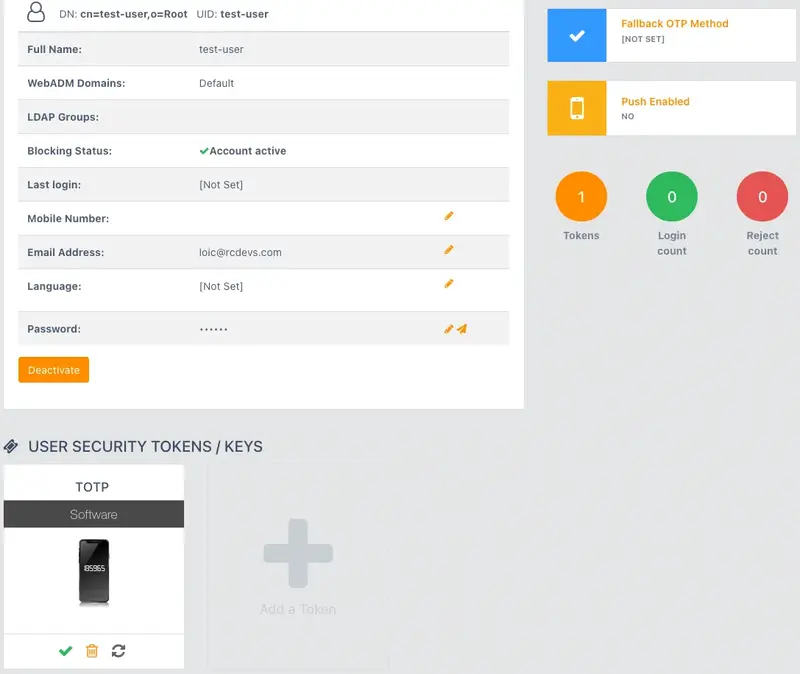
Finally, you will see the Software Token that you have just registered in the user’s OTP tab.
4.1.2 Submit a SelfReg link to the end user
Log in to the HelpDesk application.
Select the user you want to submit a SelfReg Link via Mail / SMS.
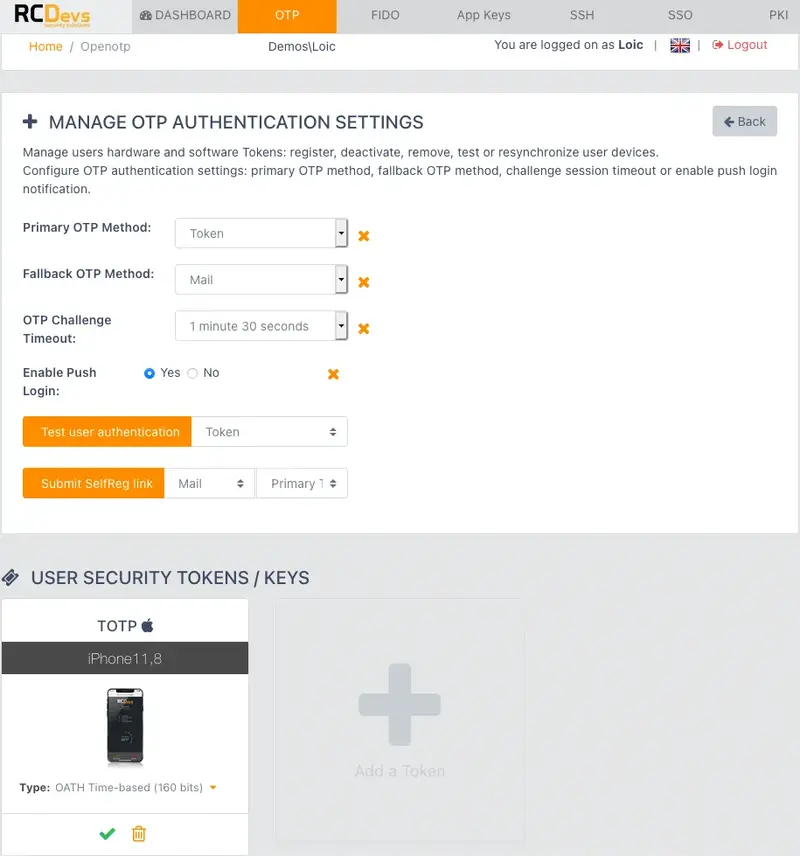
The user must have set an email or mobile number. Go to the Primary OTP Method tab.
Choose your Fallback OTP Methode, Enable Push Login and Emergency OTP. At the bottom of the page, click Submit SelfReg Link via Mail / SMS.
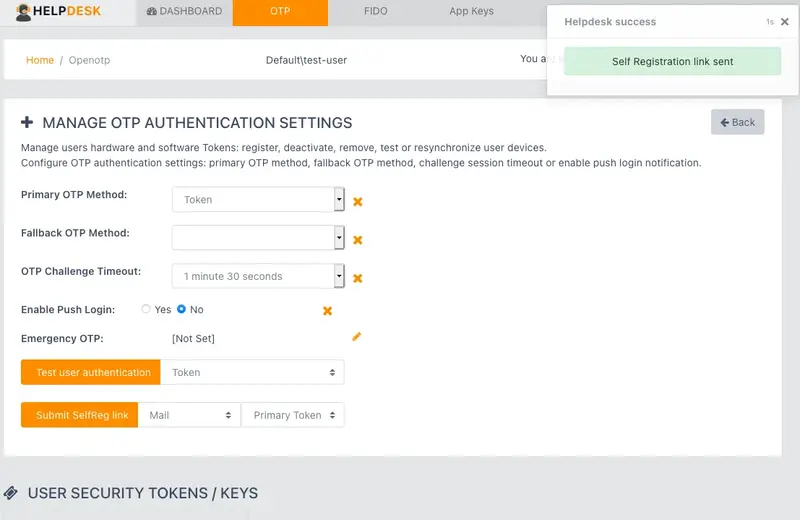
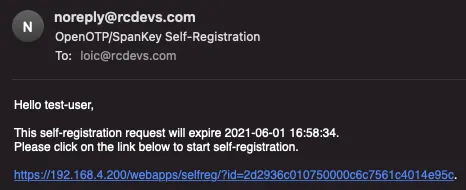
The SelfReg email has been sent. The user must click on the SelfReg link and enroll the token.
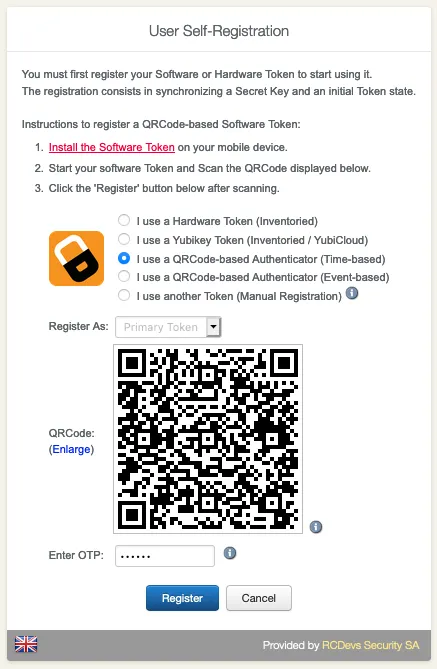
Finally, you will see that the user has enrolled the token.
4.1.3 Submit QRCode/PIN by Mail/SMS to the end user
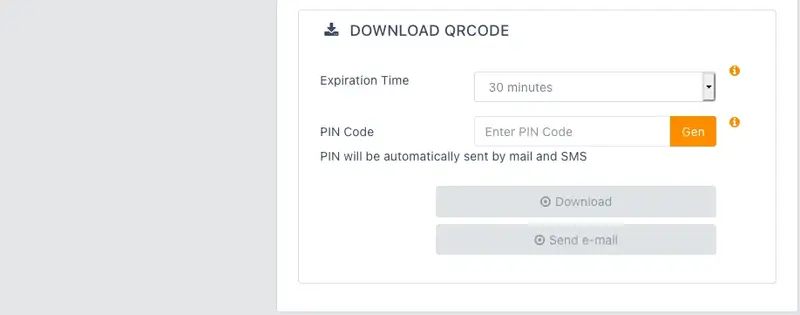
It’s possible to download the QRCode to register a distant device.
IMPORTANT NOTE
This is only available with enabled Push feature. Please see the Configure Push Login with OpenOTP for further details.
Log in to the HelpDesk application.
Select the user you want to register a Software Token with the Push feature.
Go to the OTP tab. At the bottom of the page, click Add a Token.
On the next page, click under Software Token Add Token.
Set the Expiration Time and must generate a PIN Code. Finally, click Download / Send E-mail.

4.2 Hardware Token Registration
4.2.1 Token Registration based on Serial Number (inventoried devices)
Log in to the HelpDesk application.
Select the user you want to register a Hardware Token.
Go to the OTP tab. At the bottom of the page, click Add a Token.
On the next page, click under Hardware Token Add Token.
Then enter the serial of your inventoried Token and click on Register.
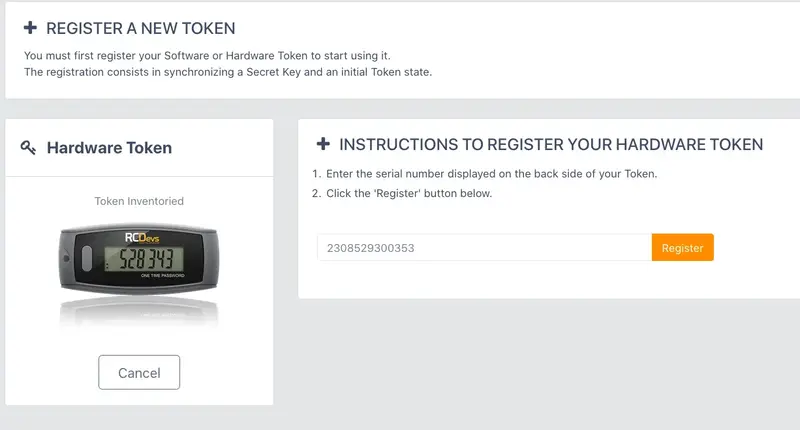
Finally, you will see the Hardware Token that you have just registered in the user’s OTP tab.
4.2.2 YubiKey Registration
Log in to the HelpDesk application.
Select the user you want to register a YubiKey.
Go to the OTP tab. At the bottom of the page, click Add a Token.
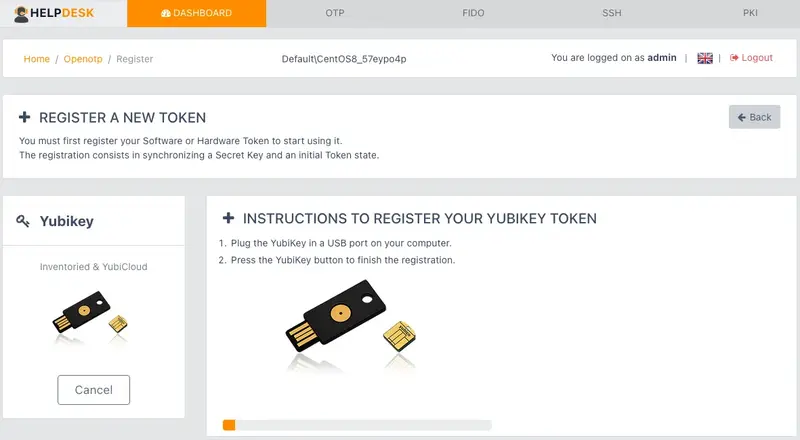
On the next page, click under YubiKey Add Token.

Plug the YubiKey in a USB port on your computer. Then press the button of the inventoried YubiKey to finish the registration.
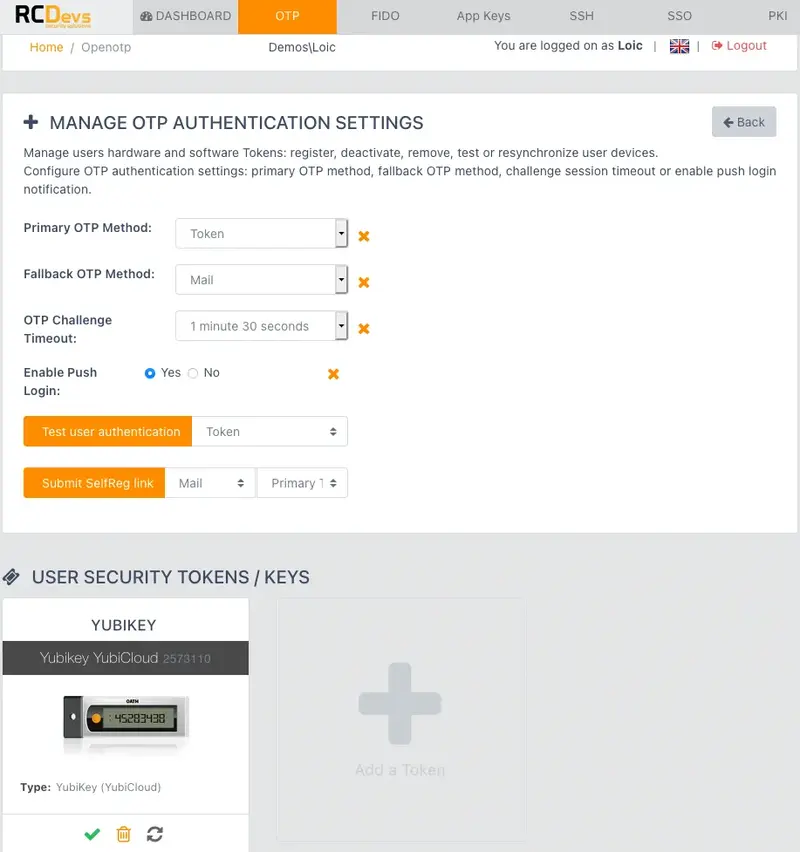
Finally, you will see the YubiKey that you have just registered in the user’s OTP tab.
4.2.3 FIDO Registration
Log in to the HelpDesk application.
Select the user you want to manage the FIDO devices settings.
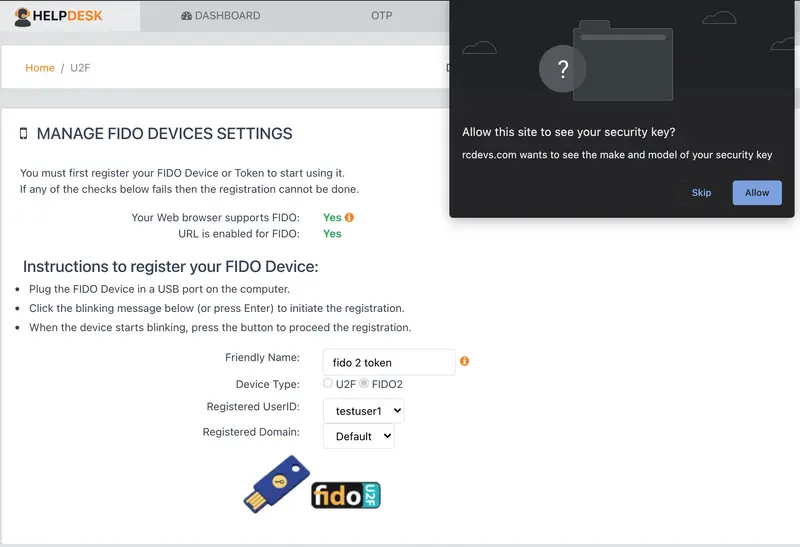
Go to the FIDO tab.
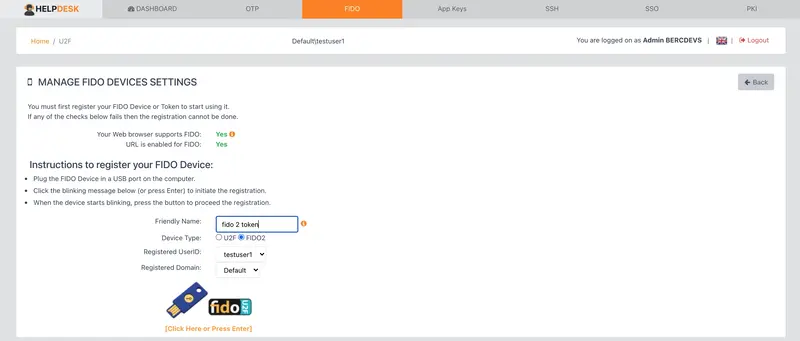
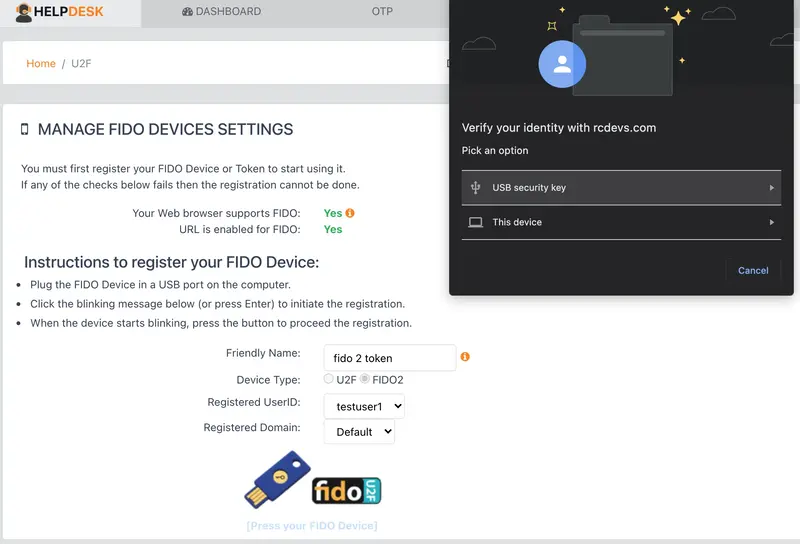
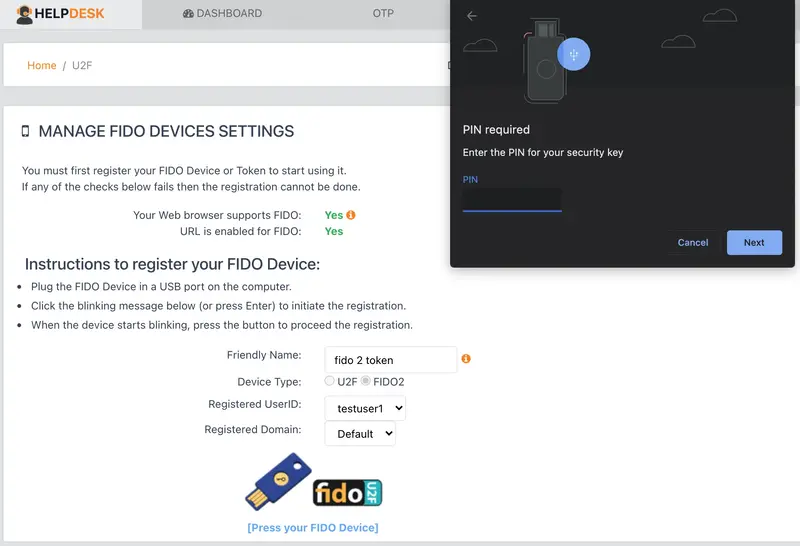
Plug the FIDO device in a USB port on your computer. Choose a Friendly Name and Device Type: FIDO2. [Click Here or Press Enter] to finish the registration.
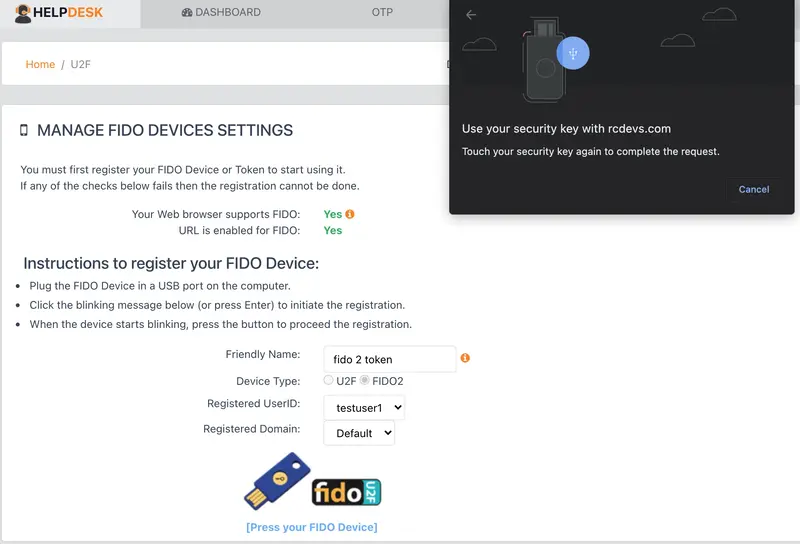
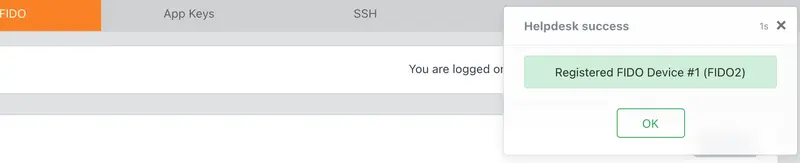
The FIDO Device has been successfully registered.
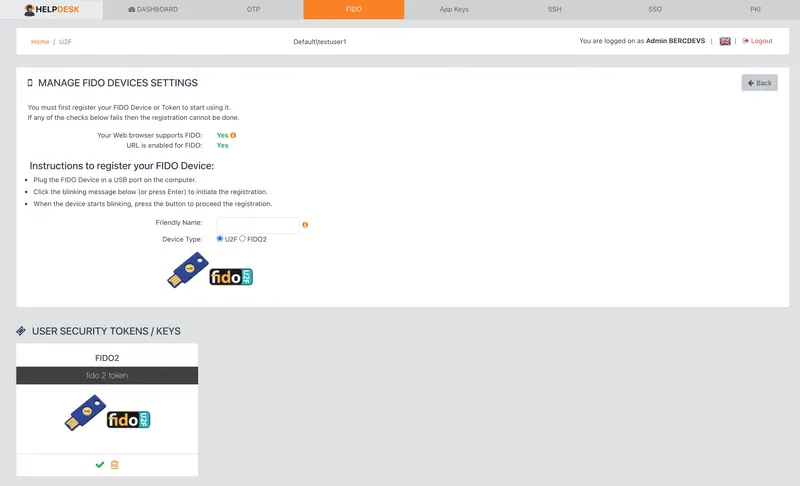
At the bottom of the page under User Security Tokens / Keys you will see the enrolled FIDO key.
5. Build OTP List
Log in to the HelpDesk application.
Select the user you want to build an OTP List.
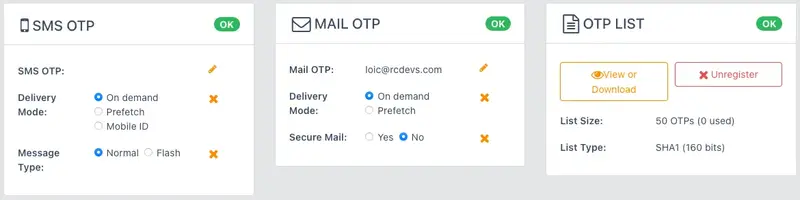
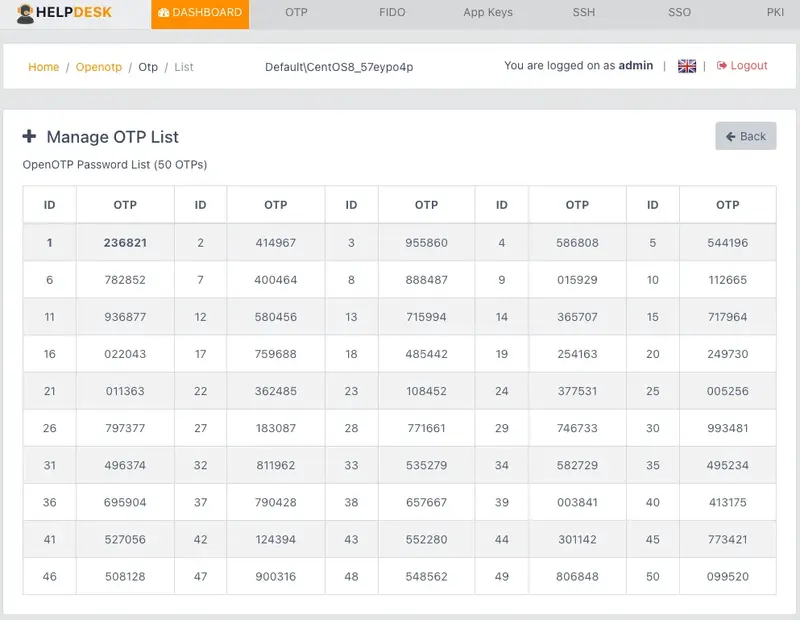
Go to the OTP tab. At the bottom of the page, click Build OTP List.
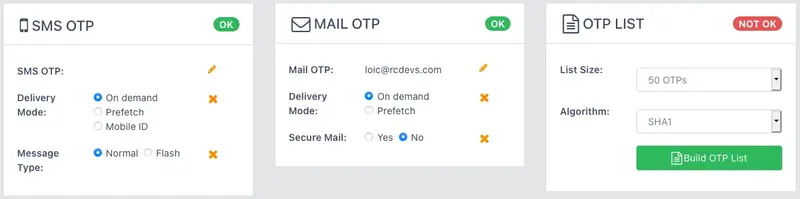
The OTP List has been generated. Click on View or Download to get the list.
6. App Keys Registration
Log in to the HelpDesk application.
Select the user you want to manage the Application Passwords.
Go to the App Keys tab.
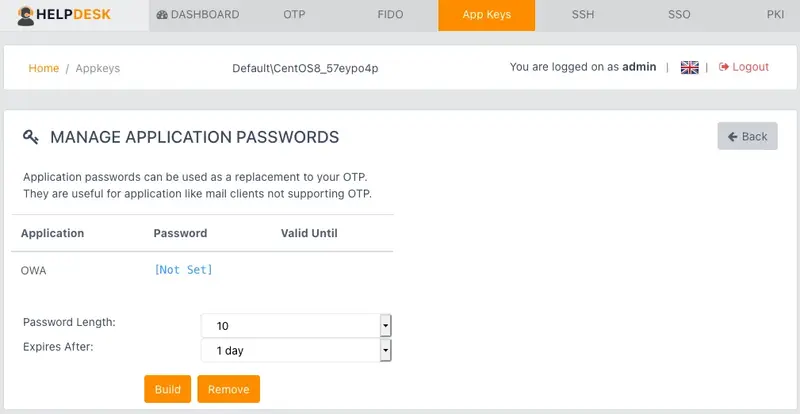
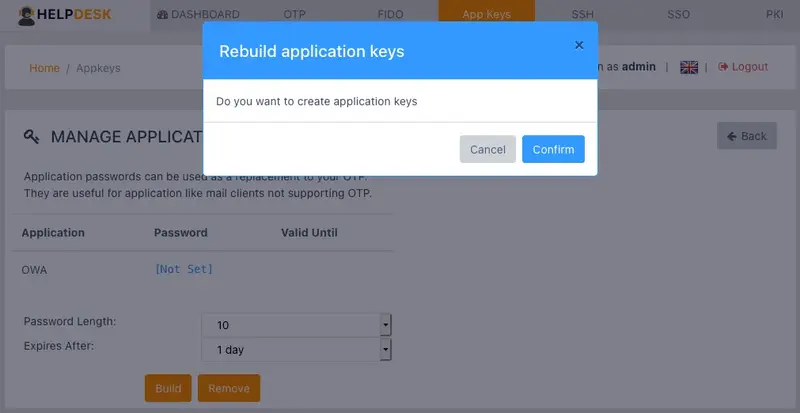
Create a new Application Password, click on Build.

7. SSH Key Registration
Log in to the HelpDesk application.
Select the user you want to register an SSH Key.
Go to the SSH tab.
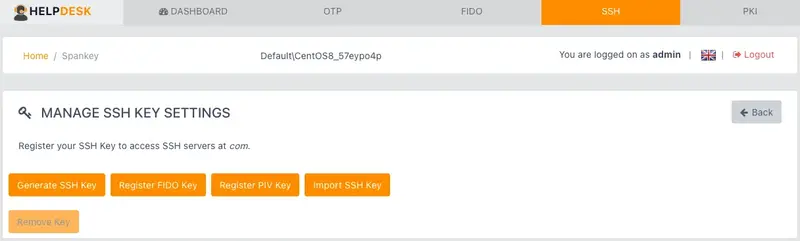
At the bottom of the page, click on Generate SSH Key.
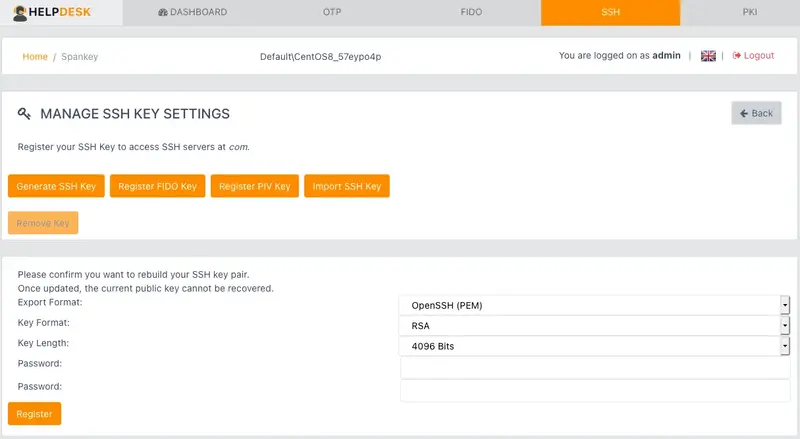
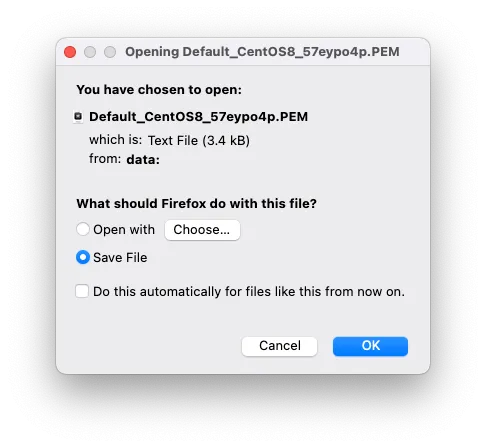
Set the Key Format, Length and Password to protect your Private Key. Finally, click on Register and save your Private Key.
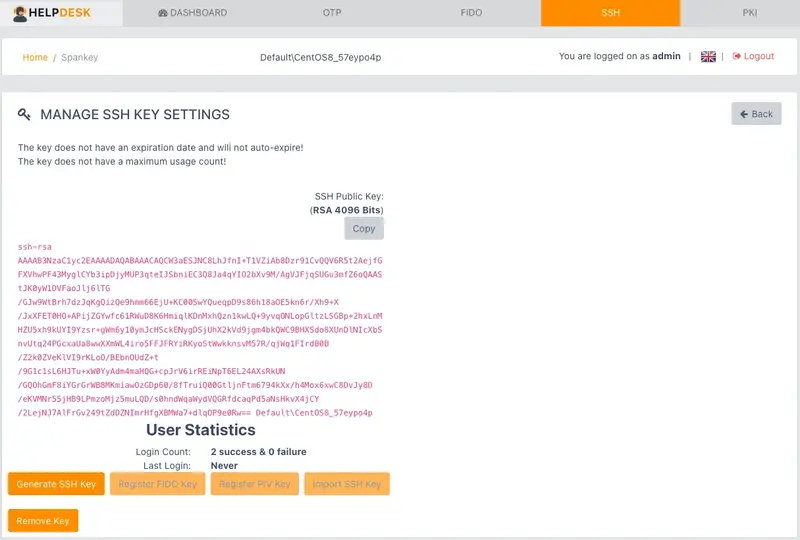
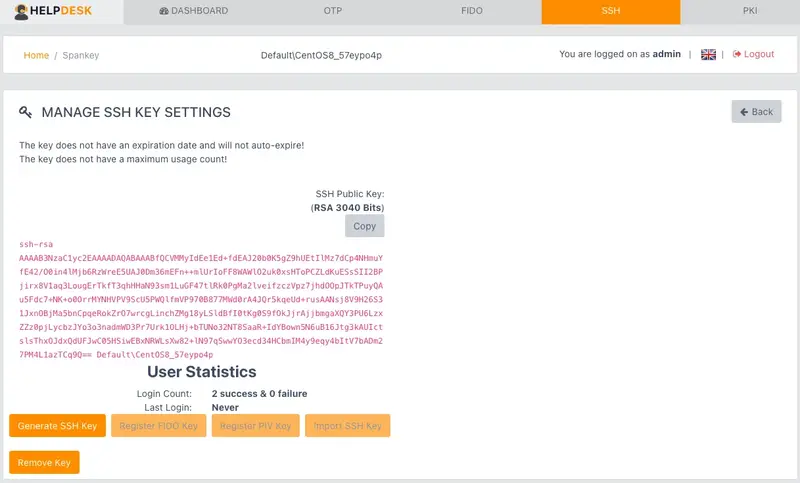
Now the Public Key is registered for that user.
To import an SSH Key, click on Import SSH Key. Copy and paste your Public Key into the Field.
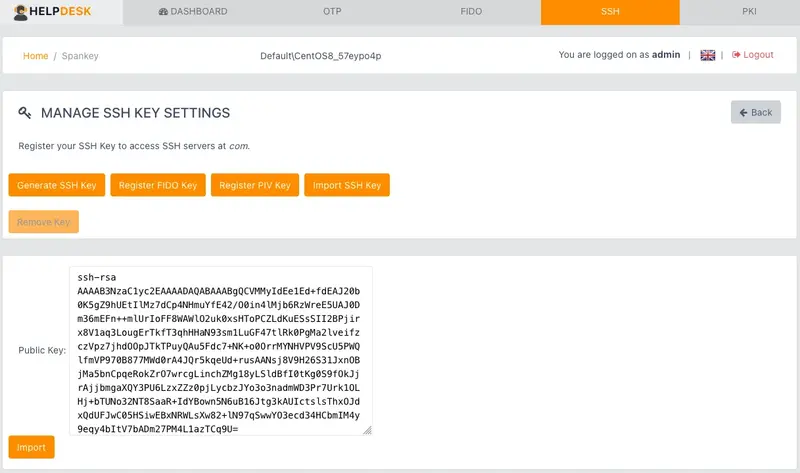
Finally, click on Import.
8. SSO Customizations
Log in to the HelpDesk application.
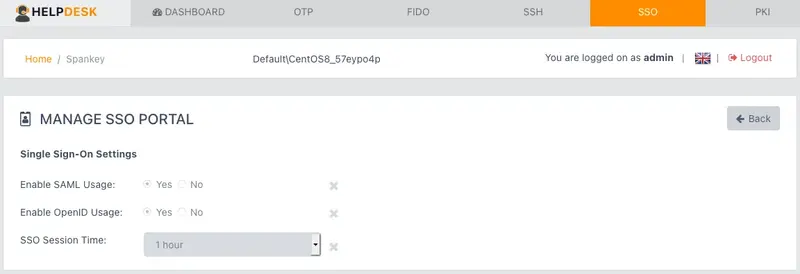
Select the user you want to manage the SSO Portal.
Go to the SSO tab.
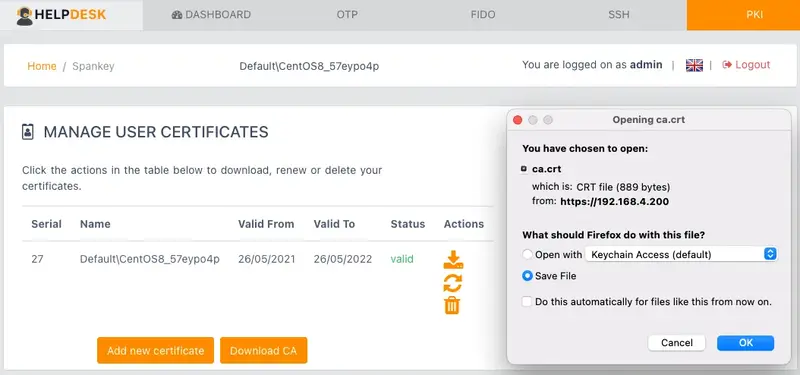
9. User certificate enrollment
Log in to the HelpDesk application.
Select the user you want to add a new Certificate.
Go to the PKI tab.
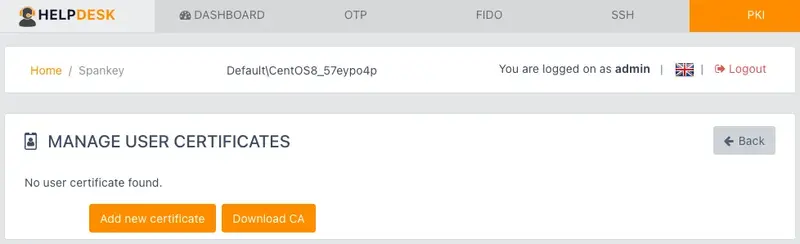
At the bottom of the page, click on Add new certificate and save your Certificate.
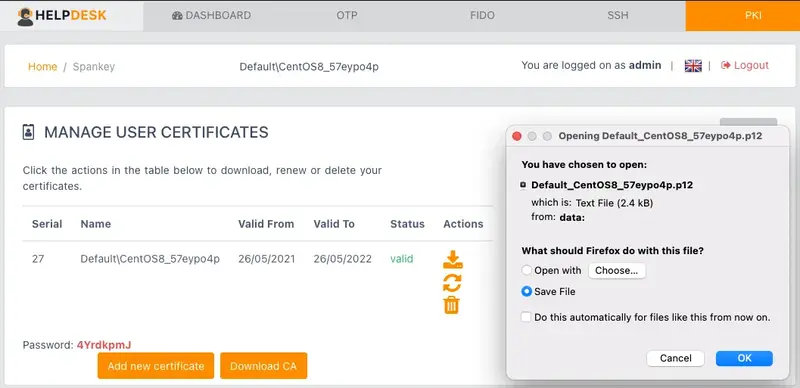
The user certificate can be used to log in on WebADM web applications requiring PKI login.
You can click on Download CA to download the CA certificate of WebADM if you need it for specific purposes.