Tenant Creation and management on RCDevs Mutualized Cloud
1. Overview and important notes
In this documentation, we will focus on the OpenOTP Cloud solutions and provide instructions on how to get started with that SaaS solutions. The operations involved are as follows:
- Create your tenant,
- Access your cloud tenant,
- Customize your tenant (optional),
- Set up integration(s) with your tenant.
Please note the following information regarding TRIAL tenants:
- TRIAL tenants are intended for testing purposes and are not meant to be used in production environments. They will be automatically destroyed after one month. If you need to extend the validity of your TRIAL tenant, please contact RCDevs Sales department.
- TRIAL tenants that remain inactive for 5 days will be automatically destroyed.
- A TRIAL tenant can be migrated to an enterprise subscription license. Contact RCDevs Sales department for that.
-
For RADIUS integrations (mostly used for VPNs and NAC integrations), RCDevs does not provide the RADIUS service in the cloud. Instead, RCDevs offers a Virtual Appliance that includes “RADIUS and LDAP Bridges” (radiusd and ldproxy). This appliance can be deployed within your infrastructure to ensure that the use of less secure protocols remains confined to your own environment. Communications between that on-premise deployment and your OpenOTP Cloud tenant will be over HTTPS only. Multiple OpenOTP Cloud bridges VMs can be deployed for redundancy if required.
-
Also, please note that unlike on-premise deployments, the cloud solutions and integrations are not directly connected to your LDAP backends. Therefore, you need to create the necessary accounts and groups in your tenant. RCDevs solutions provide Manager APIs that allow you to automate and perform operations on a large scale. If you have an on-premise Active Directory, you can use our synchronization tool to synchronize objects in your OpenOTP cloud tenant.
-
Another consideration to take into account is the use of FIDO2 technology in your authentication process. FIDO2 technology is based on domain names (origin) and there are some usage limitations especially if the integrations are web-based. In such cases, setting up and using FIDO2 technology may not be possible (e.g: on-premise ADFS, Nextcloud…). However, it is still possible to utilize FIDO2 technology with certain integrations, such as OpenOTP Credential Provider (for Windows/macOS), Spankey…
-
With OpenOTP cloud solutions, all clients integrations must present a valid client SSL certificate or an API key issued by your OpenOTP tenant. If the client certificate or API key is not provided, then the request to your tenant will be refused.
2. Create your tenant according to your needs
To create your OpenOTP Cloud tenant, please follow the steps below:
-
Go to the following link. This will take you to the OpenOTP Cloud Tenant Registration application.
-
Fill out the provided page with your information.
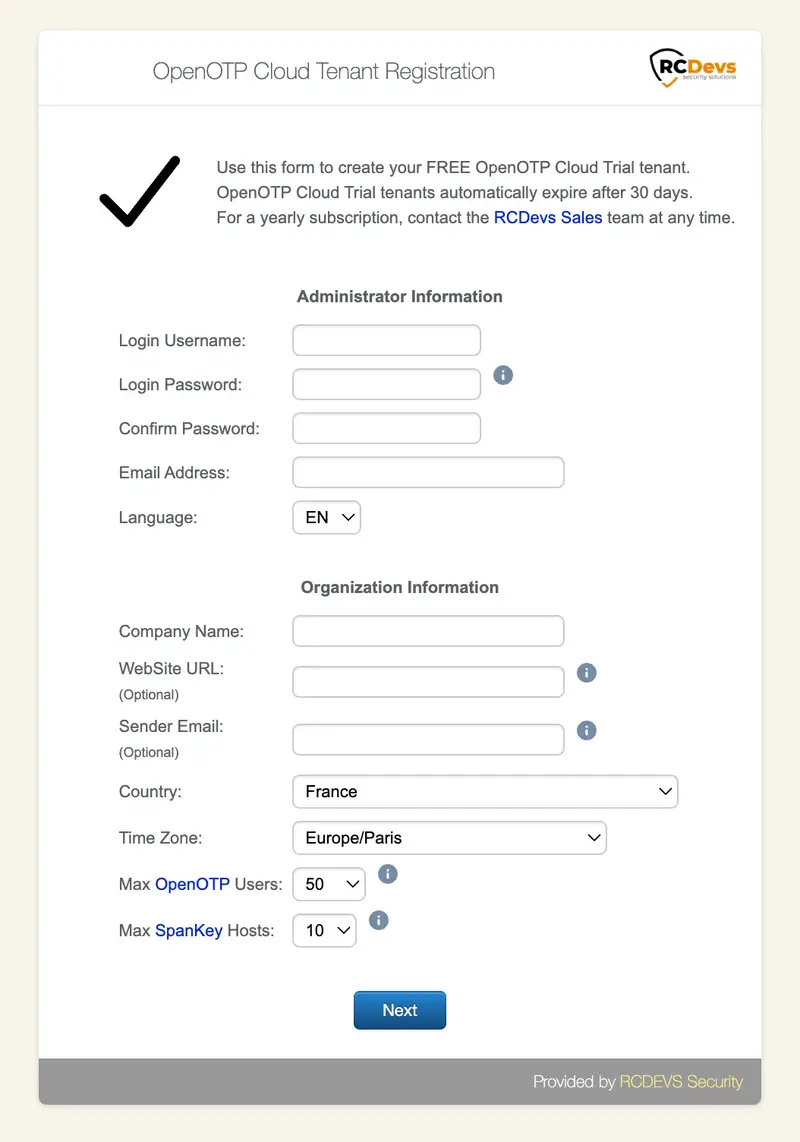
- Login Username: Enter the username you wish to assign to your administrator account. This account will be used later to log in to your tenant.
- Login Password: Set a password for your administrator account.
- Email Address: Provide a valid email address. This email will be used to confirm your tenant creation and receive information related to your tenant.
- Company Name: Provide your company name (for production purposes).
- WebSite URL: This is part of customization for your tenant. Provide your organization website which will appears in Web Applications. (Optional)
- Sender_email: Provide the email address sender you want to use to receive mail triggered by the system. e.g. OTP received by mail, for mail registration links… If no email address is provided, the default sender will be set as noreply@openotp.com. If you configure a sender, please ensure that your email server allow you to receive emails from this sender.
- Country: Select the country that your organization belongs to.
- Time Zone: Choose the correct time zone. This is important for accurate timestamping of your logs.
- Max OpenOTP Users: Select the number of users you require for OpenOTP authentication.
- Max Spankey Hosts: Choose the number of Spankey Servers you need.
Once you have filled in all the required information, click on the Next button.

Once you clicked Next, you will be redirected to the following page:
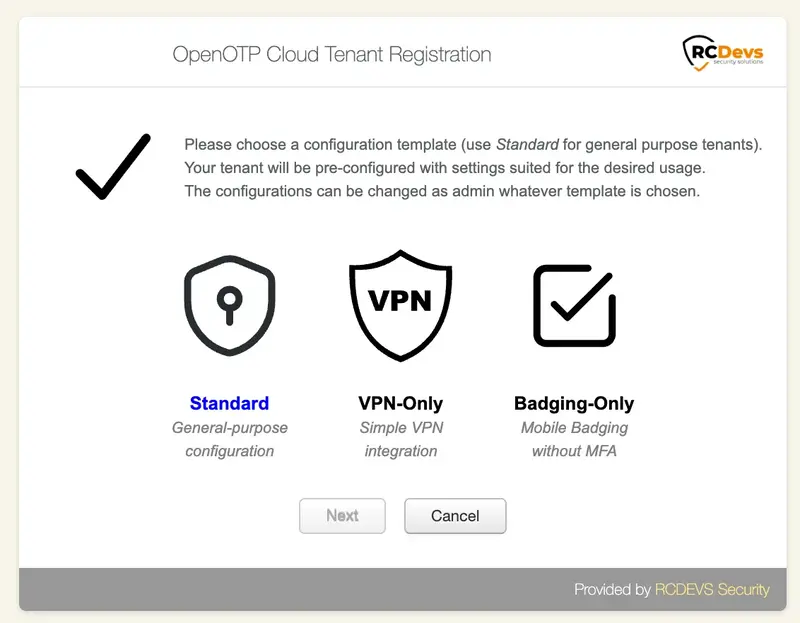
On the next page, you will be asked to choose a template that will be applied to your tenant. It’s important to note that the choice of template is not permanent and can be reversed. The template configuration simply applies pre-configured settings based on your intended goals. You have the flexibility to modify the applied configuration later, including graphical elements, if you wish to test different scenarios or purposes.
You will be presented with three template choices on the next page. Here is a description of each template:
- Standard: This template provides all the necessary features to test any kind of integration. It offers comprehensive functionality for a wide range of purposes.
- VPN-Only: The VPN-Only template offers minimal features specifically designed for VPN integrations. If you are primarily focused on testing VPN-related functionalities, this template will provide you with the necessary tools.
- Badging-Only: The Badging-Only template is suitable for virtual badging purposes. It offers minimal features specifically tailored for virtual badging scenarios.
For this documentation, we have chosen the Standard template, which will provide us with access to all the available RCDevs features. This template offers comprehensive functionality, allowing you to explore and test various integration options and capabilities provided by RCDevs.
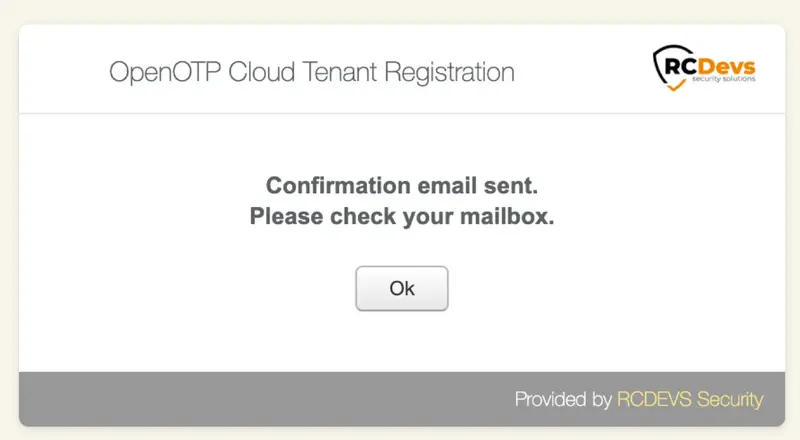
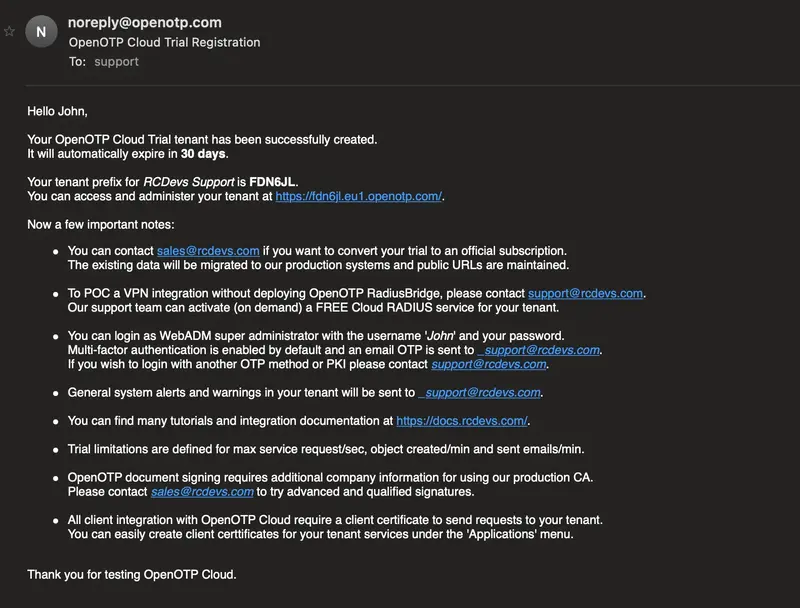
Once you have selected your template, an email will be sent to the provided email address confirming your tenant creation. Please check your mailbox for this email. It may take a few moments for the email to arrive.
You should have been received an email as below:
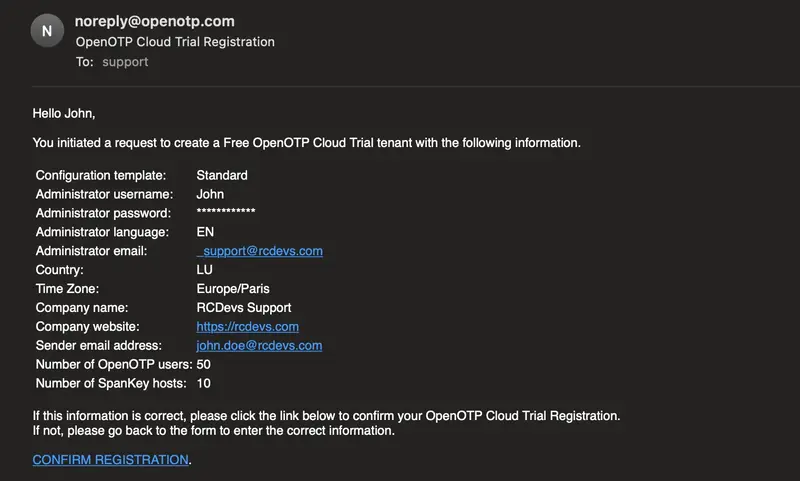
Click on the CONFIRMATION REGISTRATION link provided in the email.
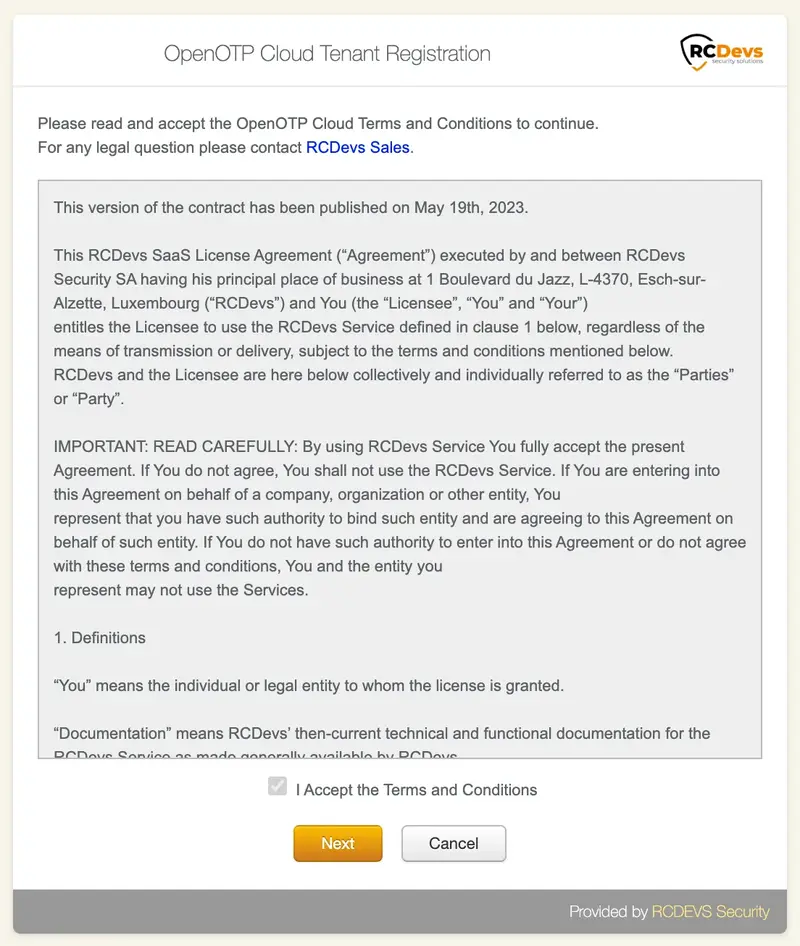
To confirm your registration, you have to accept the terms and conditions once redirected on the following page and then click Next button:
Your cloud tenant will be created using the provided information.
On the next screen, you have the confirmation that your tenant has been created and a recap. You can click Login button to access your tenant.
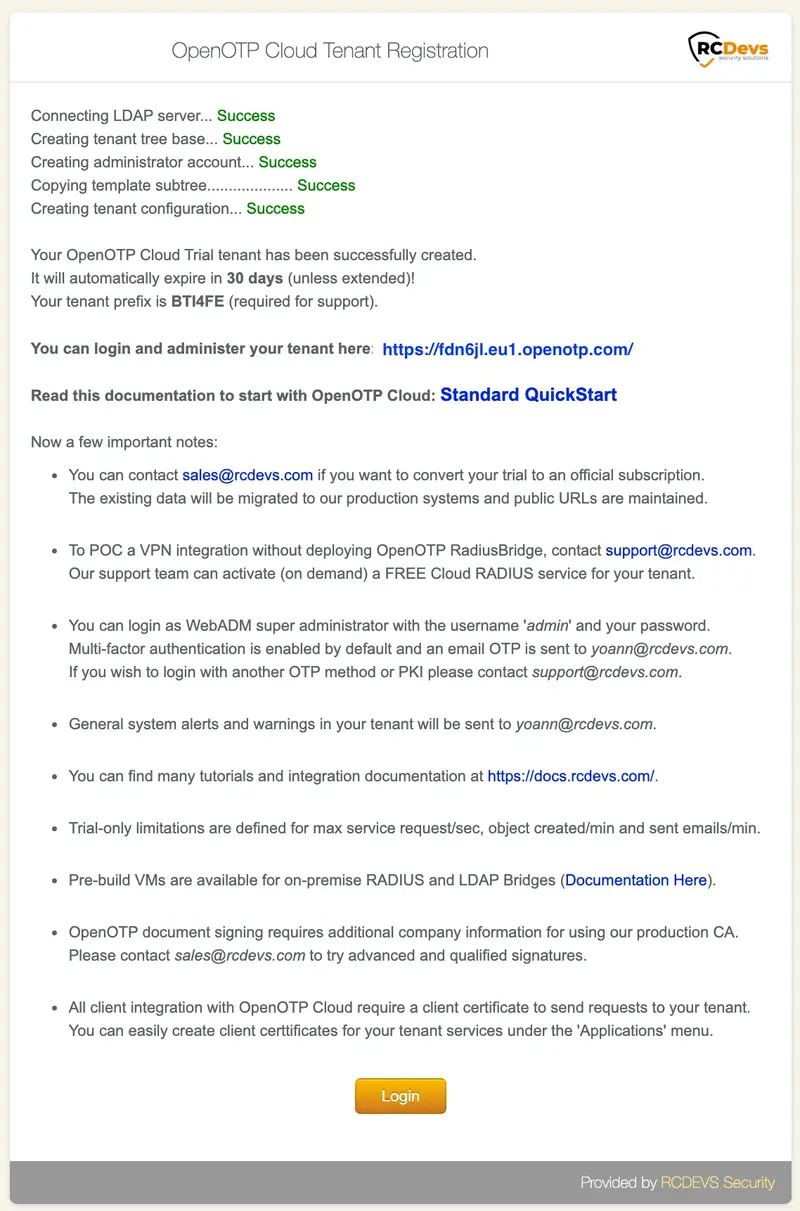
A confirmation of tenant creation is also received by email with all the information related to your tenant, documentation and email addresses.
Congratulations, your tenant is now created and pre-configured.
3. Access your cloud tenant
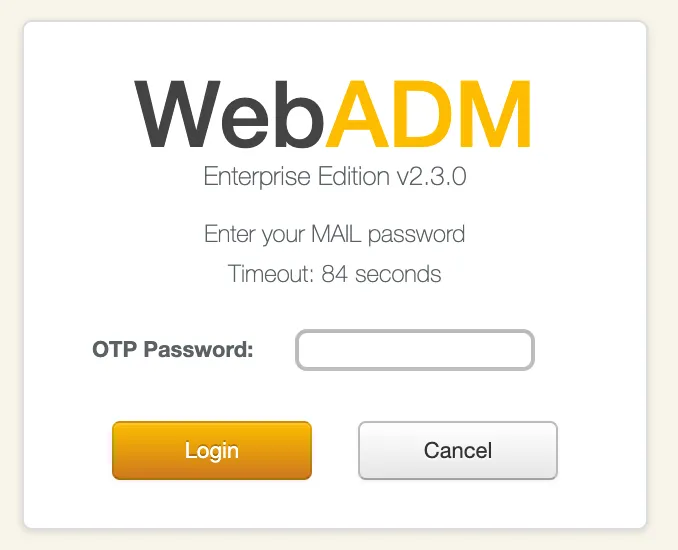
Once you are on your tenant login page, you can log in on the portal with your Admin credentials provided during your tenant creation.
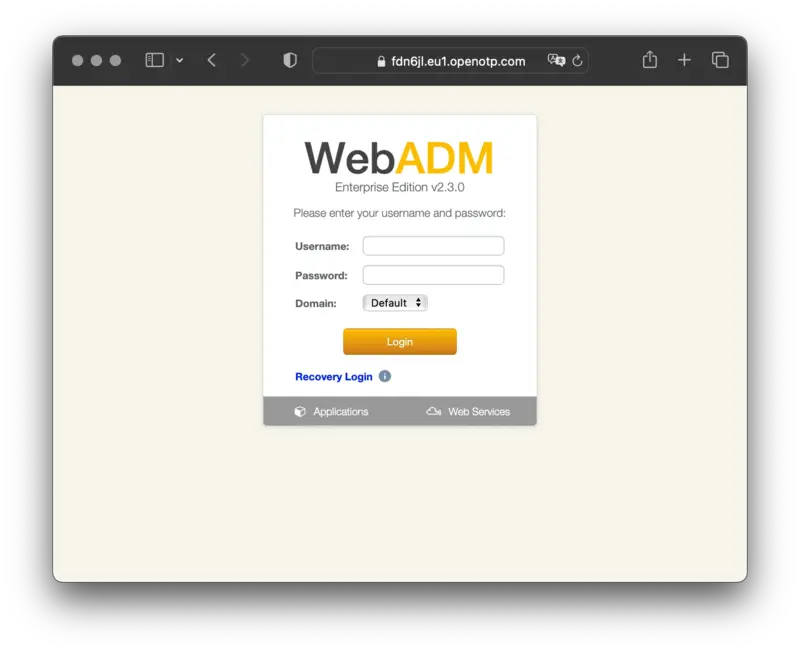
Once you submitted your credentials, an OTP is sent to the mail that you configured during the tenant creation. Check your mails and provide the OTP on the next page. You can notice that the sender is the one configured during the tenant creation. If you configured a custom sender for mails during the tenant creation process and the OTP sent by mail has not been received, check your junk or mail server configuration.
4. Configure your tenant
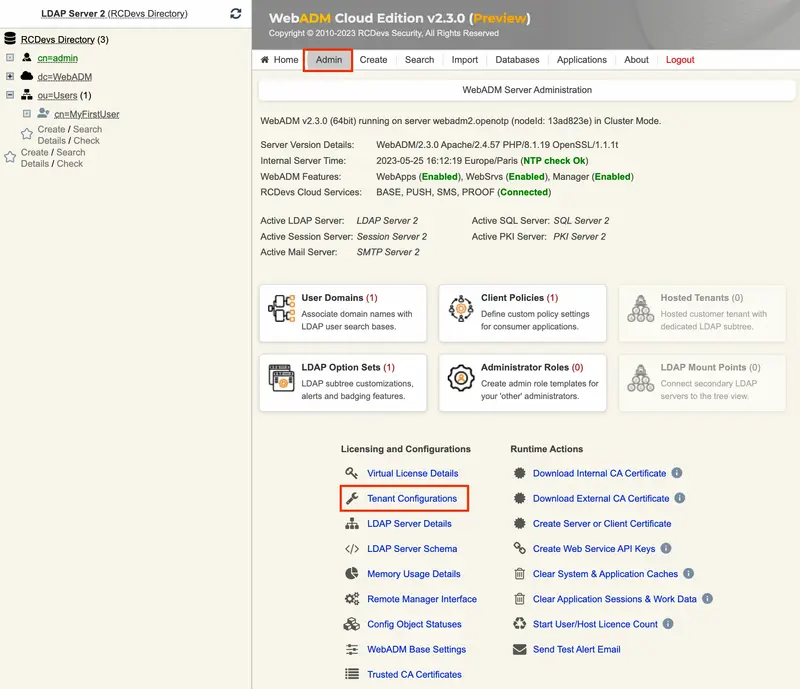
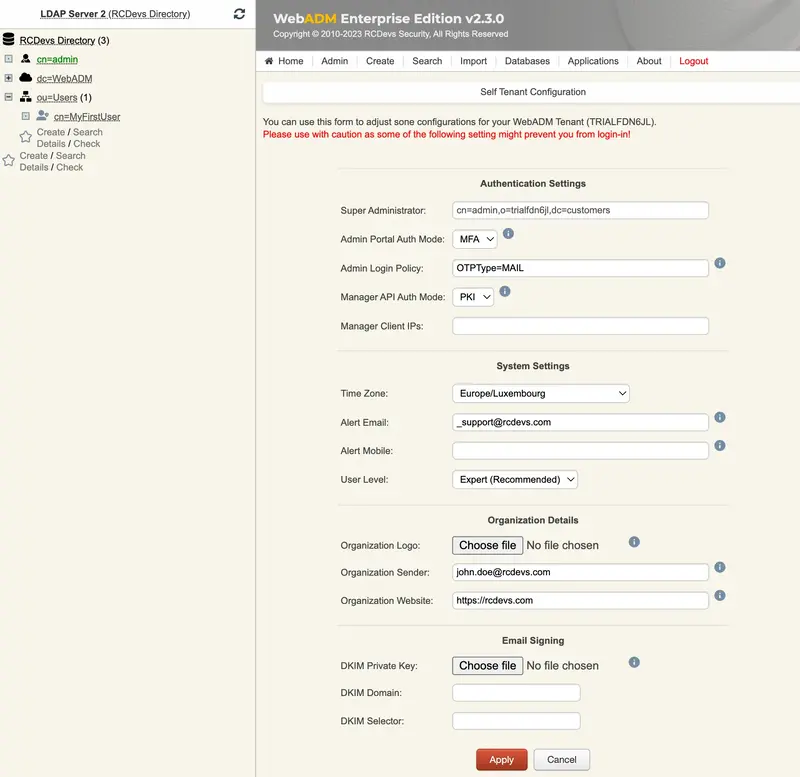
Once authenticated in your tenant, you can start to configure it. You can re-edit/customize some tenant information by accessing Admin tab > Tenant Configuration.
You will found in that menu, the information provided during the tenant creation but also the authentication settings to access your tenant. Be careful, with authentication configuration. The Admin user must be able to satisfy authentication requirements.
e.g: If you choose PKI, the admin account must have a certificate registered first. If you choose U2F, you must have a FIDO key registered on your admin account…
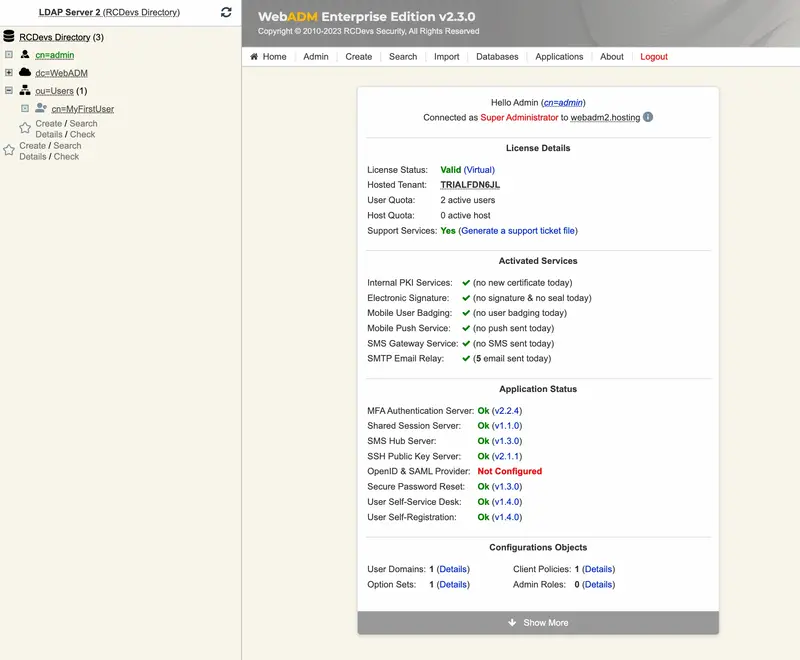
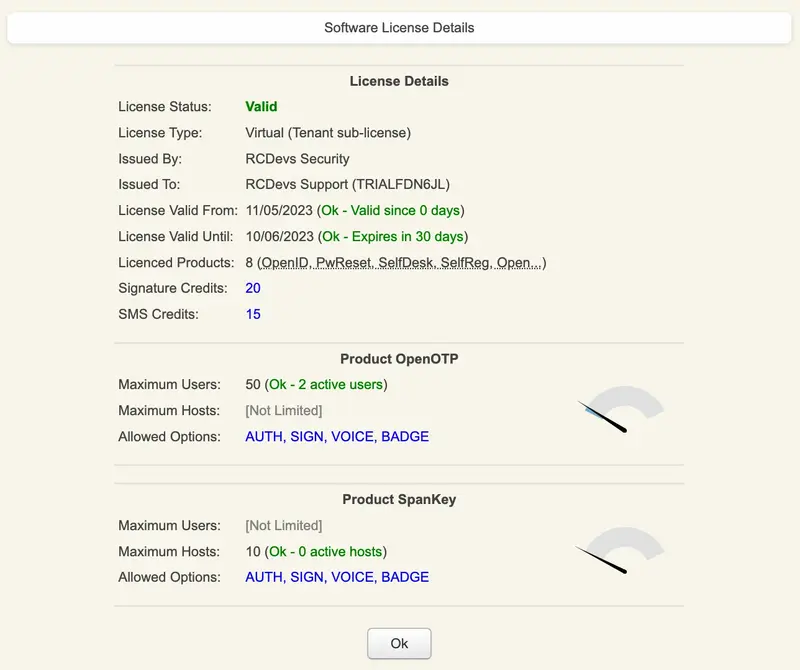
From Admin tab, you can also have information regarding your license by accessing Virtual License Details menu:
5. Set up your integration(s)
This documentation does not cover the integration setup due to the availability of three templates. Configuration steps may vary depending on the chosen template. For specific instructions on configuring different features based on the template you selected, please refer to the following descriptions and links.
5.1 Standard template
In the Standard template, we demonstrate how to configure:
- MFA Authentication for Windows Login.
Standard template documentation
5.2 VPN-Only template
In the VPN-Only template, we demonstrate how to configure a VPN over RADIUS with and without the VM bridge. Keep in mind that for RADIUS integrations, it is highly recommended to use our OpenOTP Cloud Bridge VM or deploy the Radius Bridge service in your network.
5.3 Badging template
In the Badging-Only template, we demonstrate how to configure and use the virtual mobile badging feature with RCDevs cloud solutions.