Cloud Mobile Badging
1. Overview
This document provides instructions on how to set up and utilize the mobile badging feature of OpenOTP in a cloud tenant. The configuration process is similar to the one explained in the OpenOTP badging documentation.
To enable that feature in your WebADM infrastructure you must meet the following requirements :
- Having a tenant well configured with its license. Check this documentation to configure your tenant.
- Install the mobile application OpenOTP Token, with a minimal version of 1.5.16
2. User creation, activation and token enrollment
The following steps outline how to create a user account in WebADM, activate the account, enroll a software token using the Push mechanism, and conduct a test login via the WebADM Admin portal prior to commencing your integration.
2.1 Account Creation
Login on WebADM Admin portal with your Administrator account.
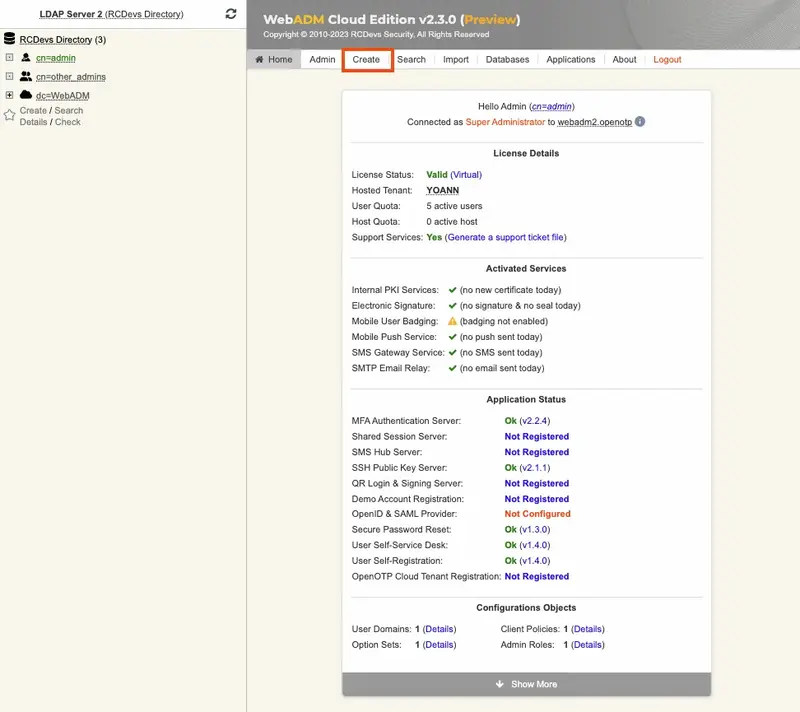
Click on the create button in order to create a test account.
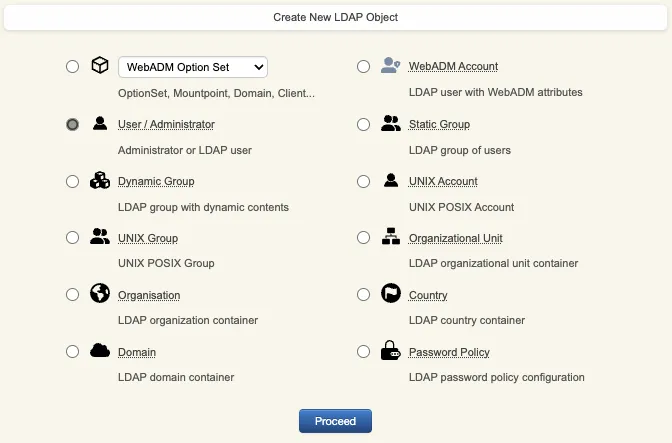
Select User/Administrator and then click Proceed.
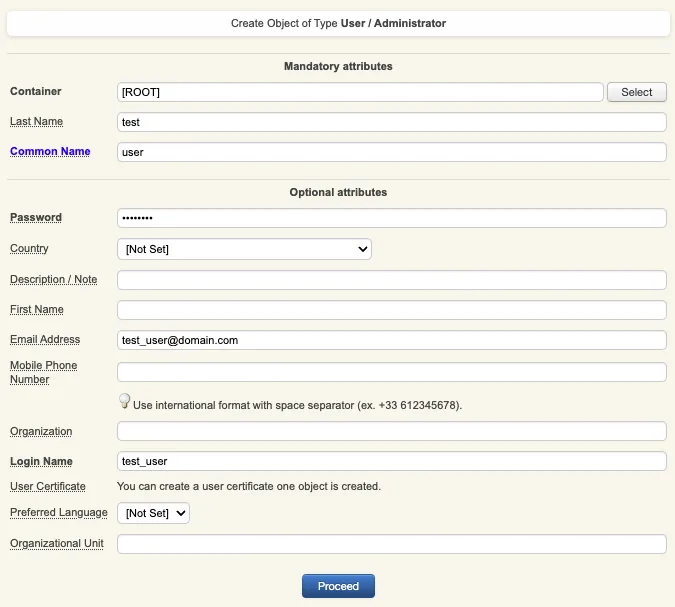
On the next page, provide user’s information and then click Proceed.
A recap is prompted, check your inputs and click create object.
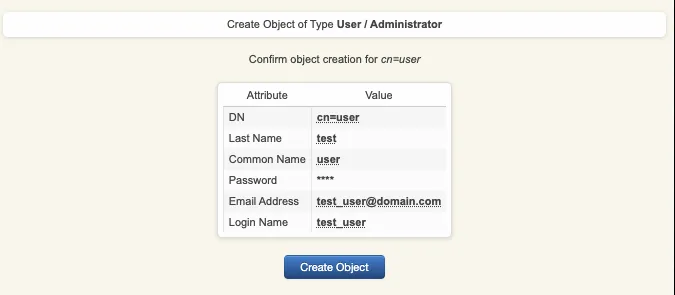
Your user account is now created.
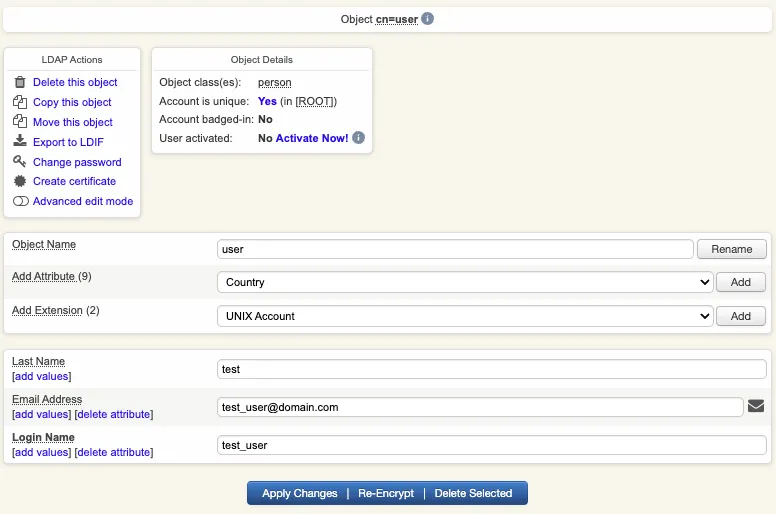
2.2 Account Activation
Now, we need to activate the account. On the user account, in object details, click Activate now button followed by Proceed button.
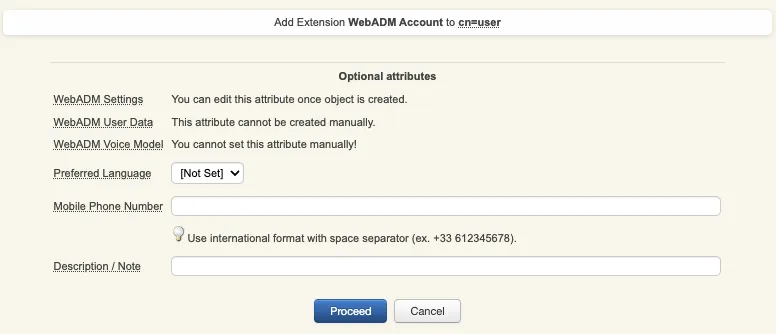
Finally click on Extend object:

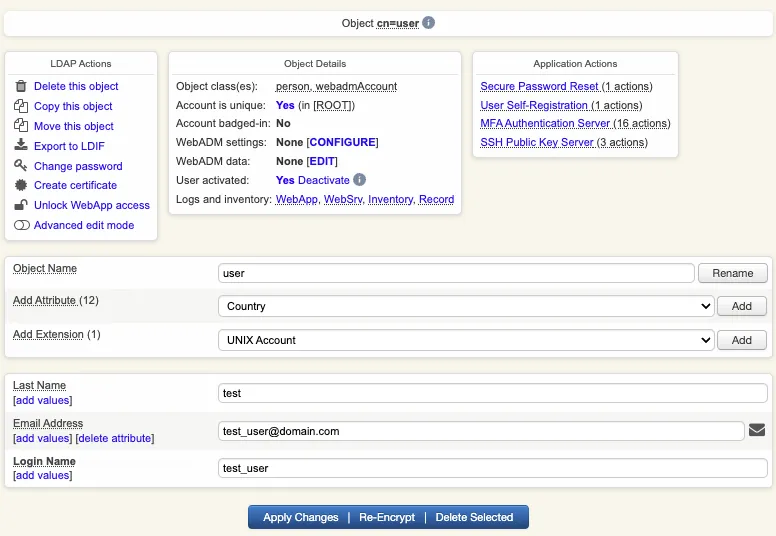
Account is now activated. You can now see the Application Actions menu.
2.3 Token Enrollment
We are going now to enroll a software token. We advise you to use OpenOTP Token application in order to take advantage of all features provided by OpenOTP.
In Application Actions menu, click on MFA Authentication Server > Register/Unregister OTP Tokens. Select I use a QRCode-based Authenticator (time-based or event-based), then the enrollment QRCode is prompted. Open the OpenOTP Token application (or another authenticator app), then click the camera button and scan the QRCode.
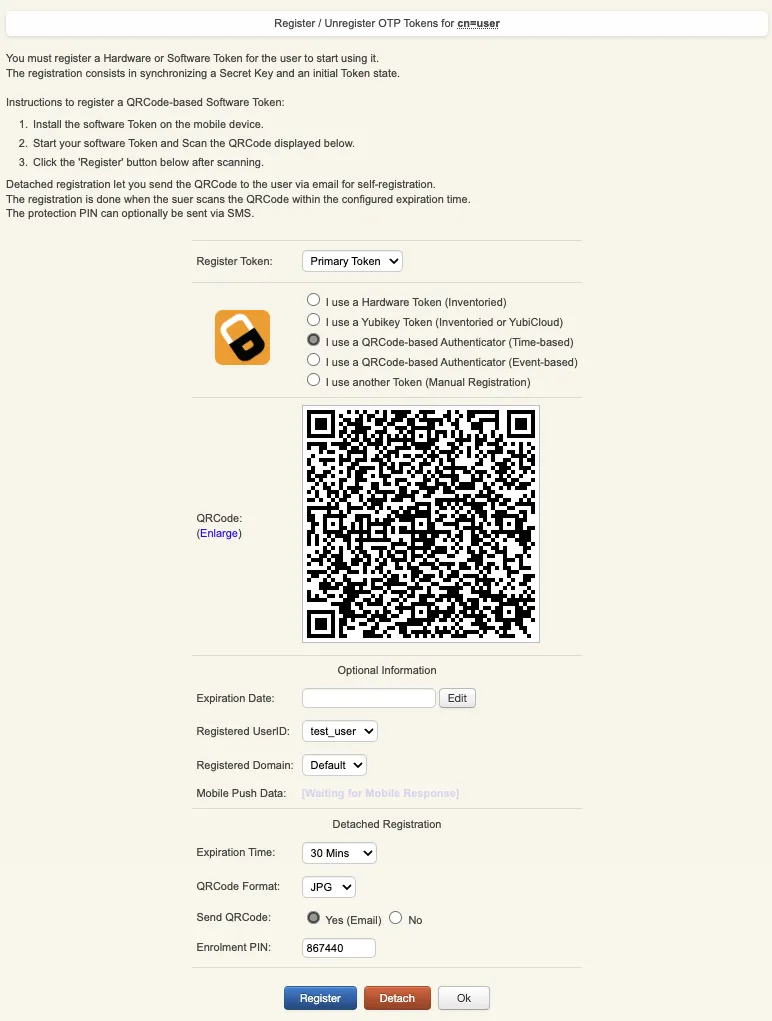
If the QRCode has been scanned with OpenOTP token, you don’t need to click Register button.
If the QRCode has been scanned with another token application, you need to click Register button once the token is registered on your device.
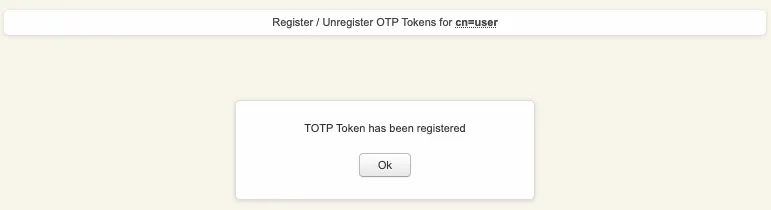
Your token has been registered successfully, we can now try to perform a login with it.
2.4 Test login
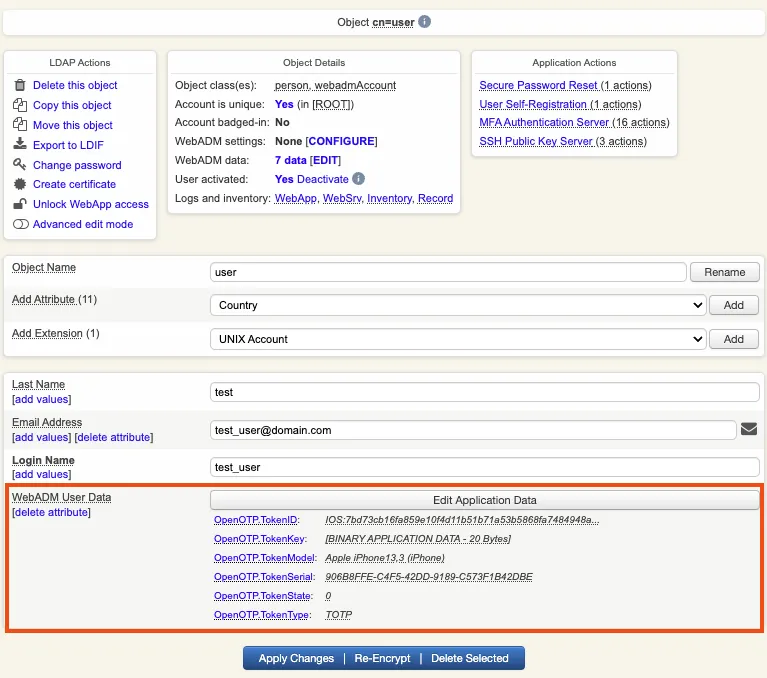
Come back on the user account, you will see now the token metadata registered on the account:
The enrollment here has been performed with OpenOTP Token and Push mecanism are by default enabled. We will now perform a test login with Push authentication.
In Application Actions menu, click on MFA Authentication Server > Test OTP & FIDO Authentication
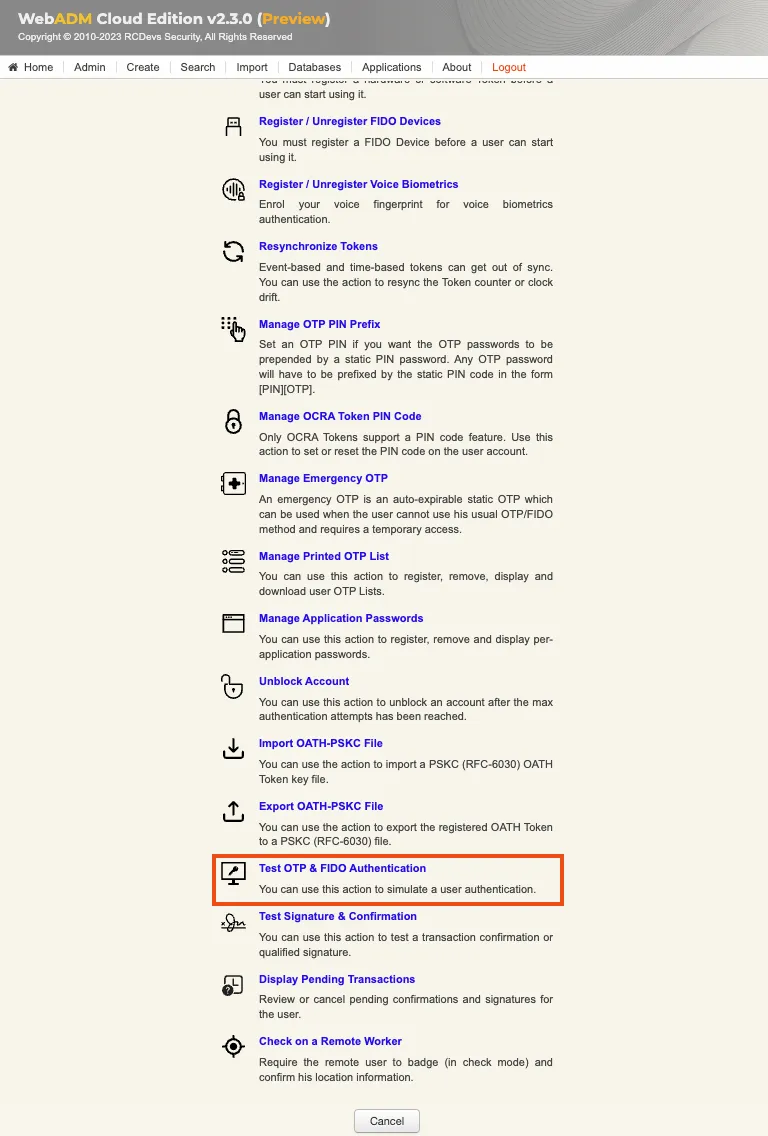
You arrive at the following page:
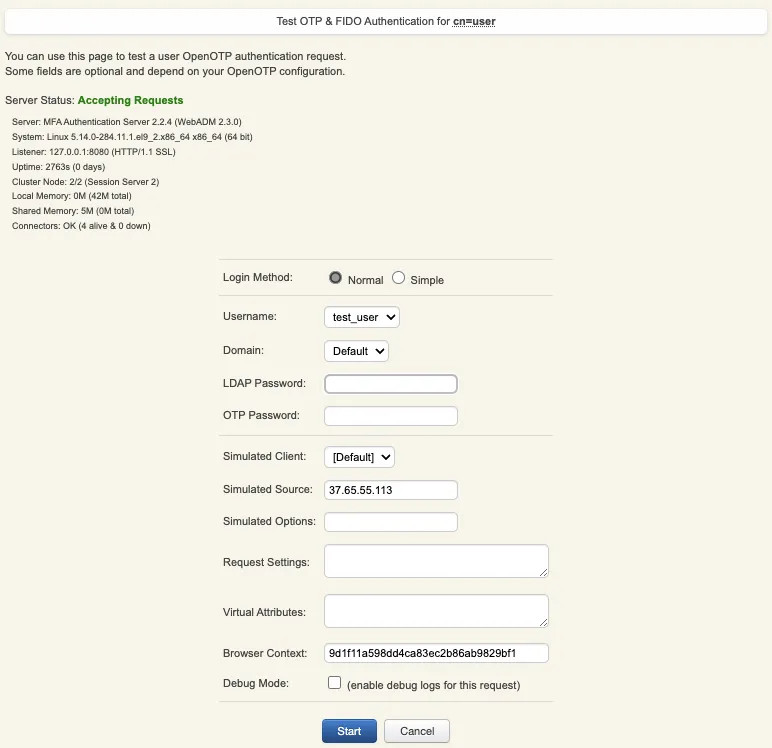
Provide the LDAP password that you previously configured during the user account creation, then click Start. A push notification should be prompted on your phone. Approve the request. The test login has been performed successfully.

If you didn’t regiter the token with OpenOTP token application, then an OTP challenge is sent if you only provided the LDAP password. In that case, provide the OTP code generated by your token application and click Continue.

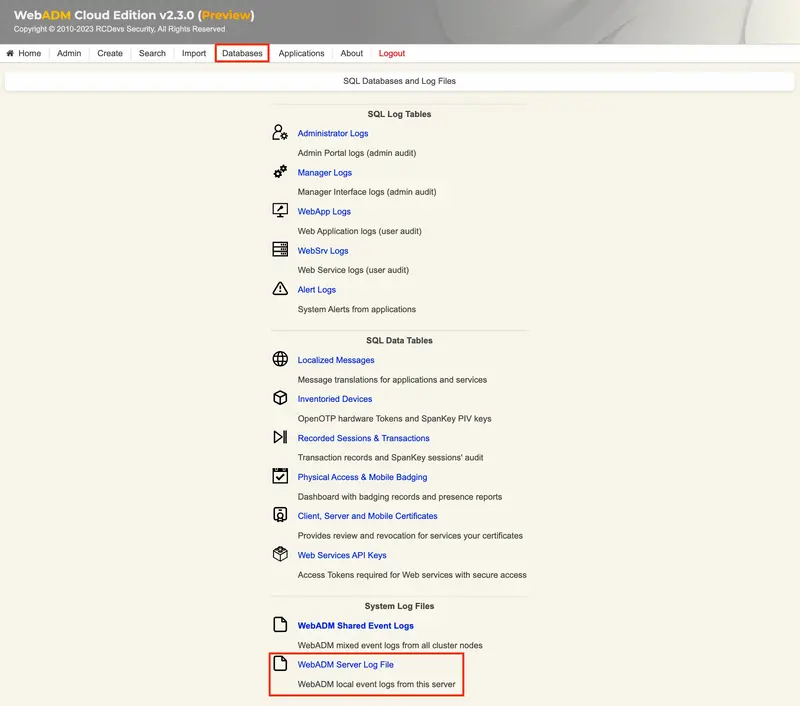
If the test login failed, you can browse the WebADM server logs to identify the problem. You can access the logs by accessing the Databases tab > WebADM Server Log File. The following troubleshooting documentation will provide help and resolution on common issues.
3. OpenOTP Badging configuration
To configure the mobile badging feature, follow these steps:
-
Access the
WebADM Admin GUIand navigate to theApplicationstab. -
Look for the MFA Authentication Server section and click on the
CONFIGURElink associated with it. -
On the subsequent page, locate the
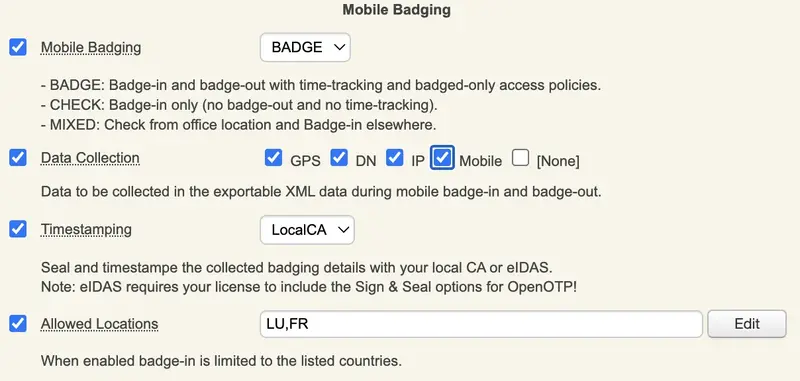
Mobile Badgingsection. Here, you can enable or modify the Mobile Badging feature and choose from three available modes:BADGE,CHECK, andMIXED.
In the BADGE mode, you can utilize the time-tracking feature for badging in and out, along with implementing badged-only access policies.
The CHECK mode allows you to perform check-ins only, without the time-tracking or badged-only access policies.
The MIXED mode combines the features of both the BADGE and CHECK modes, utilizing geolocation information.
Make the desired selections and configurations in the Mobile Badging section according to your requirements.
Mixed to client policies, you can prevent a user to login on a system if he didn’t badge-in during the current day.
On the previous image, we can see that 3 other options are available in the Mobile Badging section.
Firstly, we can choose which are the information gathered by checking Data Collection and then checking every option that you want between GPS, DN, IP and Mobile. Those data will be stored in the SQL database configured with your WebADM and are submitted from the mobile to your OpenOTP mobile endpoint URL directly. They are never forwarded through RCDevs cloud infrastructure and RCDevs do not have any access to those data.
The following option concerns the certificate used for the timestamping of each operation. The first choice is the local CA and the second is eIDAS which requires Sign option part of your OpenOTP license with signature credits purchased and available with your license.
Regarding the last option, it is about the possibility to allow only certain location(s) from where the badging operation is allowed (users loations). By checking this option, you can choose the countries where the badging operation will work. If not enabled, then all locations are allowed.
4. Badging operations
Once you have a token registered, you can click on it, and then you will see the option to badge-in.
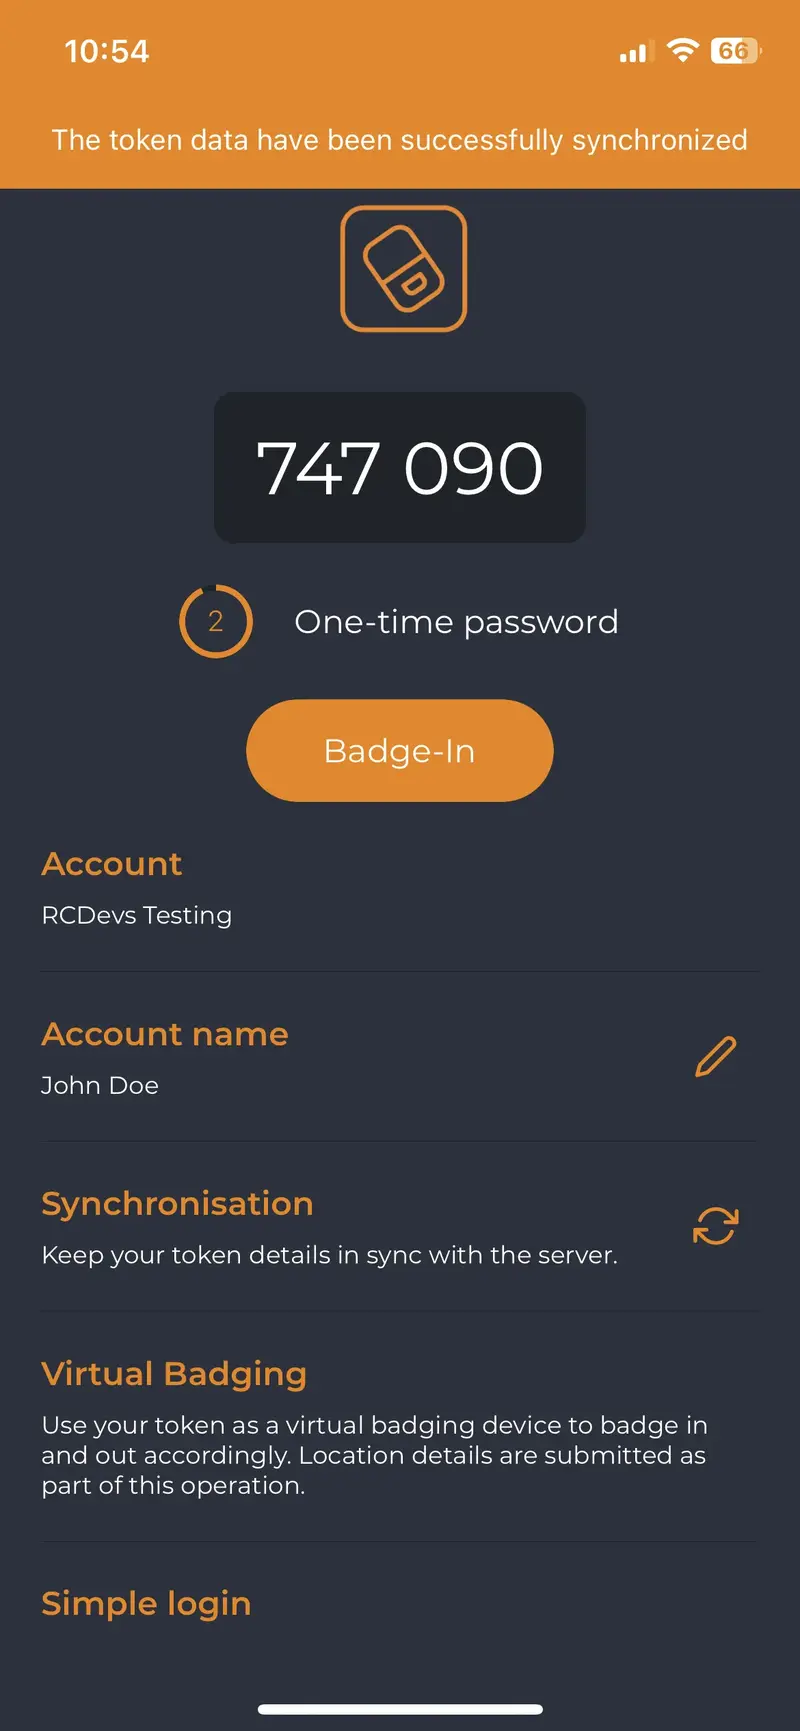
Then, when you click on the buttons Badge In or Badge Out, a confirmation message will appear at the top of the screen.
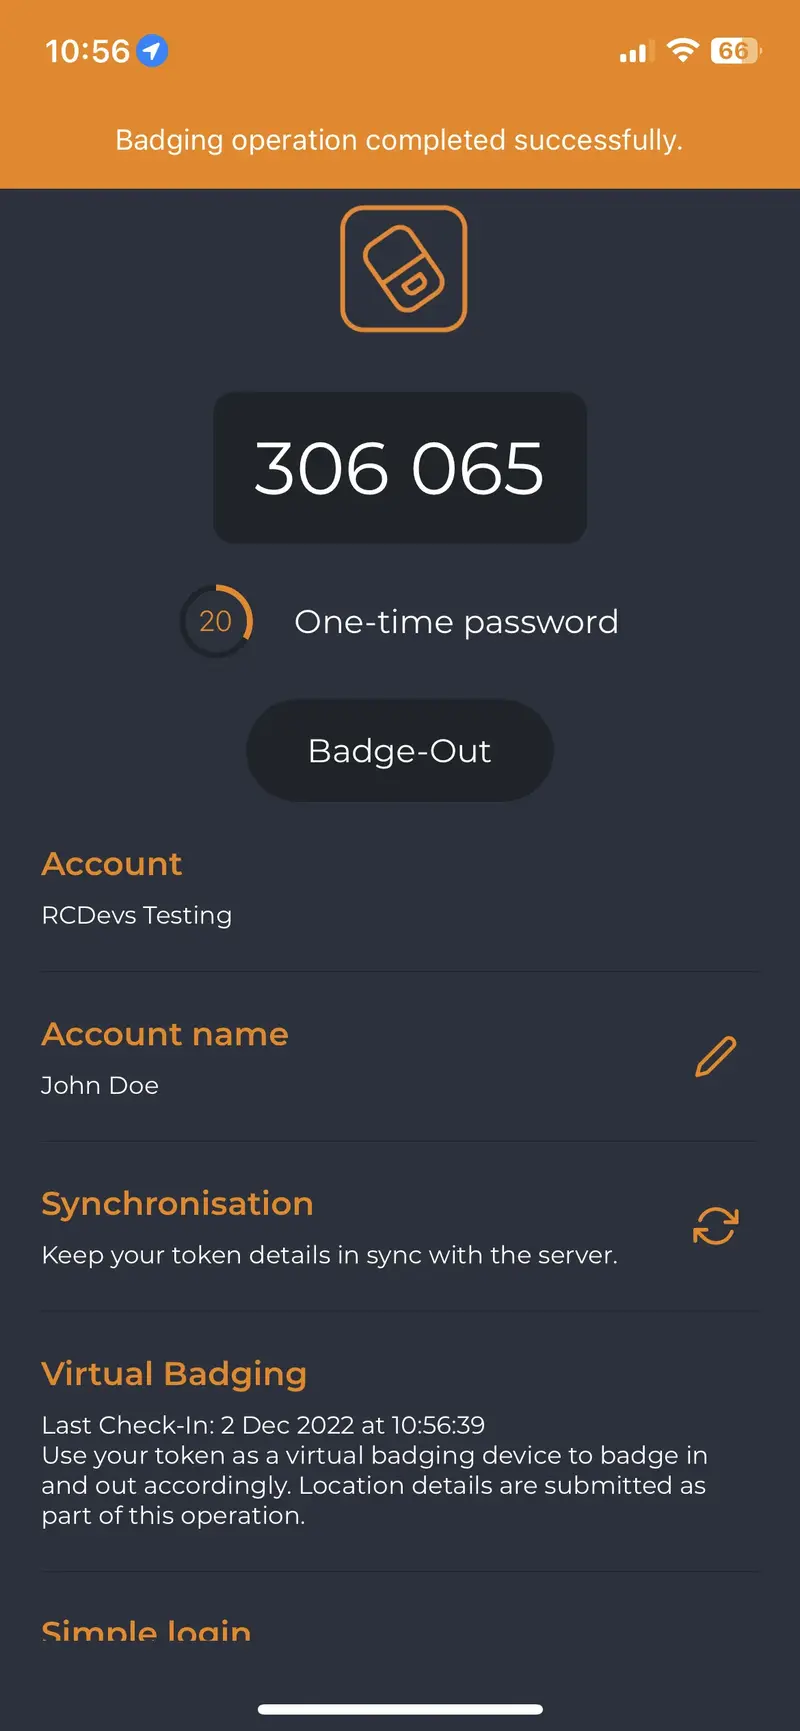
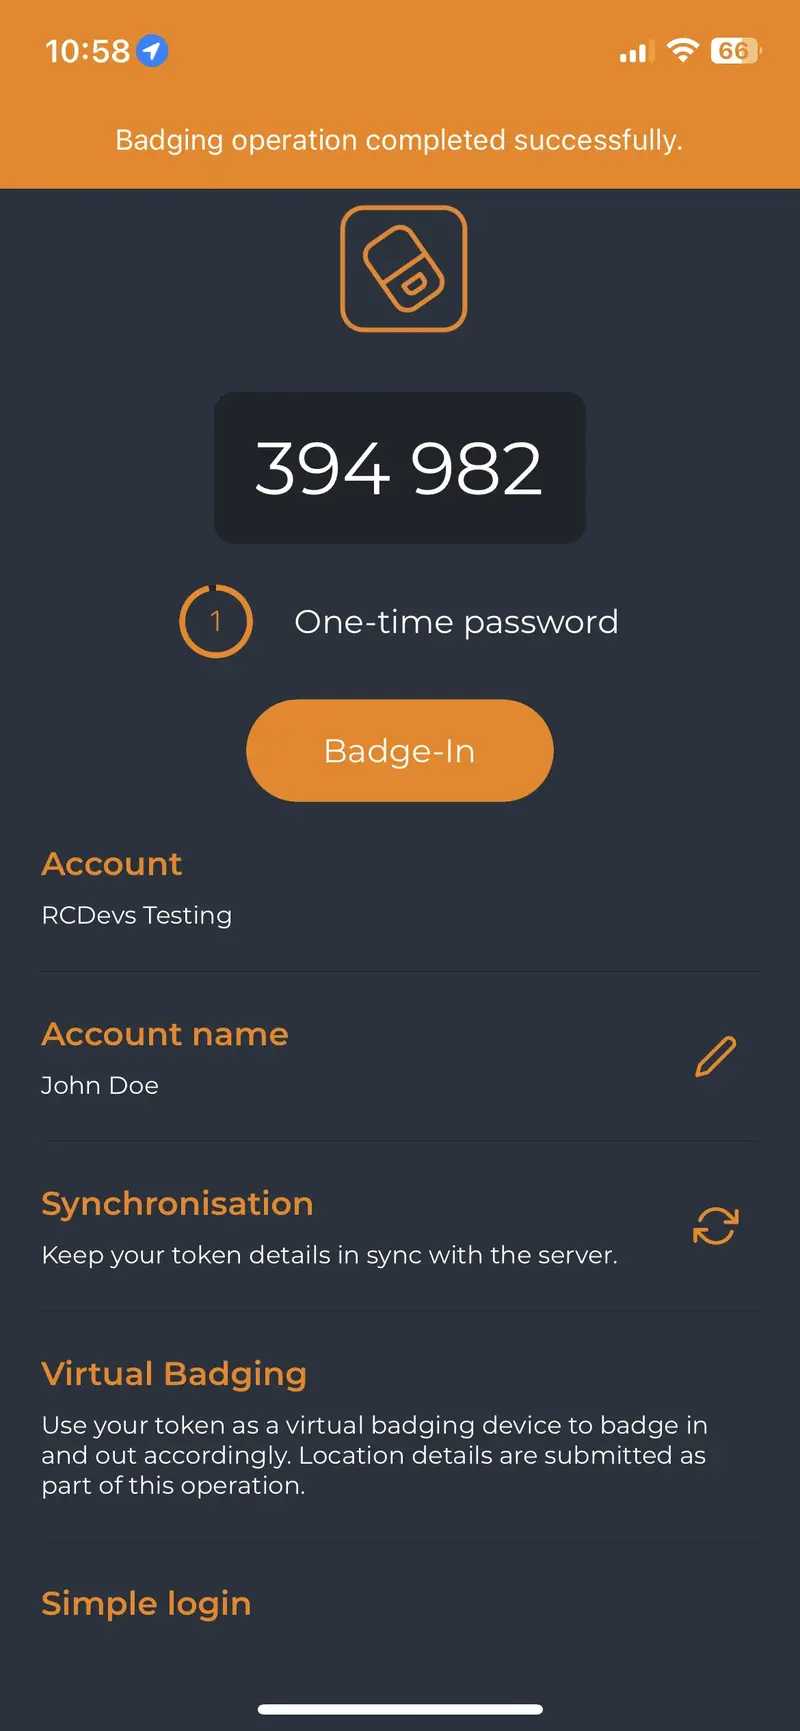
The time between the use of the two buttons is held in WebADM to calculate the time that the user has been badged in.
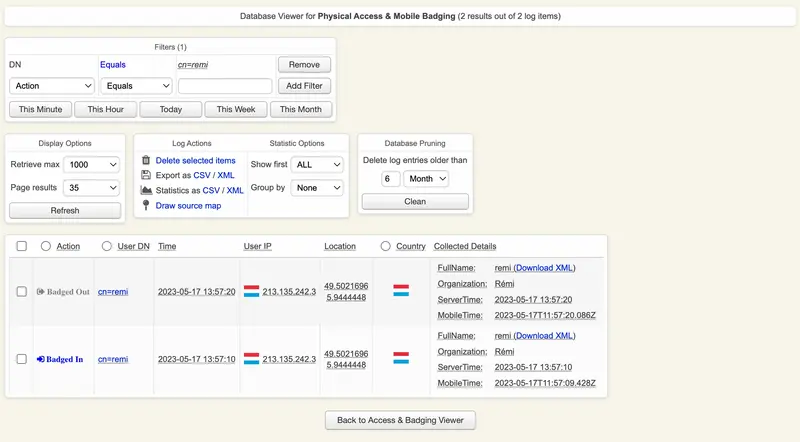
5. Audits and Logs
All badging operations performed by a user are stored in an SQL database. You can have a look on the audit part from Databases menu > Physical Access and Mobile Badging.
6. Advanced configuration
For advanced configuration of mobile badging feature of OpenOTP, please refer to the mobile badging documentation