VPN Integration with RCDevs cloud solutions
1. Overview
In this documentation, we will focus on configuring your On-Premise VPN server with the OpenOTP Cloud solution (either Mutualized Cloud or Dedicated Cloud). Typically, VPN integration involves using the Radius, LDAP or SAML/OpenID with some VPN solutions. For SSL VPNs working with SAML or OpenID, that documentation is not explaining how to configure your VPN with SAML/OpenID. Please, refer to OpenID/SAML documentation. However, it’s important to note that the Radius protocol was not specifically designed for transport over the internet. For this reason, RCDevs recommends deploying the OpenOTP Cloud Virtual Appliance, which includes Radius and LDAP Bridges components. This approach ensures a more secure integration. If you choose not to deploy the OpenOTP Cloud Virtual Appliance, you have the option to contact RCDevs to inquire about alternative solutions. However, it’s important to understand that using the Radius protocol directly over the internet without proper precautions carries certain risks, and it is done at your own discretion. When the OpenOTP Cloud Bridge VM is set up, communication between your infrastructure and the RCDevs cloud infrastructures utilizes the HTTPS protocol with client/server certificate validation or API key authentication. This ensures a secure connection. If the OpenOTP Cloud Bridge VM is not implemented within your network, the LDAP and Radius protocols will be transmitted over the internet. It is crucial to consider security implications and evaluate the level of risk associated with the chosen integration method. RCDevs is available to assist and provide guidance in ensuring a secure and reliable VPN integration with the OpenOTP Cloud solution.
2. User creation, activation and token enrollment
The following steps outline how to create a user account in WebADM, activate the account, enroll a software token using the Push mechanism, and conduct a test login via the WebADM Admin portal prior to commencing your integration.
2.1 Account Creation
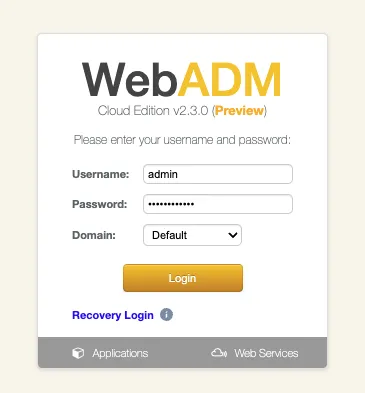
Login on WebADM Admin portal with your Administrator account.
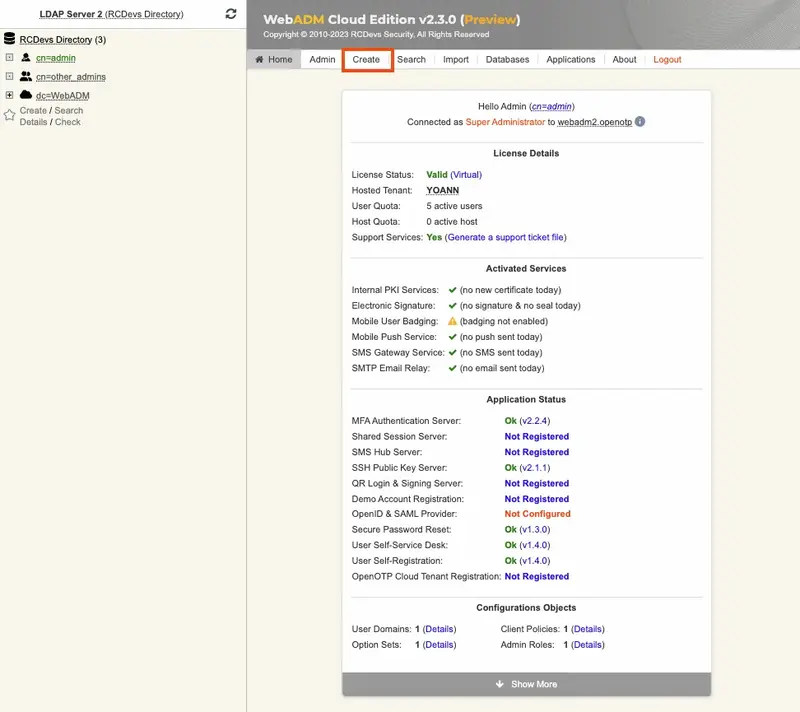
Click on the create button in order to create a test account.
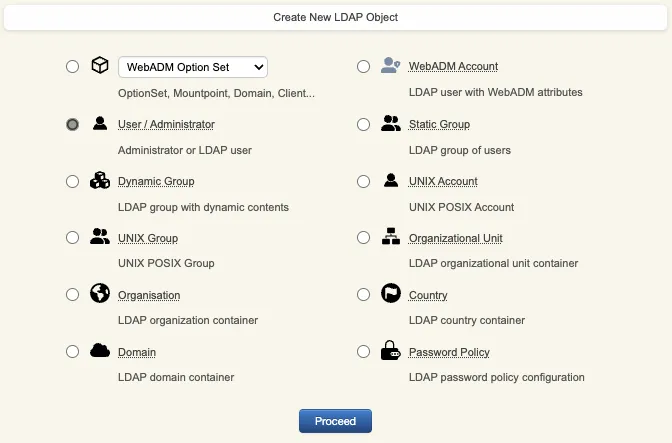
Select User/Administrator and then click Proceed.
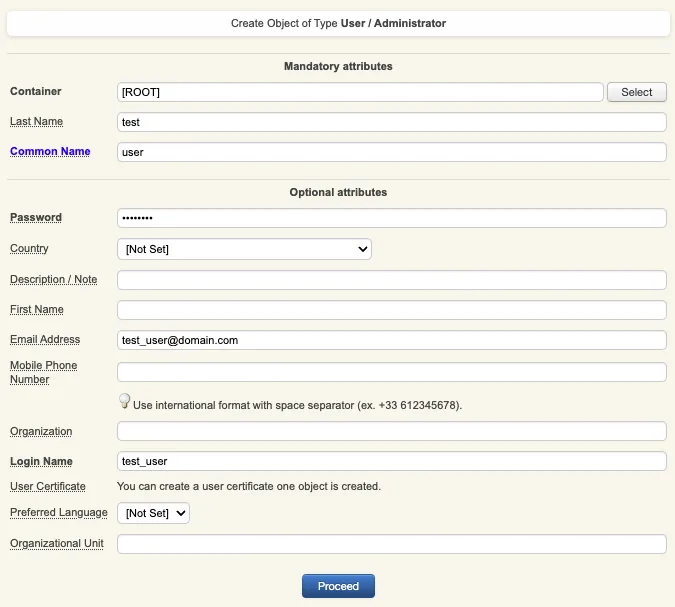
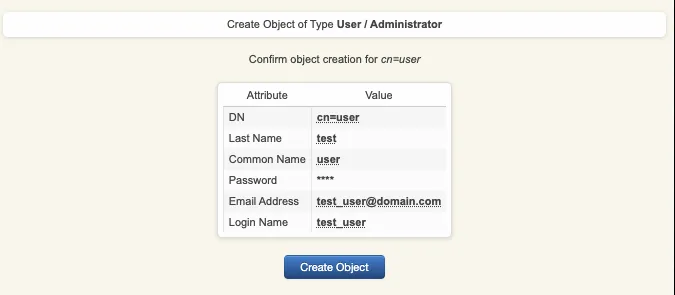
On the next page, provide user’s information and then click Proceed.
A recap is prompted, check your inputs and click create object.
Your user account is now created.
2.2 Account Activation
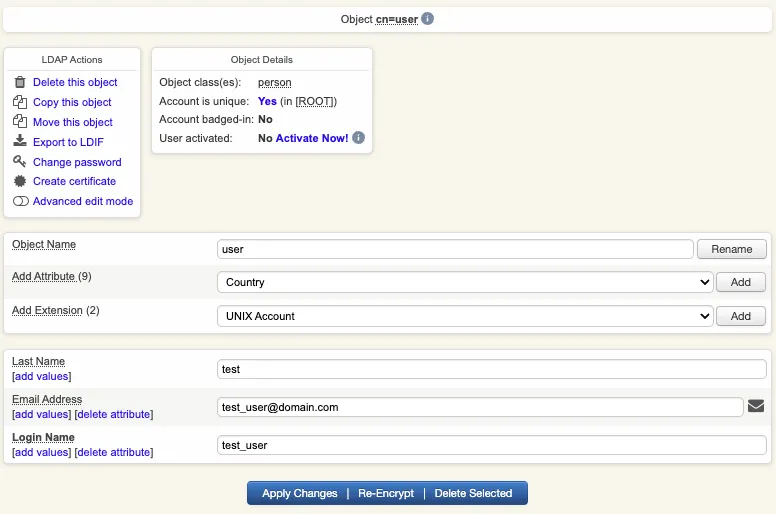
Now, we need to activate the account. On the user account, in object details, click Activate now button followed by Proceed button.
Finaly click on Extend object:

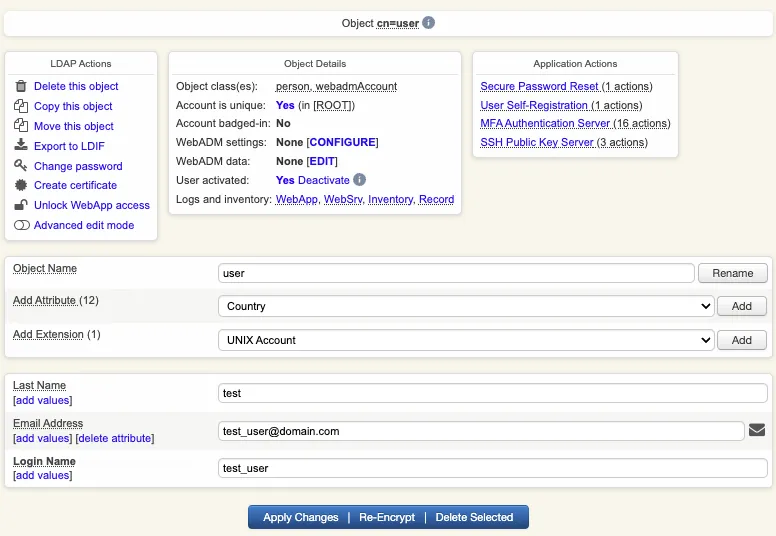
Account is now activated. You can now see the Application Actions menu.
2.3 Token Enrollment
We are going now to enroll a software token. We advise you to use OpenOTP Token application in order to take advantage of all features provided by OpenOTP.
In Application Actions menu, click on MFA Authentication Server > Register/Unregister OTP Tokens. Select I use a QRCode-based Authenticator (time-based or event-based), then the enrollment QRCode is prompted. Open the OpenOTP Token application (or another authenticator app), then click the camera button and scan the QRCode.
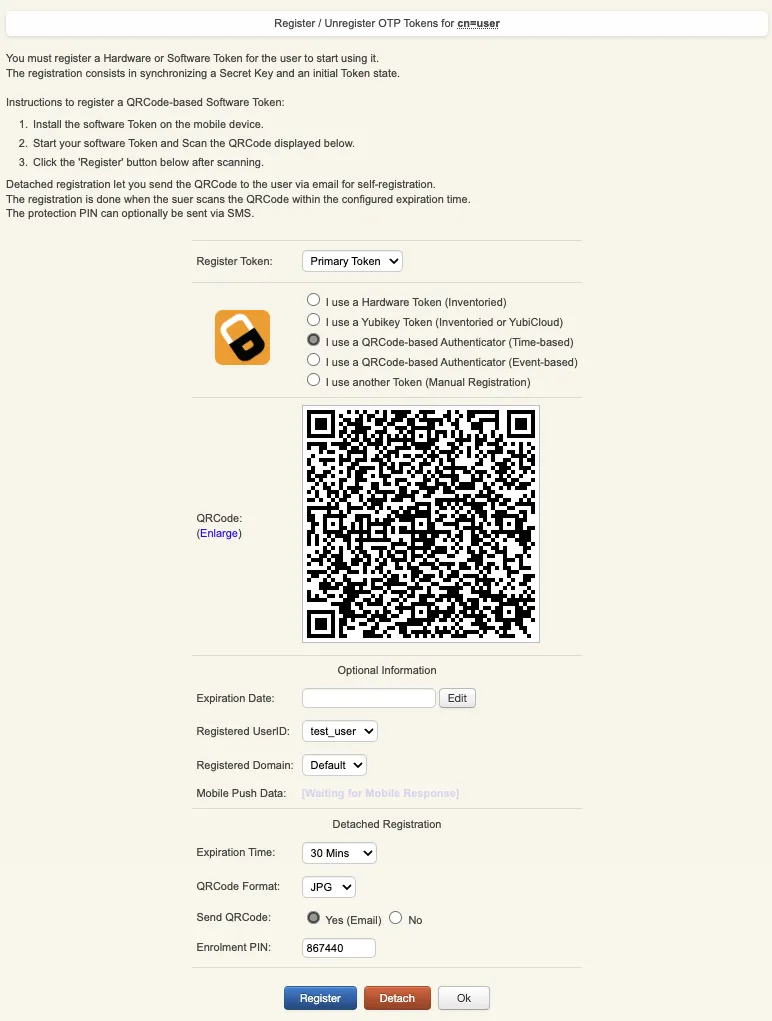
If the QRCode has been scanned with OpenOTP token, you don’t need to click Register button.
If the QRCode has been scanned with another token application, you need to click Register button once the token is registered on your device.

Your token has been registered successfully, we can now try to perform a login with it.
2.4 Test login
Come back on the user account, you will see now the token metadata registered on the account:
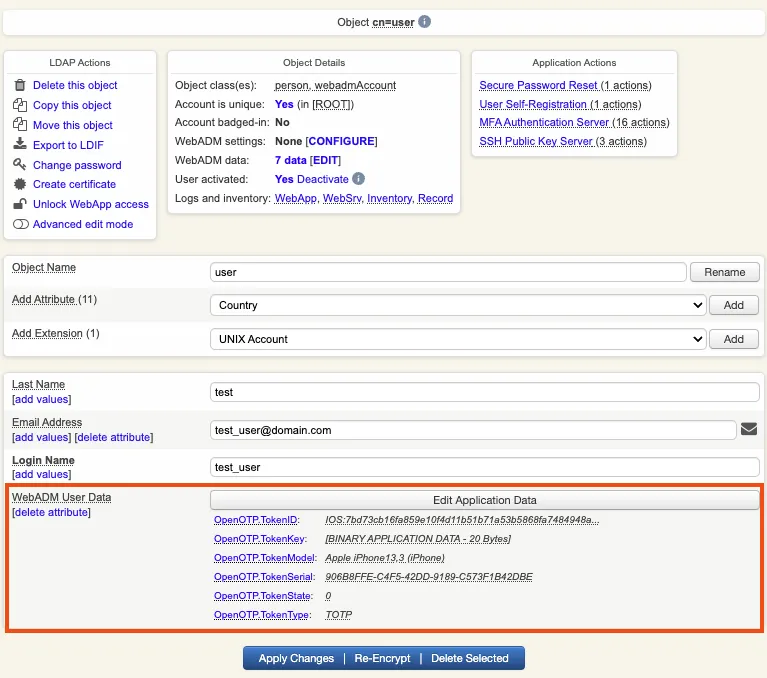
The enrollment here has been performed with OpenOTP Token and Push mecanisism are by default enabled. We will now perform a test login with Push authentication.
In Application Actions menu, click on MFA Authentication Server > Test OTP & FIDO Authentication
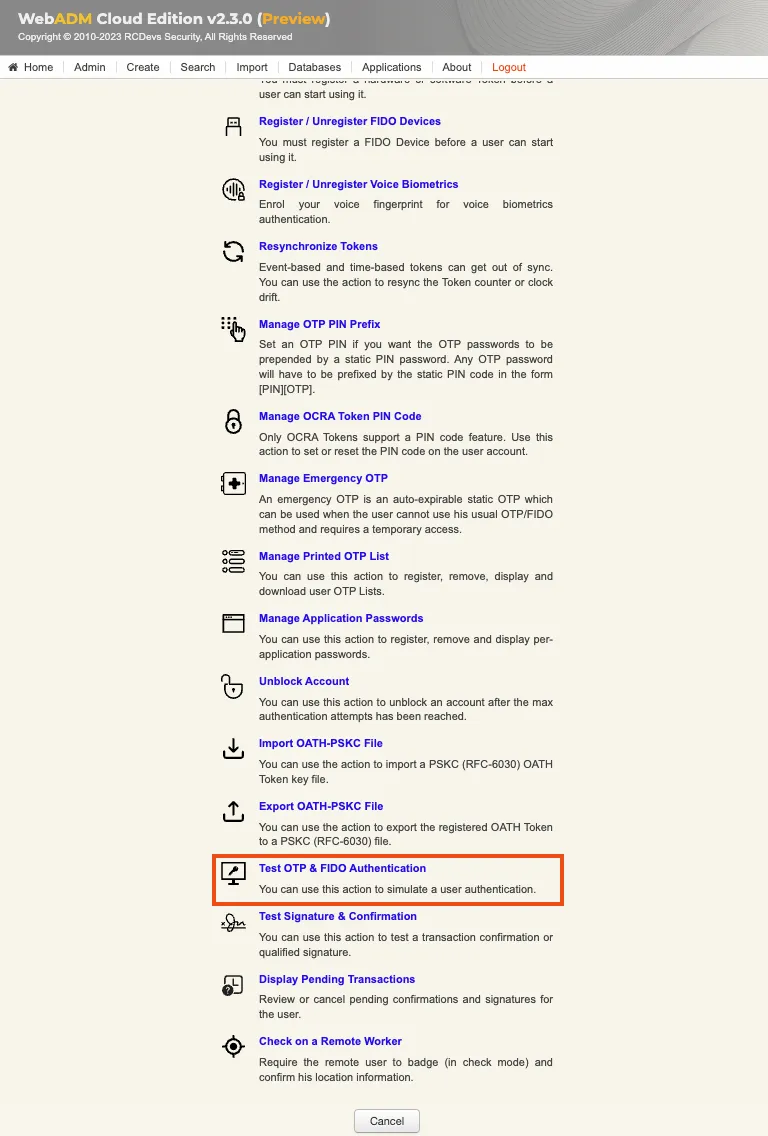
You arrive at the following page:
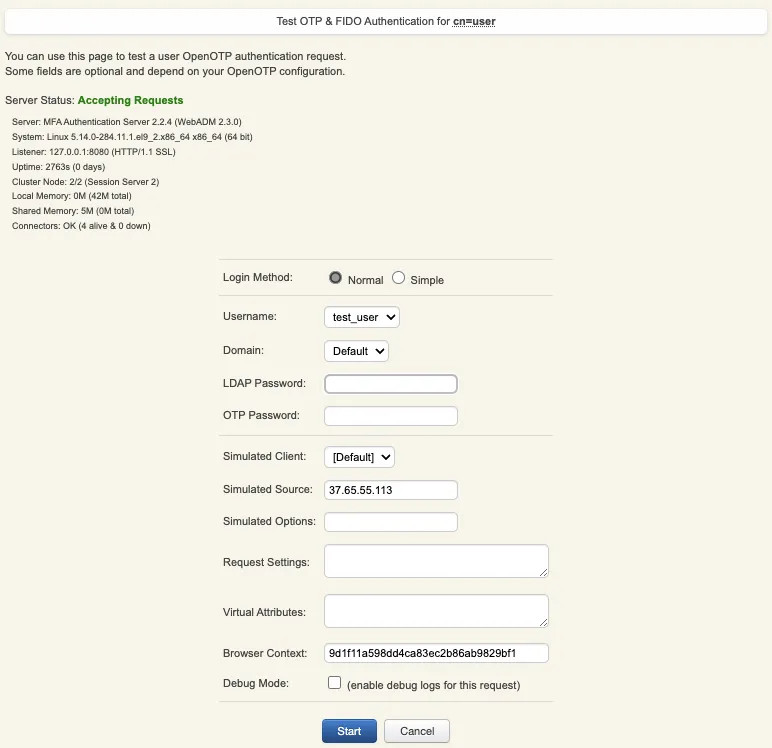
Provide the LDAP password that you previously configured during the user account creation, then click Start. A push notification should be prompted on your phone. Approve the request. The test login has been performed successfully.

If you didn’t regiter the token with OpenOTP token application, then an OTP challenge is sent if you only provided the LDAP password. In that case, provide the OTP code generated by your token application and click Continue.

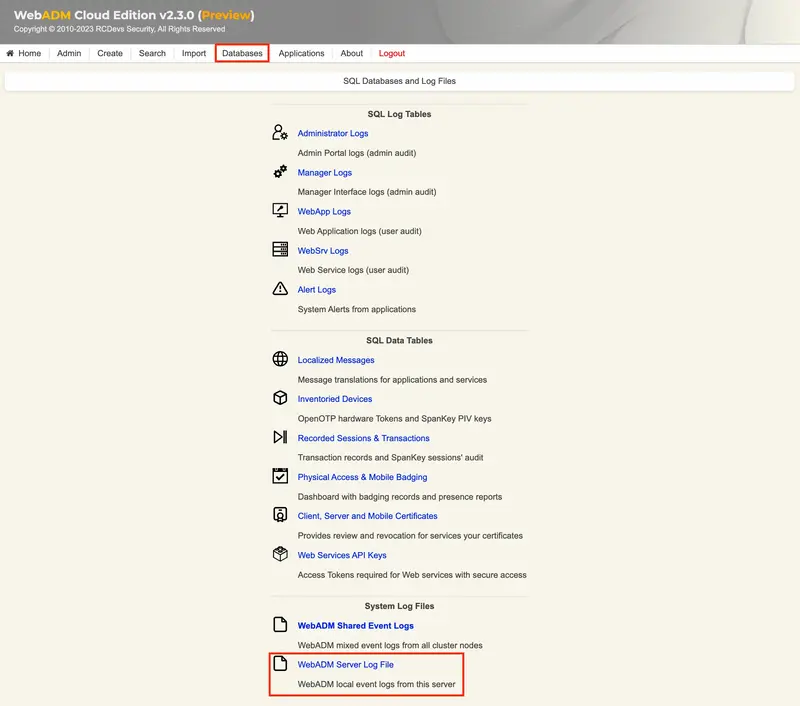
If the test login failed, you can browse the WebADM server logs to identify the problem. You can access the logs by accessing the Databases tab > WebADM Server Log File. The following troubleshooting documentation will provide help and resolution on common issues.
3. VPN Setup with the VM bridges
This scenario assumes that you prioritize maximum security for the communication between your infrastructure and the openotp.com infrastructure. To achieve this, it is recommended to deploy our OpenOTP Cloud Bridge VM, which can be set up following the instructions provided in the OpenOTP Cloud Bridge VM setup documentation.
The OpenOTP Cloud Bridge VM is a preconfigured virtual machine that includes both the Radius Bridge and LDAP Bridge components. In most cases, the Radius Bridge component will be sufficient, as the majority of VPNs support RADIUS AAA authentication servers.
Alternatively, if you prefer, you can build your own server with the necessary configurations to provide similar functionality. However, using the preconfigured OpenOTP Cloud Bridge VM ensures a streamlined and efficient setup process.
By deploying the OpenOTP Cloud Bridge VM or setting up a similar server, you can establish a secure and reliable connection between your infrastructure and the openotp.com infrastructure, enabling seamless integration and authentication for your VPN.
This scenario assume that you want to be as most secure as possible regarding communications between your infrastructure and openotp.com infrastructure. This involves deploying our OpenOTP Cloud Bridge VM. Optionally, you can also build yourself a server that will provide exactly the same thing. This VM is a preconfigured VM which run Radius Bridge and LDAP Bridge. For most of VPNs, Radius Bridge will be enough as 98% of VPNs support RADIUS AAA authentication servers.
4. VPN Setup without VM bridges
If you wish to set up your VPN without deploying the OpenOTP Cloud Bridge VM on-premise, you need to follow the steps outlined below:
- Request RCDevs to enable the Radius Service for your tenant and provide them with your public IP(s) and your tenant ID. The communication with the Cloud Radius service is filtered by IP addresses, so your public IP(s) need to be declared in the Radius service in order to allow communications. If your public IP(s) are dynamic, you must deploy the OpenOTP Cloud Bridge VM. This is necessary as RCDevs does not want to open the Radius APIs to the entire internet for security reasons. The tenant ID can be found on your
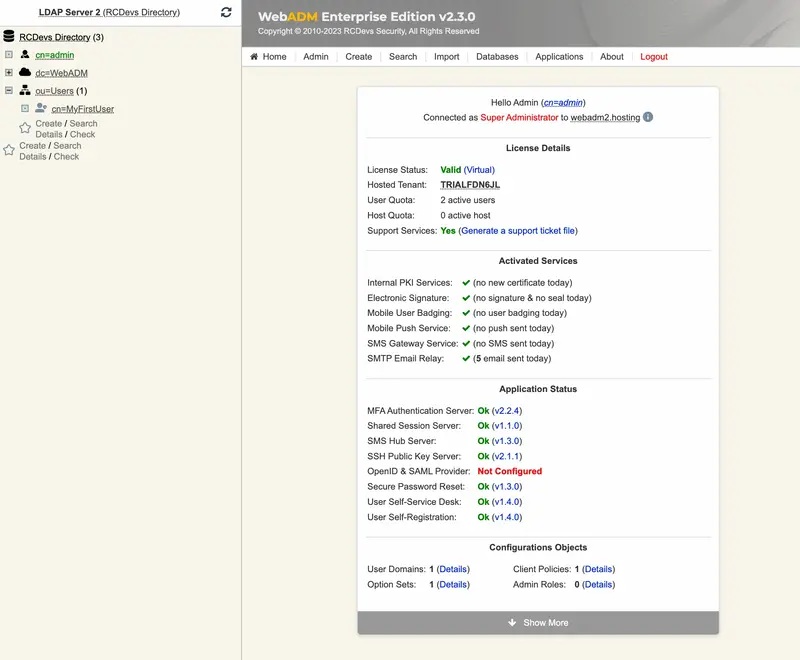
WebADM Home page>License Details>Hosted Tenantvalue.
Once you have provided RCDevs with the requested information, they will provide you with the Radius Secret. This Radius Secret needs to be configured in your Radius server configuration on your VPN server. To ensure a secure communication between your VPN server and the OpenOTP cloud infrastructure, it’s important to configure the Radius Secret correctly. The Radius Secret acts as a shared secret key between your VPN server and the OpenOTP cloud infrastructure, allowing them to authenticate and communicate securely.
- Configure a Radius Server as the Authentication server in your VPN configuration, targeting your tenant’s or your private cloud’s URL on openotp.com.
For example, if your OpenOTP tenant URL is “https://fdn6jl.eu1.openotp.com”, you should configure “fdn6jl.eu1.openotp.com” as the server hostname with the port 1812 using UDP on your VPN server.
If your VPN server does not support hostnames, you can use the following IP addresses for the OpenOTP cloud infrastructure:
Name:	openotp.com
Address: 146.59.203.4
Address: 146.59.206.40
Name:	eu1.openotp.com
Address: 87.98.155.89
Address: 178.32.96.77
Please note that the IP addresses mentioned above are placeholders, and you should obtain the actual IP addresses from RCDevs for your specific OpenOTP cloud infrastructure region. Ensure that you configure the server hostname or IP address and the port correctly in your VPN server configuration to establish a successful connection with the OpenOTP cloud infrastructure.
- The Radius timeout should be configured to at least 30 seconds.
- The Radius retry should be configured to 0 or 1.
- The Radius accounting is not supported by OpenOTP, so it is useless to configure it on your VPN server.
- The Radius secret or Shared secret is provided by RCDevs.
- The password protocol which should be used is PAP.
It’s important to note that in the scenario described here, you don’t need to set up the Radius Bridge component, as it is hosted by RCDevs. The documentation will provide guidance on the necessary configurations and settings for integrating your VPN with OpenOTP cloud without the need for setting up the Radius Bridge. By following the instructions provided in the VPN provider documentation and the RCDevs documentation, you will be able to configure your VPN to work seamlessly with OpenOTP cloud for multi-factor authentication.
5. References and Advanced configuration
For more information regarding the configuration of your VPN, please refer to the documentation provided by your VPN provider. Additionally, you can consult the RCDevs documentations.
Refer to the following link for advanced configuration of Radius Bridge,