OpenOTP Electronic Signature for Nextcloud
1. Overview
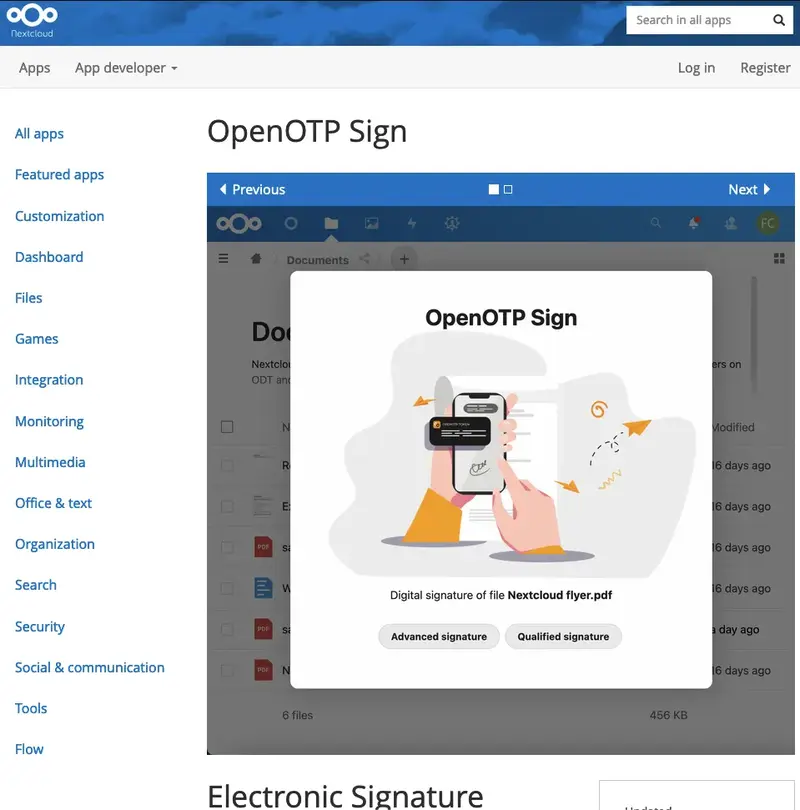
OpenOTP Signature Plugin for Nextcloud allows authenticated users to self-sign a document or submit a document for Signature to Nextcloud users. It enables Electronic Signature with your Mobile with the OpenOTP Server which validates your identity and generates secure communication flow with all third parties involved in the signature process.
All signature types (Standard, Advanced and Seal) are supported with that plugin.
In order to use that plugin, you MUST HAVE OpenOTP Security Suite running in your infrastructure (on-premise or in the cloud). Please refer to the installation documentation for instructions on this. If you have a tenant running on RCDevs cloud, you must provide a client certificate or an API key issued from your tenant during the Nextcloud plugin configuration. You must have a valid license for OpenOTP and you need to download the OpenOTP Signature Plugin for Nextcloud from RCDevs website or from the Nextcloud store. In addition, prerequisites for e-Signature with OpenOTP must be met. Refer to the following documentation to learn more about OpenOTP Signature
2. Installation
2.1 NextCloud Store
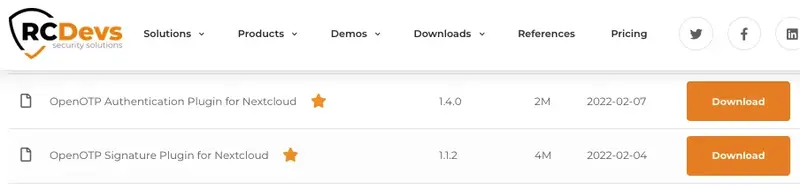
Download the OpenOTP Signature Plugin for NextCloud from the NextCloud Store.
2.2 Manually
Download the OpenOTP Signature Plugin for NextCloud from the RCDevs Integration Plugin download page.
Place the OpenOTP Signature Plugin for NextCloud app in nextcloud/apps/
Building the app
The app can be built by using the provided Makefile by running: make
This requires the following things to be present:
- make
- which
- tar: for building the archive
- curl: used if phpunit and composer are not installed to fetch them from the web
- npm: for building and testing everything JS, only required if a package.json is placed inside the js/ folder
The make command will install or update Composer dependencies if a composer.json is present and also npm run build if a package.json is present in the js/ folder. The npm build script should use local paths for build systems and package managers, so people that simply want to build the app won’t need to install npm libraries globally, e.g.:
package.json:
"scripts": {
    "test": "node node_modules/gulp-cli/bin/gulp.js karma",
    "prebuild": "npm install && node_modules/bower/bin/bower install && node_modules/bower/bin/bower update",
    "build": "node node_modules/gulp-cli/bin/gulp.js"
}
Publish to App Store
First get an account for the App Store then run:
make && make appstore
The archive is located in build/artifacts/App Store and can then be uploaded to the App Store.
Running tests
You can use the provided Makefile to run all tests by using:
make test
This will run the PHP unit and integration tests and if a package.json is present in the js/ folder will execute npm run test.
Of course, you can also install PHPUnit and use the configurations directly:
phpunit -c phpunit.xml
or
phpunit -c phpunit.integration.xml
for integration tests.

3. Configuration
-
Navigate to the
Adminpage / Additional settings, or go directly to the configuration via Admin button in the header.

-
Set at least the
OpenOTP server URL #1and theOpenOTP client id, clickSave.
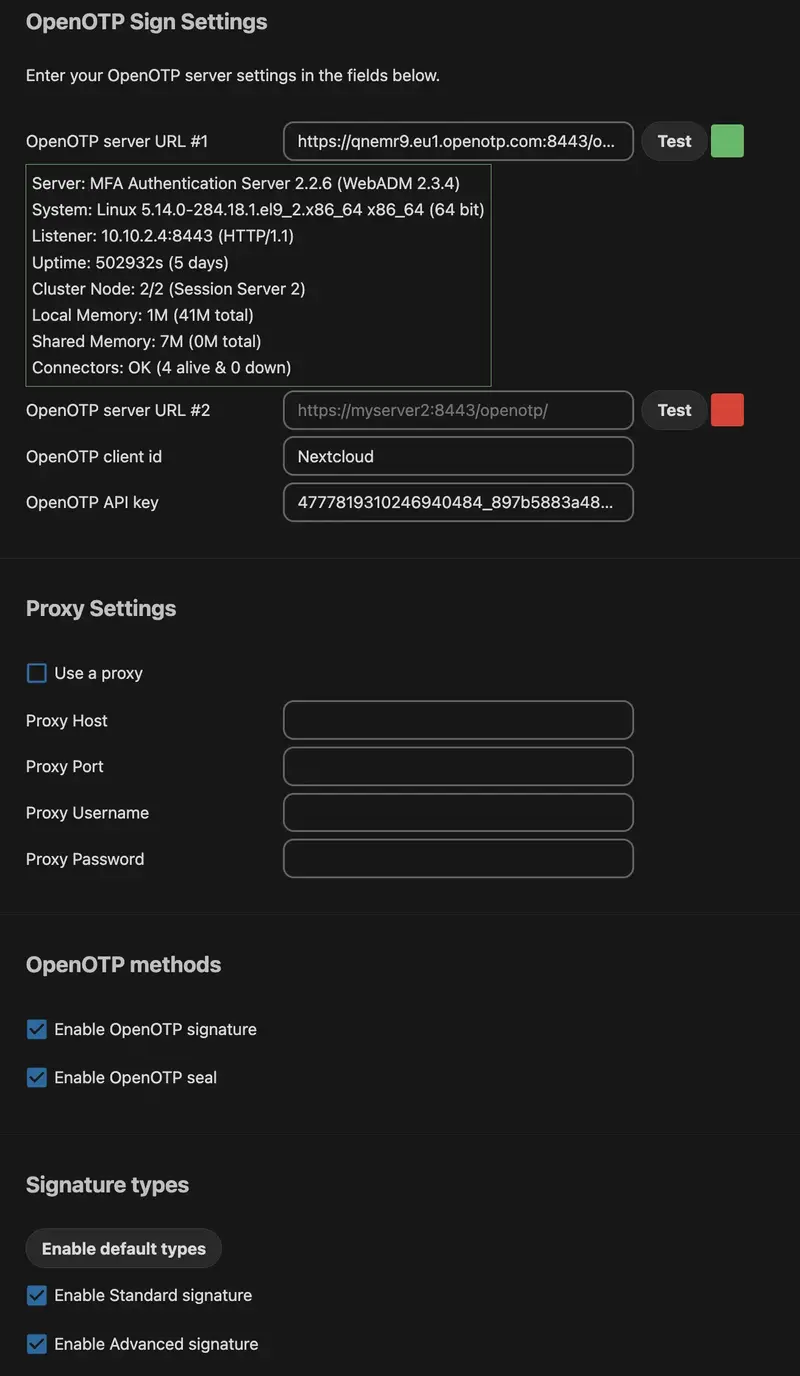
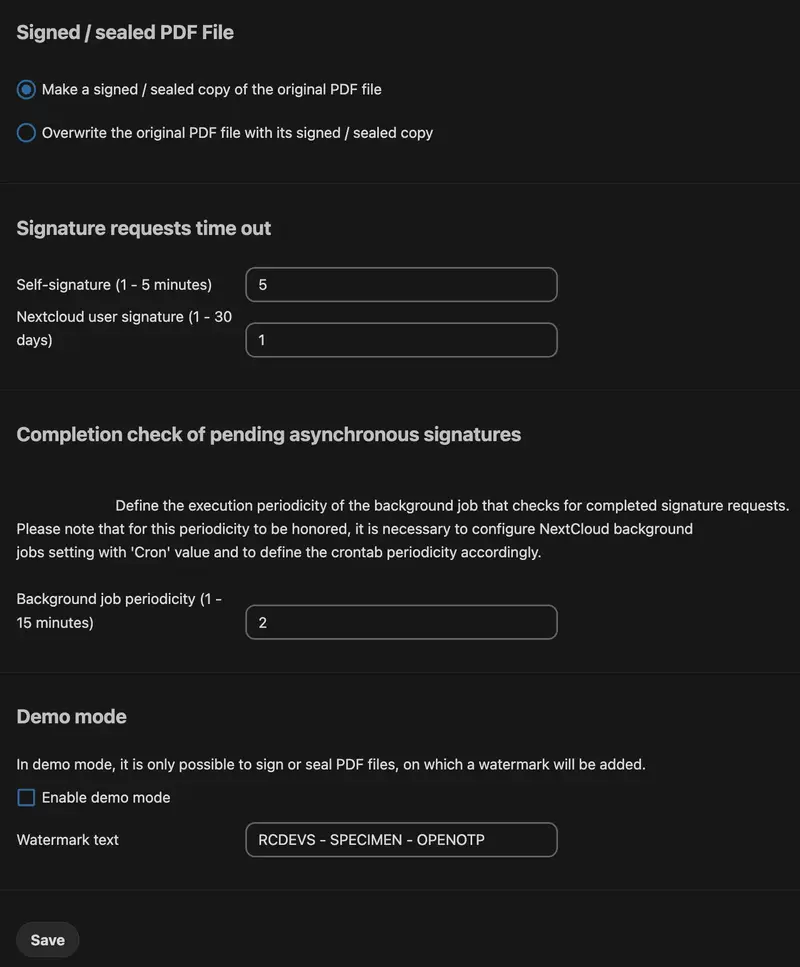
You can also choose which kind of signature will be allowed to your users :
- Standard Signature (Handwritten signature and paraph when there is multiple pages).
- Advanced Signature (certificate based signature). That kind of signature must be controlled by Client Policies in order to define the scope of the issued certificates (Local CA, Global CA or eiDas). Refer to the OpenOTP Signature for more information on supported scopes.
It is also possible to disable or enable the different OpenOTP methods which are the signature and the seal.
4. Client Policy
A client policy should be configured for Nextcloud signature on WebADM side. You can refer to the following documentation for more information about the client policies.

First, create a client policy object from WebADM GUI > Admin > Client Policies > Add Client.
You can name it Nextcloud as it is the value that we configured as Client ID during the plugin configuration. If you name it differently than the name we configured in the Client ID setting, you need to add the value configured in Client ID as Client Name Aliases on the next page:
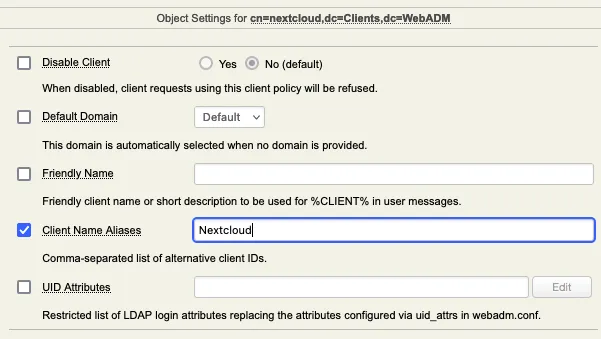
You can then configure the settings you want according to what you want to enforce for that client.
5. Signature
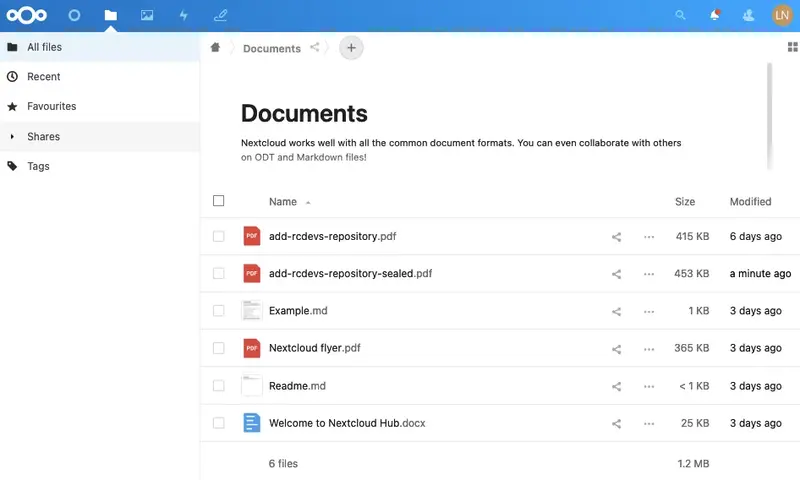
In the following example, a request for signing a document between two persons.
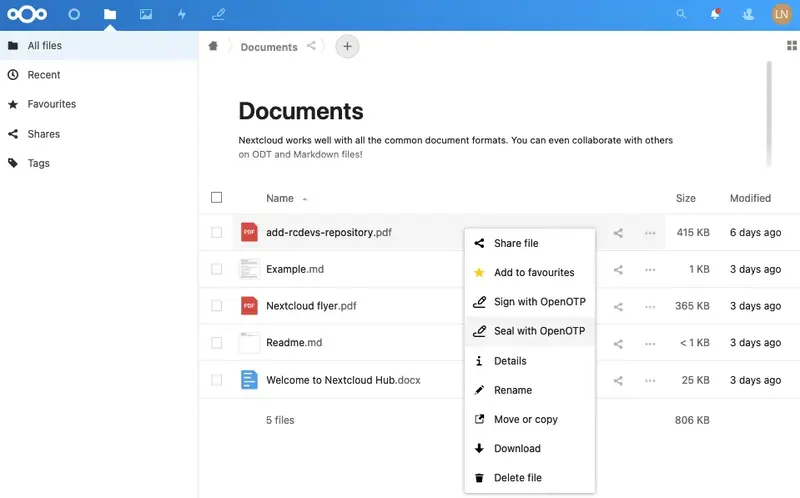
Log into the NextCloud and choose the document to be signed. Select it with a right click and select “Sign with OpenOTP”.
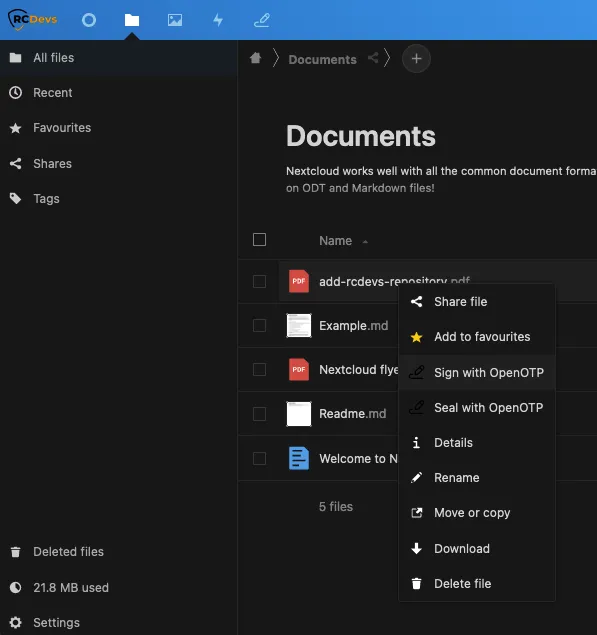
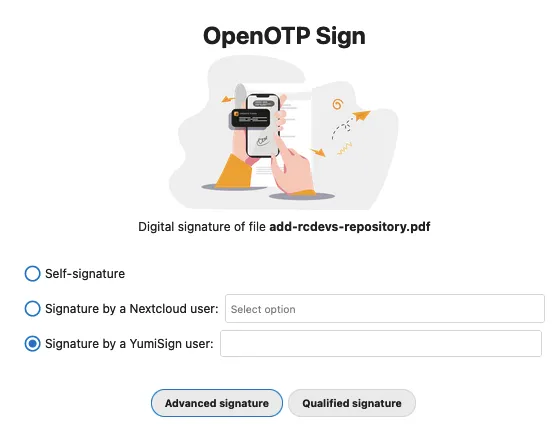
The document can then be signed by the user himself or submitted to another user.
In the header, click on the Sign button to get an overview of the pending/completed/failed signature requests.

6. Seal
Log into NextCloud and choose the document to be sealed. Select it with a right-click and seal the document.
Now there is a new sealed document xyz-sealed.pdf available.