This guide will lead you through the setup of one or preferably several (for load-balancing and fail-over purposes) eHSM / MIRkey to use hardware cryptography within WebADM, adding an extra layer of security to protect WebADM sensitive data.
MIRKey HSMs required at least WebADM 2.0.17.
2. Download and install the ellipticSecure Device Manager
Although it is possible to initialize and set up the eHSM or MIRkey using standard command-line pkcs11 tools, we recommend to use the ellipticSecure Device Manager GUI that allows the update of the firmware and to set up a backup domain allowing backups from one device to be restored to a different device, which is particularly useful for load-balancing across several HSMs and for disaster recovery purposes.
Windows 10
On Windows 10 version 1903 or later, you need to run the application as Administrator in order to access the device information.
To perform the setup of the MIRkey or eHSM through this GUI, you have to download the latest version of ellipticSecure device manager application for Windows, Mac OS X or Linux.
Install the ellipticSecure Device Manager
Insert the eHSM or MIRkey into an available USB port and run the ellipticSecure Device Manager
3. Upgrade to the latest version of the firmware
To ensure the best performance and reliability, please update the MIRkey and eHSM to the latest version of the firmware. To avoid any issue with our software, please ensure you are running at least the version 1.27 of the firmware.
To check for a firmware upgrade, click on Help menu then on Check for Updates.... and follow the instructions provided on screen if any firmware is available.
Note: If you encounter any error trying to upgrade the firmware from Mac OS X, please use Windows or Linux instead. Some Mac OS X versions are known to be incompatible with the firmware upgrade feature of the ellipticSecure Device Manager.
4. Initialize the first device
Click on the settings icon
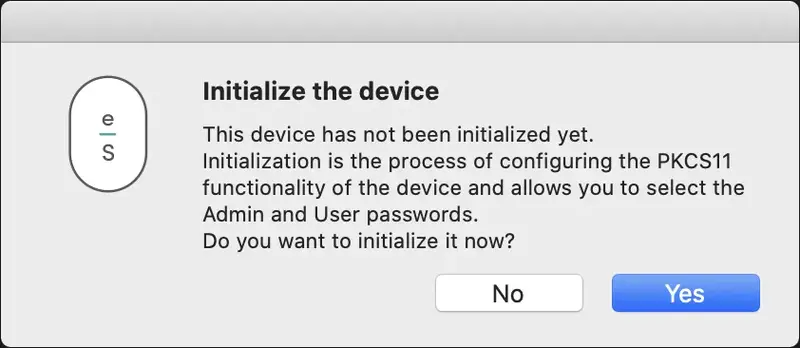
You will be prompted to first initialize the device.
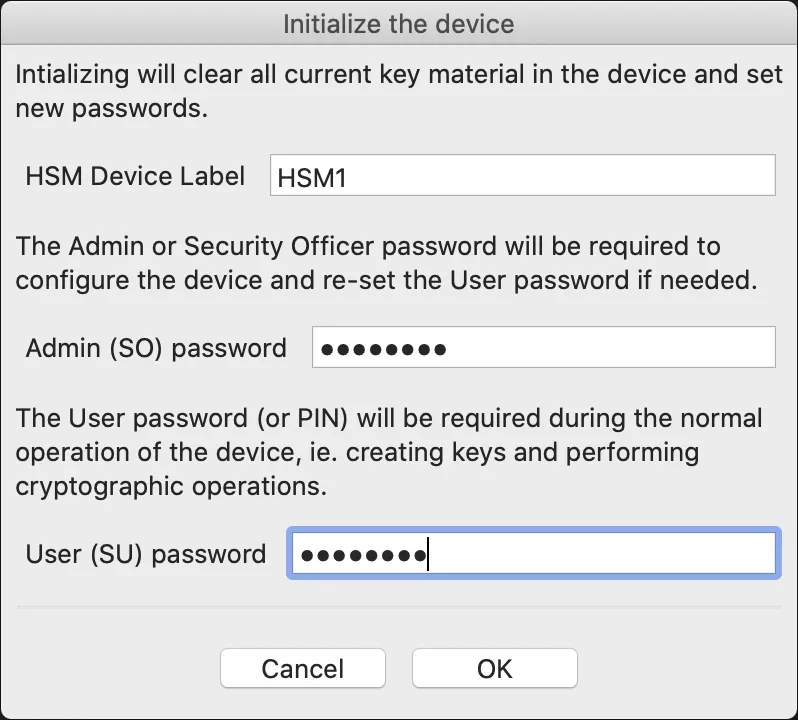
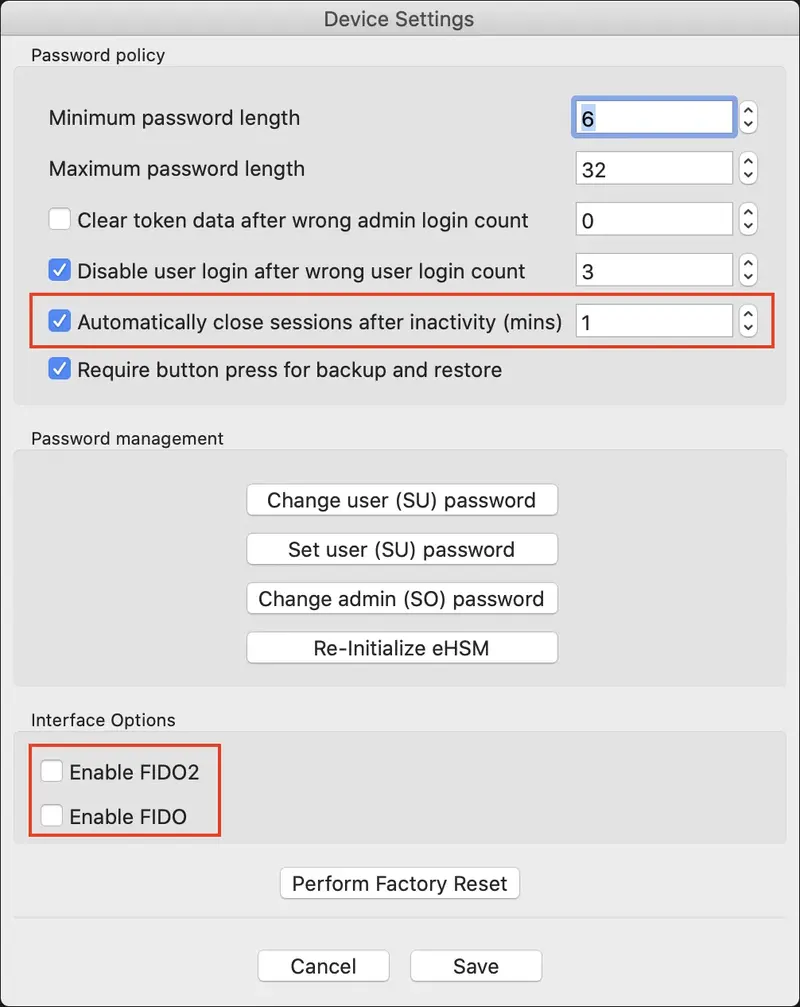
Provide the HSM label, admin and user passwords. Be sure to remember the admin password.
For best performances, we highly recommend to automatically close sessions after 1 minute of inactivity. Though it should not be an issue on a server, we also highly recommend to disable the FIDO2 / FIDO interfaces, to avoid any concurrent USB access that could lead to communication issues with the device, if any process tries to enumerate FIDO devices. You can adjust the other settings to comply with your password policies.
Enter the admin (security officer) password
5. Generating a symmetric key for AES-CBC cryptography
To use hardware cryptography within WebADM, the HSM has to store a symmetric key. It has to be generated directly in the HSM, as it guarantees the key cannot be retrieved outside the HSM.
Click on Tools menu then on Generate Symmetric Key... and input the desired key label. It is strongly advisable to keep the key private, not extractable and with a size of 256 bits for the strongest security.
Note: You may choose any ID but keep in mind that the index that will be later set in the WebADM configuration file is not related to this one. It will be a sequential index in the list of keys found when searching the device for all AES secret keys. it is then advisable to choose a sequential number, starting from 0, when setting the keys. Please note that the index is also only unique based on the type of the key.
Next input the user password to unlock the device, in order to save the generated key
6. Cloning the device to another device
6.1 Backup the current device
Click on Tools menu then on Backup device... while pressing the button on the device at the same time
Choose the filename and folder where to save the backup
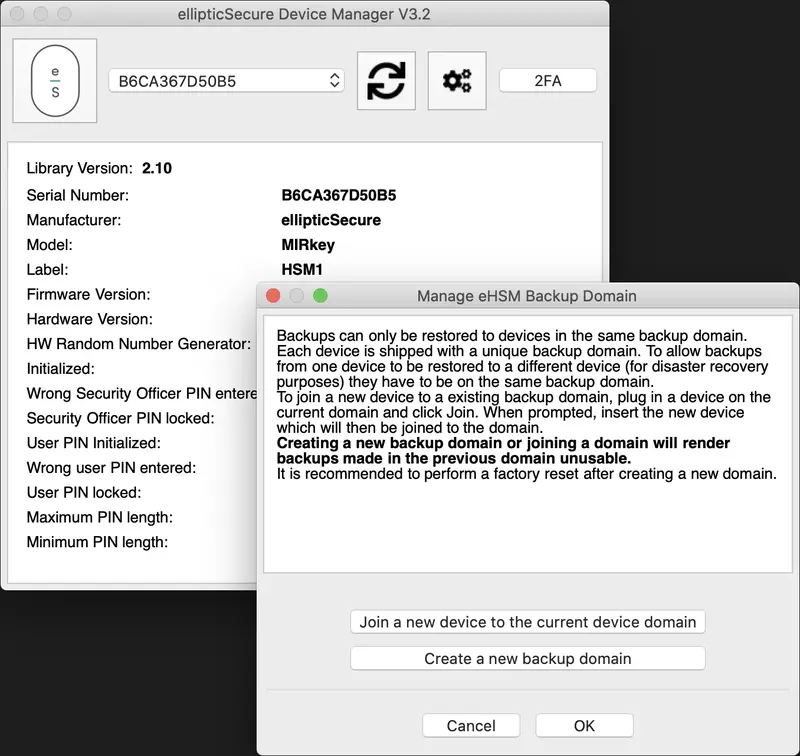
6.2 Join a new device to the backup domain
Click on Tools menu then on Manage Backup domain...
Click on Join a new device to the current device domain
Insert a 2nd device and click on Yes
Close the dialog to manage the backup domain by clicking on OK
6.3 Restore the backup on the new device
Click on Tools menu then on Restore device...
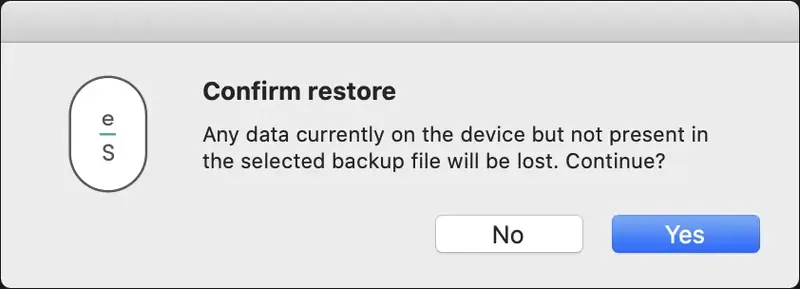
Select the backup file to restore
Confirm the restoration by clicking on Yes while pressing the button on the device at the same time
Your devices are now correctly setup, and they must be enabled on WebADM.
7. Configuring WebADM for Hardware Encryption with the eHSM / MIRkey devices
There are only four settings to be configured in WebADM to enable hardware encryption with your eHSM / MIRkey. Edit the WebADM main configuration file /opt/webadm/conf/webadm.conf and configure the following settings:
hsm_model: WebADM supports hardware security modules. When enabled, the hardware-based security complements the WebADM default software encryption: very sensitive user data like Token secrets or inventory data are transparently encrypted by the connected HSM(s) whereas other (less sensitive) data are encrypted using WebADM software encryption. WebADM supports eHSM and MIRkey. Several devices can be used concurrently (in failover and load-balanced mode). Moreover, the addition or removal of HSM modules is hot-plug.
hsm_keyid: Like with the software encryption, multiple HSM key IDs (i.e. key handles) can be used concurrently and the rollout of a new AES hardware master key is supported. You can set several encryption key IDs for automatic key rollout. All the defined keys are used for decrypting data. And the first defined key is used to (re-)encrypt data.
hsm_pincode: You have to provide the user password of the devices. As it is sensitive information, please keep the permissions of the webadm.conf file safe. It should not be readable by another user than root and the group webadm.
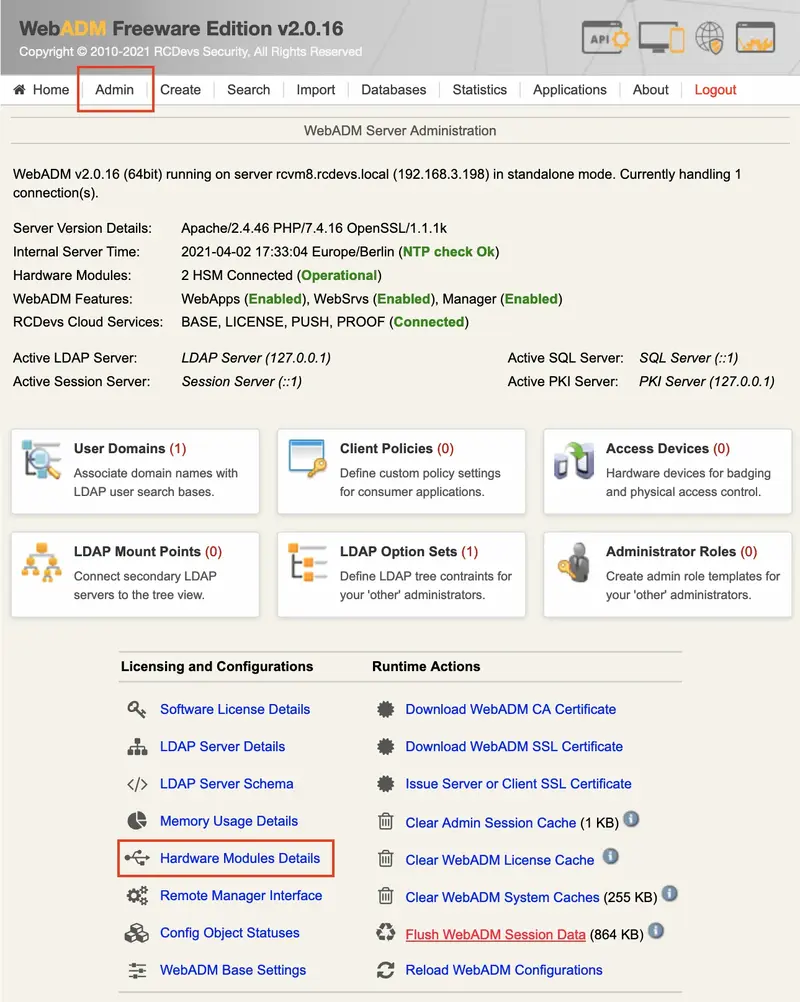
8. Check the correct configuration and test the devices in WebADM
Click on the Admin menu in the menu bar then select the Hardware Modules Details link
You will see the status and details about the plugged HSM. Please ensure that all indicators are in green. HSMs must be reported as operational, with configured keys as consistent (same keys across all the HSMs) and with each individual configured key reported as Ok.
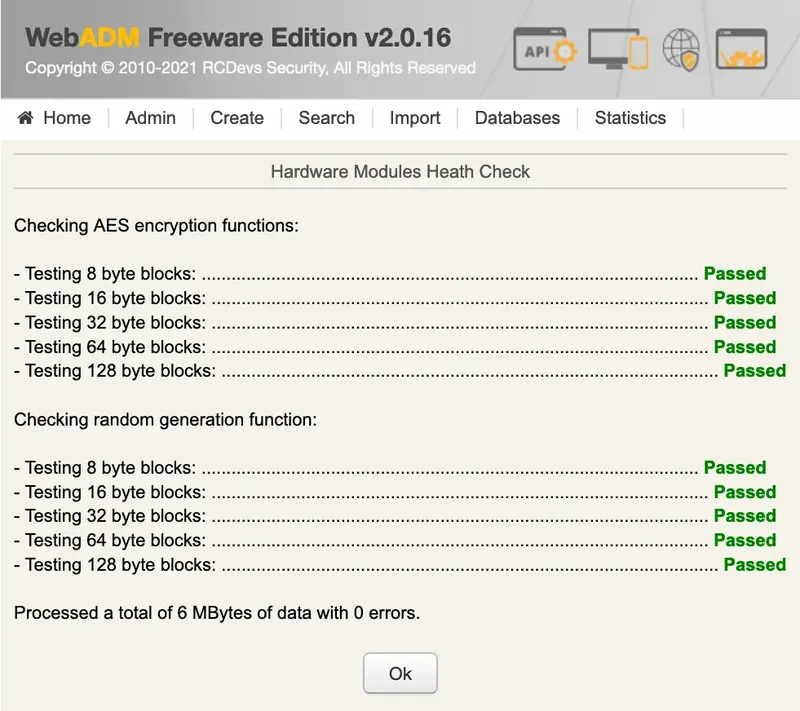
You can test the devices by clicking on the Test HSM button. You should see a screen similar to the one bellow with all tests reported as passed.