Authentication with a Yubikey Smart Card / PIV
In this How-To we will configure a user in WebADM for using a PIV key. We need a WebADM server already configured.
1. Import the Inventory
We need to create an inventory file like this:
"Type","Reference","Description","DN","Data","Status"
"PIV Device","<ID1>","PIV Yubikey","","PublicKey=<pub_key1>","Valid"
"PIV Device","<ID2>","PIV Yubikey","","PublicKey=<pub_key2>","Valid"
"PIV Device","<ID3>","PIV Yubikey","","PublicKey=<pub_key3>","Valid"
For my test, I have a Yubikey Nano with a PIV certificate and I use yubico-piv-tool for the management of the Yubikey, but it can work with other PIV keys.
We need to extract the public key. I do it with yubico-piv-tool and openssl:
[john@Mac-mini ~]$ yubico-piv-tool -aread-cert -s9a | openssl x509  -pubkey -noout
-----BEGIN PUBLIC KEY-----
MIIBIjANBgkqhkiG9w0BAQEFAAOCAQ8AMIIBCgKCAQEAwjYEZhuhF9rrxHdCDstG
J2ibVVrJhrZIfz4wwjrXtwEACJP2wWRe9dvNw5h3CrbguSc1l8mkKrfNwxAkGMOp
MIx5KgNBaDMcOggmjjFTOBIK4muJjdUZKhR3oFwBD/jjR7O1lGinYK873lYz01aS
nf7j00wgTl4kU3V+sjEbI9t3cQHfE6DMMWeG8w3Q03z+fVkNN9f30TvvBDua95Qg
G9m5eMtGqlrnPuovErHagfg8kd5lZFkYOakaoAhbOW6oQ8s8YKzCP1evcjfLYe/o
8K4br8vwp0jnBaKNKbVpO8iAn1A0UTXWaKUytb3cYqMvzp9UYh5Vyfl4MtMh8ULP
wwIDAQAB
-----END PUBLIC KEY-----
Another way that works with other keys/cards (Feitian, electronic ID, …) is to do this with opensc and pcsc-lite. Once they are installed, you need to run these commands:
[root@fedora28 ~]# pkcs15-tool --list-key
Using reader with a card: Yubico Yubikey 4 OTP+CCID 00 00
Private RSA Key [PIV AUTH key]
	Object Flags   : [0x1], private
	Usage          : [0x2E], decrypt, sign, signRecover, unwrap
	Access Flags   : [0x1D], sensitive, alwaysSensitive, neverExtract, local
	ModLength      : 2048
	Key ref        : 154 (0x9A)
	Native         : yes
	Auth ID        : 01
	ID             : 01

[root@fedora28 ~]# pkcs15-tool --read-public-key 1
Using reader with a card: Yubico Yubikey 4 OTP+CCID 00 00
-----BEGIN PUBLIC KEY-----
MIIBIjANBgkqhkiG9w0BAQEFAAOCAQ8AMIIBCgKCAQEAwjYEZhuhF9rrxHdCDstG
J2ibVVrJhrZIfz4wwjrXtwEACJP2wWRe9dvNw5h3CrbguSc1l8mkKrfNwxAkGMOp
MIx5KgNBaDMcOggmjjFTOBIK4muJjdUZKhR3oFwBD/jjR7O1lGinYK873lYz01aS
nf7j00wgTl4kU3V+sjEbI9t3cQHfE6DMMWeG8w3Q03z+fVkNN9f30TvvBDua95Qg
G9m5eMtGqlrnPuovErHagfg8kd5lZFkYOakaoAhbOW6oQ8s8YKzCP1evcjfLYe/o
8K4br8vwp0jnBaKNKbVpO8iAn1A0UTXWaKUytb3cYqMvzp9UYh5Vyfl4MtMh8ULP
wwIDAQAB
-----END PUBLIC KEY-----
We can create a file called piv.csv with the serial number as ID and the right public key:
"Type","Reference","Description","DN","Data","Status"
"PIV Device","8671120","PIV Yubikey","","PublicKey=MIIBIjANBgkqhkiG9w0BAQEFAAOCAQ8AMIIBCgKCAQEAwjYEZhuhF9rrxHdCDstGJ2ibVVrJhrZIfz4wwjrXtwEACJP2wWRe9dvNw5h3CrbguSc1l8mkKrfNwxAkGMOpMIx5KgNBaDMcOggmjjFTOBIK4muJjdUZKhR3oFwBDjjR7O1lGinYK873lYz01aSnf7j00wgTl4kU3V+sjEbI9t3cQHfE6DMMWeG8w3Q03z+fVkNN9f30TvvBDua95QgG9m5eMtGqlrnPuovErHagfg8kd5lZFkYOakaoAhbOW6oQ8s8YKzCP1evcjfLYe/o8K4br8vwp0jnBaKNKbVpO8iAn1A0UTXWaKUytb3cYqMvzp9UYh5Vyfl4MtMh8ULPwwIDAQAB","Valid"
We import the file. Under the Import tab, we click on Import Inventory File:
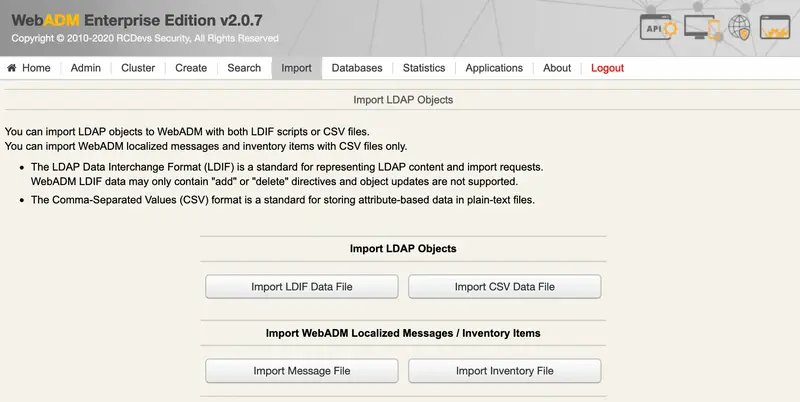
We choose the piv.csv file and click on Import:

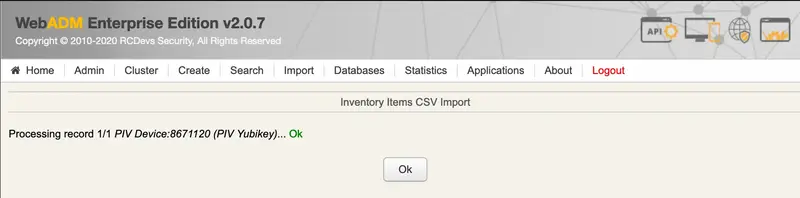
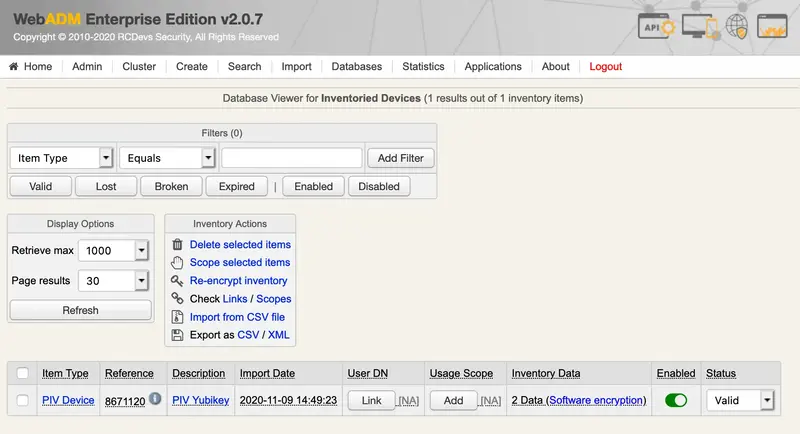
Now, the PIV key is present in the inventory:
2. Assign the Yubikey
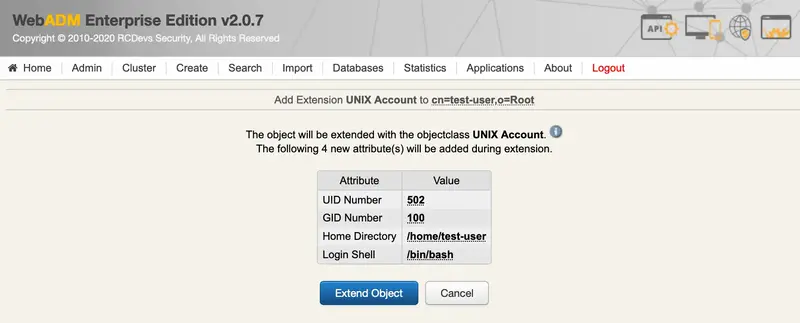
We select the user in the LDAP tree on the left and add the UNIX Account extension:
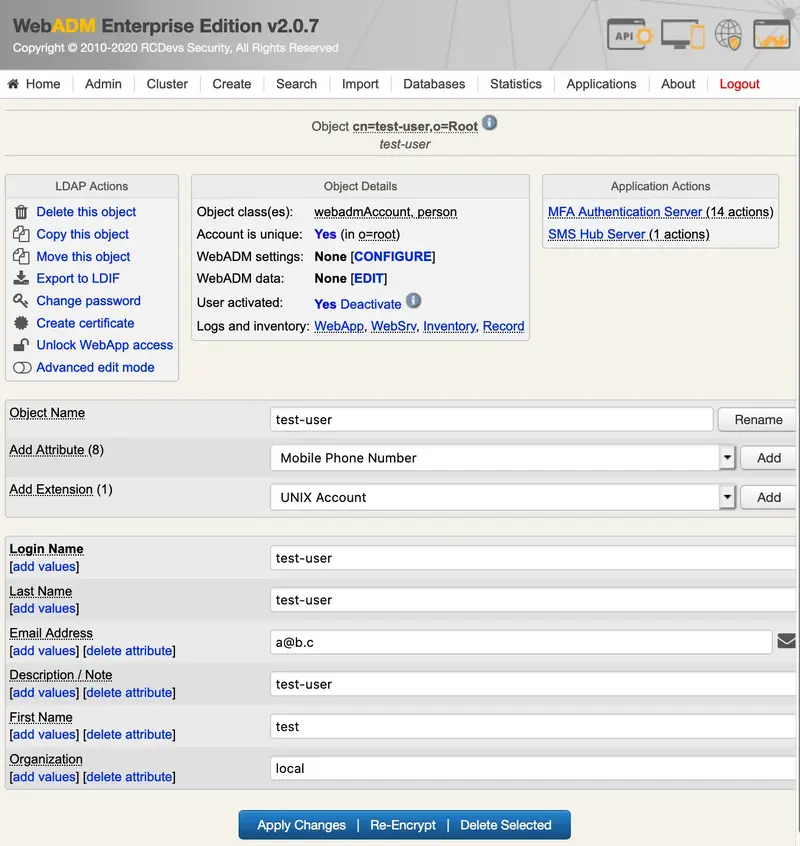
We click on Proceed:

We Extend Object:
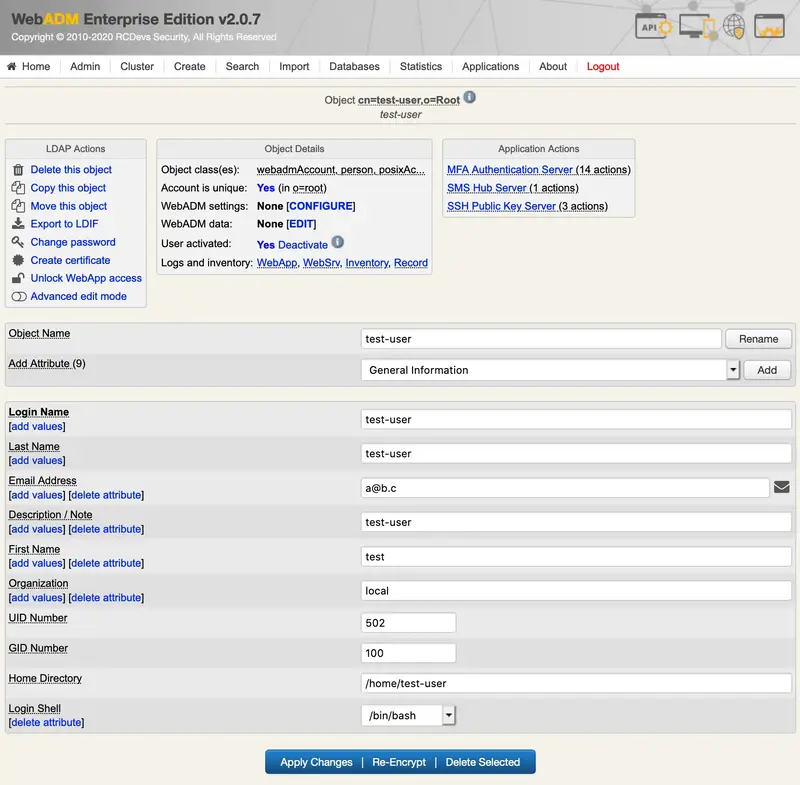
We click on SSH Publick key server:
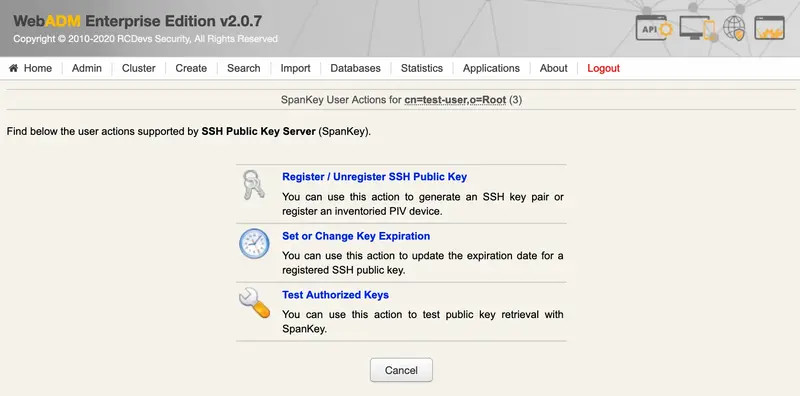
We click on Register/Unregister SSH key:
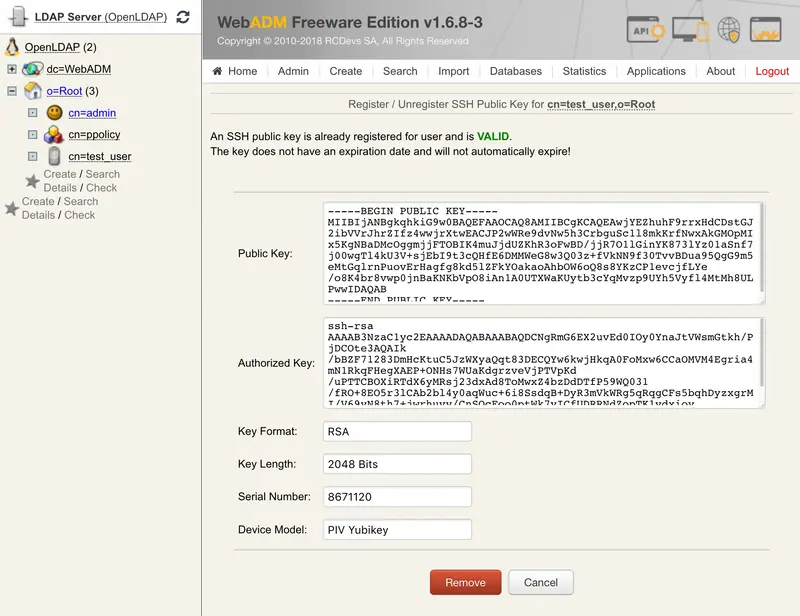
We select Register a hardware key (Inventoried), enter the Serial Number (Reference) and Register:
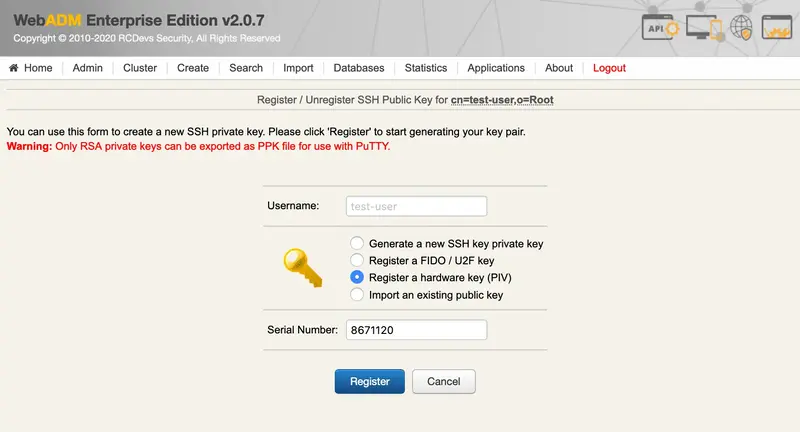
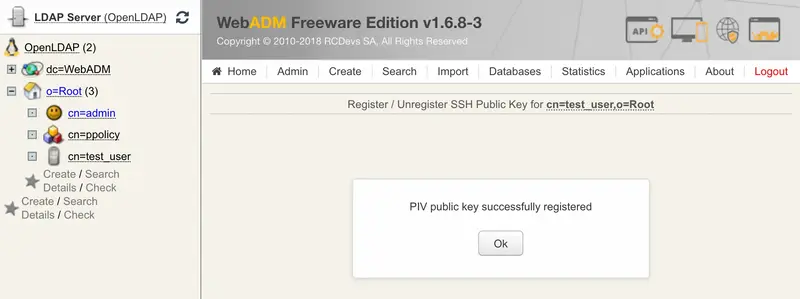
Now, the PIV key is well registered.
3. Test with SSH
We’ll try with a CentOS 7 as an ssh server.
We install and configure spankey_client on it:
[root@test_vm ~]$ yum install https://repos.rcdevs.com/redhat/base/rcdevs_release-1.1.1-1.noarch.rpm
[root@test_vm ~]$ yum clean all
[root@test_vm ~]$ yum install spankey_client -y
[root@test_vm ~]$ spankey_setup
This is the configuration tool for RCDevs SpanKey Agent.
It will configure SpanKey Server URL(s), SSH helper and NSS.

Do you have a WebADM cluster or standalone server (c/s)? s
Enter hostname or address for SpanKey server: my_webadm
Do you want to enable SpanKey for OpenSSH server (y/n)?: y
Do you want SpanKey agent to auto-create home directories (y/n)?: y
Do you want to enable SSH session management options (y/n)?: y
Do you want to enable SpanKey NSS plugin (y/n)?: y
SpanKey Agent for SpanKey standalone Server
Server URL: https://192.168.3.202:8443/spankey/ (Server Ok)
Enable SpanKey for OpenSSH server: Yes
Auto-create home directories: Yes
SSH session management options: Yes
Enable SpanKey NSS plugin: Yes

Do you confirm (y/n)?: y

Updating /etc/spankey/spankey.conf... Ok
Updating /etc/ssh/sshd_config... Ok
Updating /etc/nsswitch.conf... Ok
Updating /etc/pam.d/password-auth... Ok
Created symlink from /etc/systemd/system/multi-user.target.wants/nscd.service to /usr/lib/systemd/system/nscd.service.
Created symlink from /etc/systemd/system/sockets.target.wants/nscd.socket to /usr/lib/systemd/system/nscd.socket.

SpanKey Agent has been successfully configured.
For the ssh client, we use a Mac mini. We configure it for using the smartcard:
[John@Mac-mini ~]$ brew install opensc
[John@Mac-mini ~]$ export OPENSC_LIBS=$(brew --prefix opensc)/lib
We try the authentication:
[John@Mac-mini ~]$ ssh -I $OPENSC_LIBS/opensc-pkcs11.so John@test_vm
Enter PIN for 'PIV Card Holder pin (../piv_II)':
bash-4.2$
I’m connected to the server with a user from the LDAP database and authenticated with my PIV key.